BEGINNER MACRAMÉ · STEP-BY-STEP PHOTO GUIDE
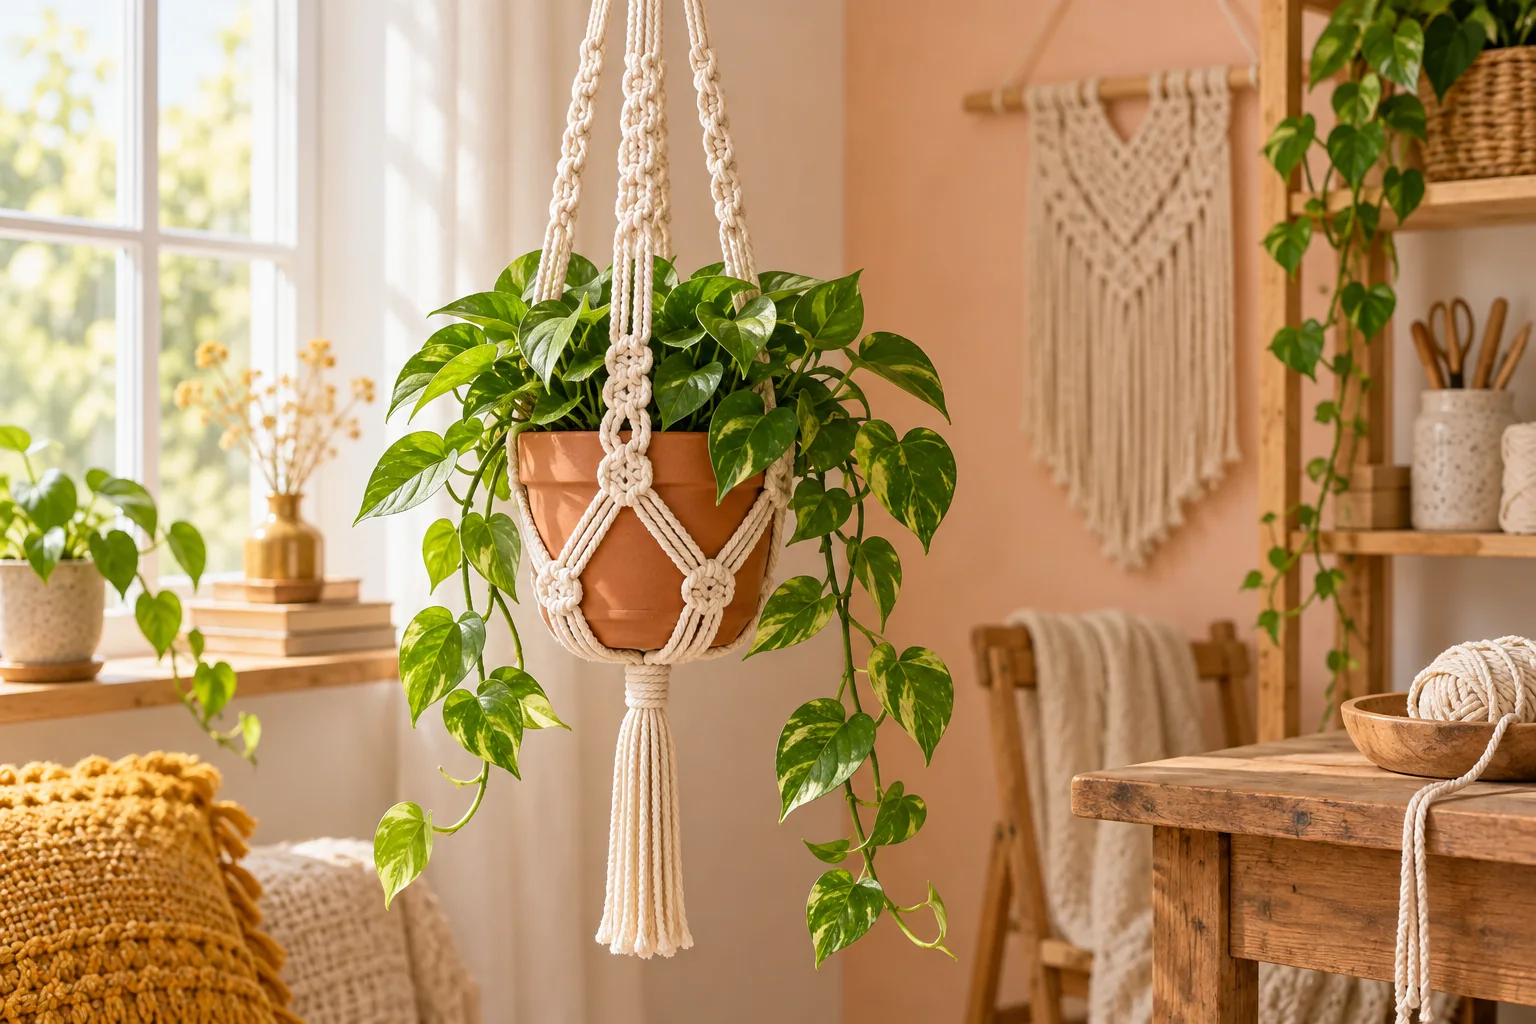
Make a simple, useful macrame plant hanger with cotton cord, a wooden ring and three beginner knots. This guide explains the cord lengths, how to shape an even pot cradle and how to check the finished hanger safely.
A macrame plant hanger is a satisfying first knotting project because the pattern grows visibly as you work. You need no loom or special equipment: a ring, cord, tape measure and scissors are enough. This design fits a light pot about 10–12 cm (4–5 in) wide. Test the cradle with an empty pot before adding a plant.
Project at a glance
- Skill: Beginner
- Time: About 1½–2 hours
- Finished drop: Approximately 75–90 cm (30–35 in), depending on knot tension
- Knots: Lark’s head, square knot and gathering knot
- Pot: Light, 10–12 cm (4–5 in) across
Materials and cord measurements
Choose soft 3–4 mm (⅛ in) cotton macramé cord. Braided cord is easy to handle and frays less than loosely twisted rope; natural cotton gives this plant hanger a classic handmade look.
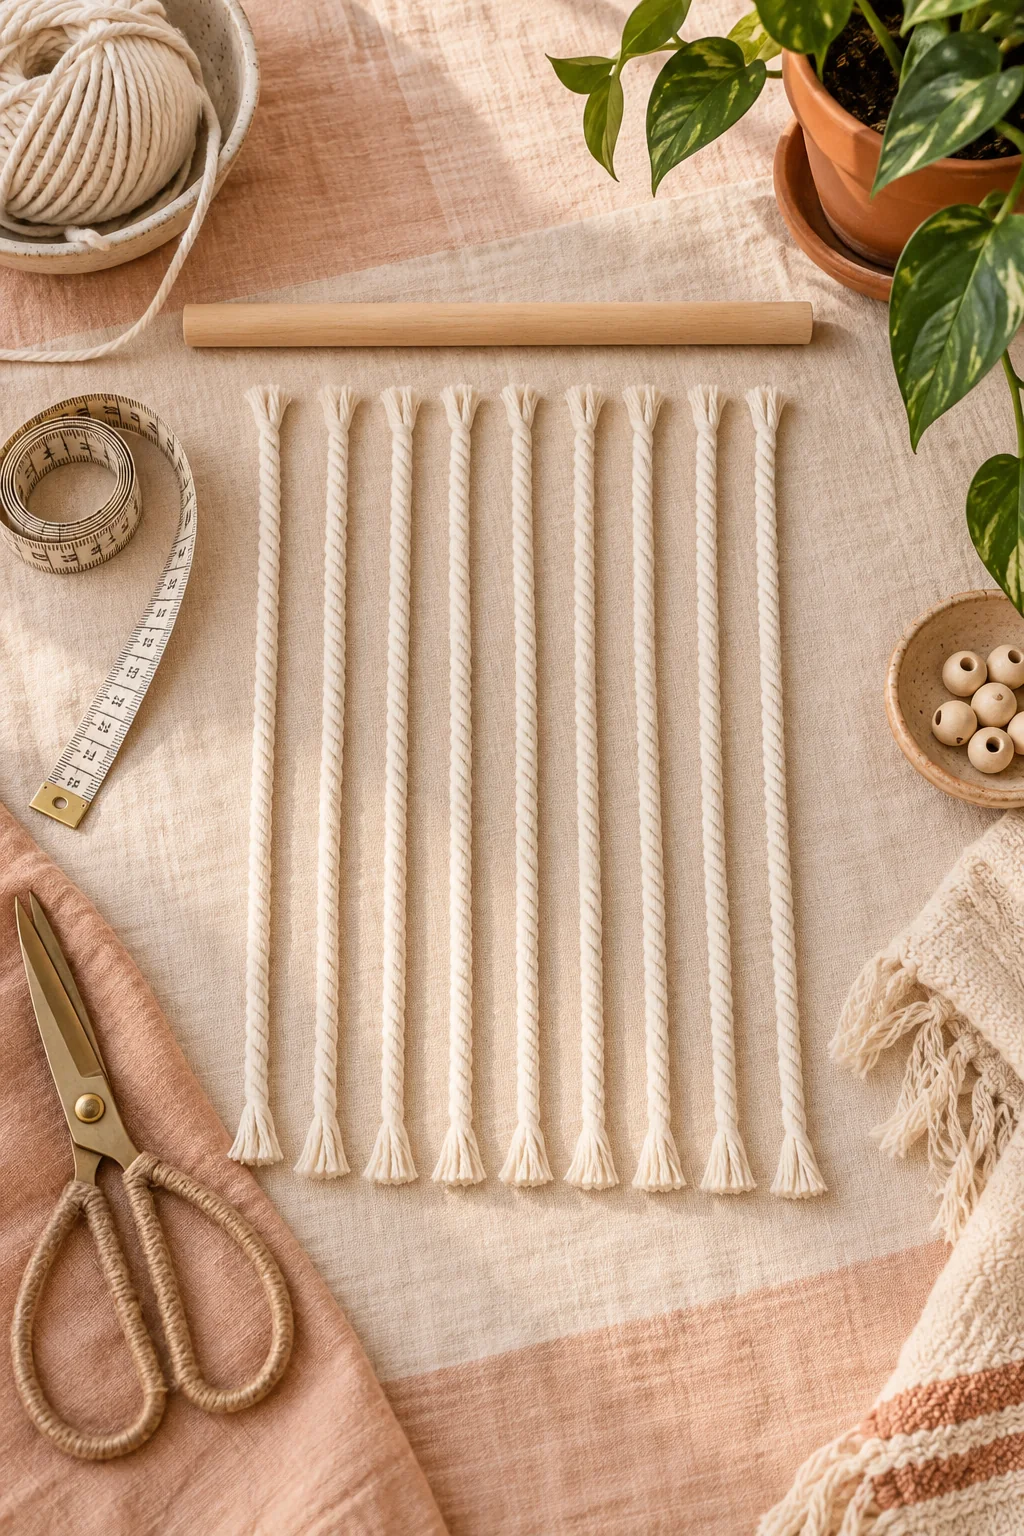
- 8 cords, each 4.5 m (about 15 ft) long
- 1 sturdy 3–4 cm (1¼–1½ in) wooden or metal ring
- 1 extra cord, about 60 cm (24 in), for the gathering knot
- Tape measure, sharp scissors, and a hook or clamp to hold your work
- A light empty pot, 10–12 cm (4–5 in) wide, to test the fit
Each long cord folds in half, giving you 16 working strands. The 4.5 m length suits a medium hanger with a modest tassel. If your pot is wider, you want a longer drop, or you knot tightly, cut 5 m cords. Extra length can be trimmed; a short strand cannot be extended neatly.
Prepare your work
Measure and cut all eight cords carefully. Bring the ends of each cord together to find its center. Hang the ring from a secure hook at a comfortable working height or clamp it to a board. Let the strands hang freely and keep them untangled; this makes the rows easier to align.
How to make the macrame plant hanger
1. Attach the cords with lark’s head knots
Fold one 4.5 m cord in half to make a loop. Pass the loop through the ring, bring both loose ends through that loop, and pull gently to snug it against the ring. Repeat with the remaining seven cords. You now have 16 hanging strands. Arrange them into four groups of four and space the knots evenly around the ring.
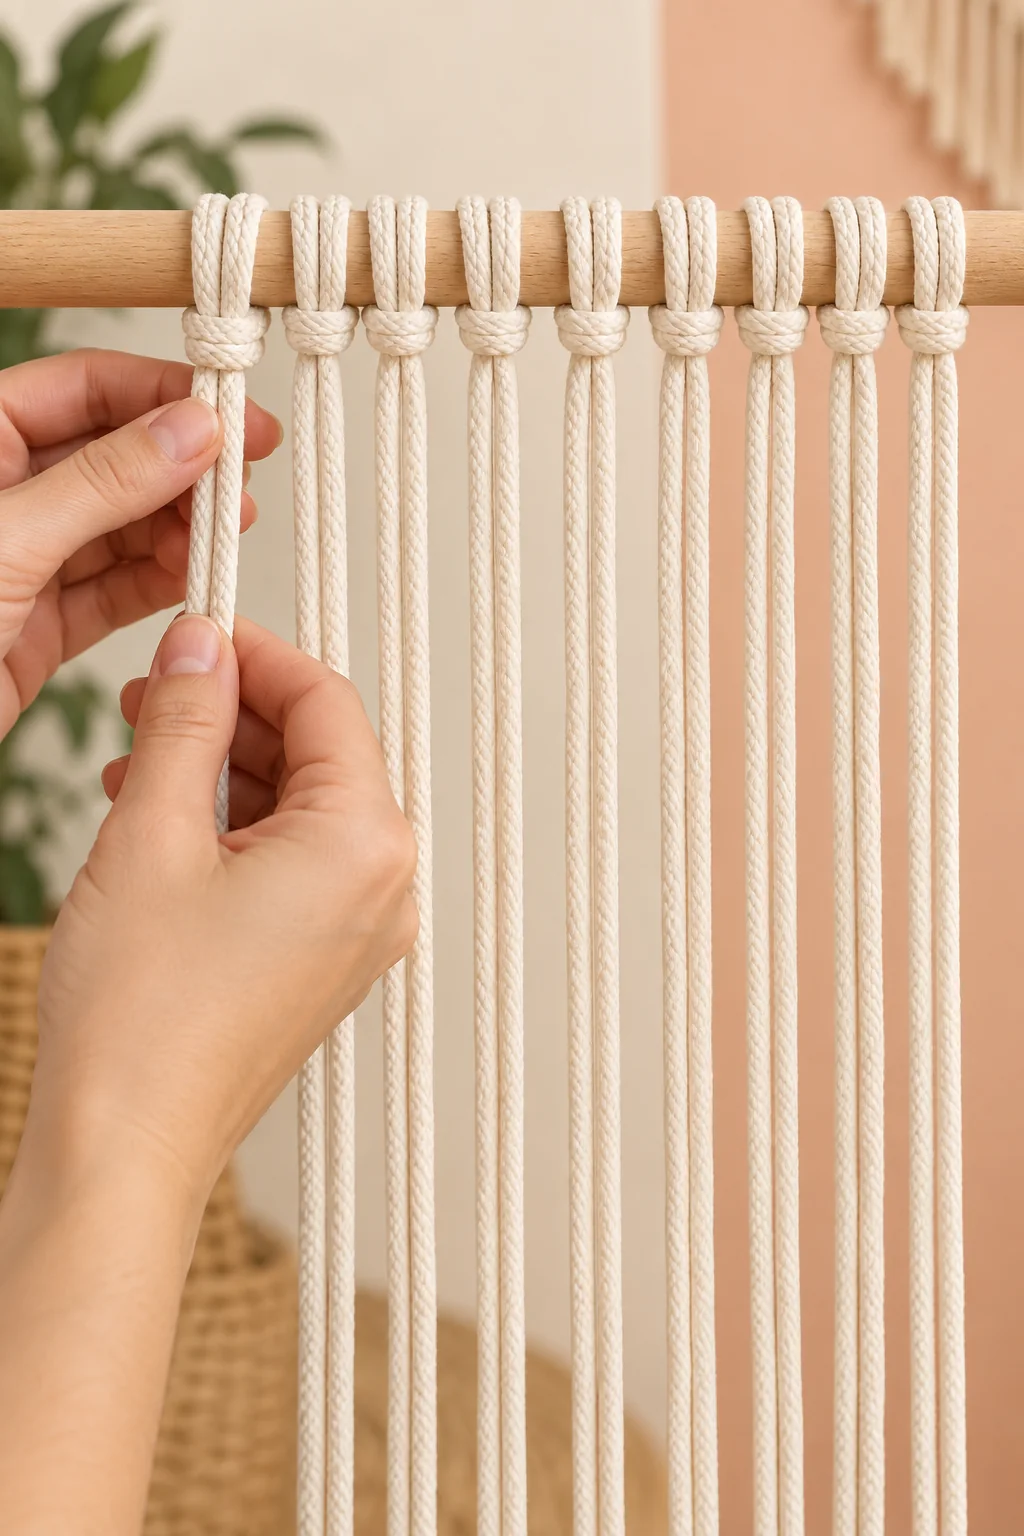
2. Tie the square-knot columns
Work with one group of four strands at a time. The two center strands are fillers; the outer pair makes the knot. For the first half, take the left working strand across the front of the center strands, forming a loop on the right. Pass the right working strand over the left tail, behind the center strands, and up through the loop. Pull the working ends evenly.
Reverse the movement for the second half: bring the right strand across the front, pass the left strand over its tail, behind the center strands and through the loop. Tighten both halves with similar pressure. Together they make one square knot. Tie three square knots in each group, giving this plant hanger four neat columns.
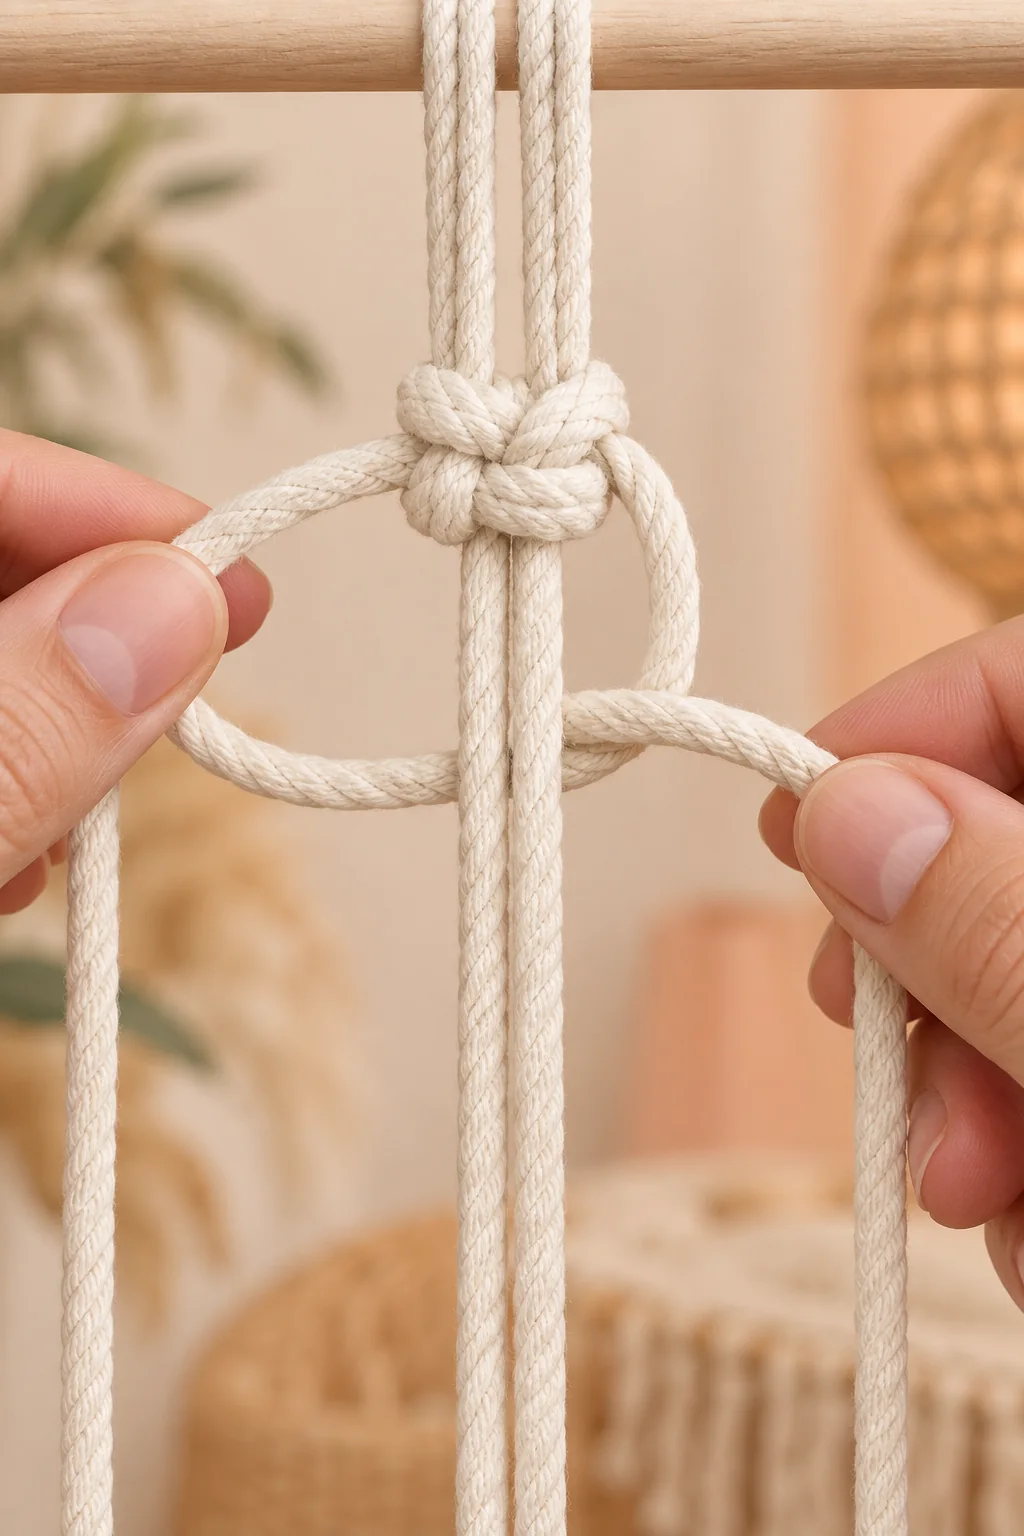
3. Make an open diamond panel
After the third knot in each column, leave 6–8 cm (2½–3 in) of plain cord. Shift the groups: take the two strands at the right edge of one column and the two at the left edge of the next to make a new group of four. Tie one square knot. Repeat across the hanger, then tie another shifted row if you want a deeper diamond panel.
Lay the work flat occasionally and compare the gaps. If a diamond leans, loosen the nearest knot and even the strands before tightening again. Even spacing looks better than pulling every knot as tight as possible.
4. Shape the pot cradle
Hold the empty pot under the knotwork to choose where the basket should begin. Aim for the top of the cradle to sit just below the pot’s widest point. Divide the 16 strands into four bundles of four, keeping one bundle on each side of the pot.
Tie one square knot in each bundle at the same height. Move down about 4–5 cm (1½–2 in), then join neighboring bundles: take the two strands nearest each other from adjacent bundles and the neighboring strands to form a new group of four. Tie a square knot between each pair of bundles all the way around. This creates the net that holds the pot. Test the empty pot before continuing; the cradle should support its sides without squeezing it.
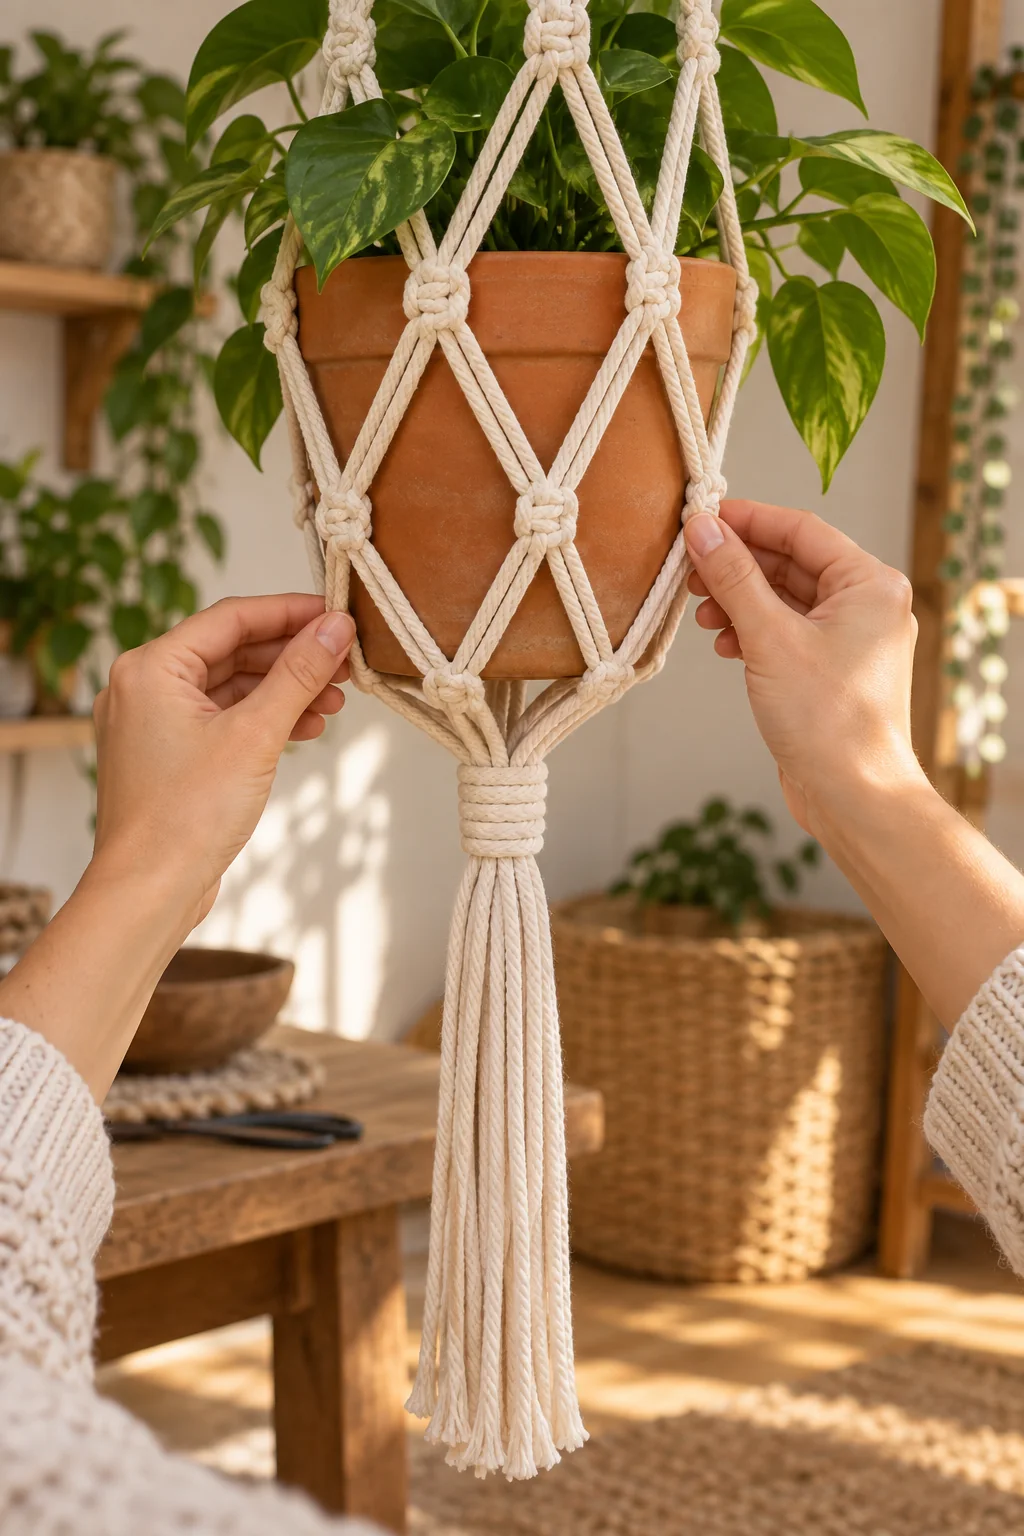
5. Close the base and trim the tassel
When the net reaches beneath the pot’s base, gather all 16 strands together. Use the extra 60 cm cord for a gathering knot. Make a small U-shaped loop down the bundle; wrap the long end around the strands and loop several times, then pass the tail through the loop. Pull the short end at the top until the loop disappears inside the wraps. Trim the hidden ends.
Choose the tassel length and trim the strands level. Comb out twisted cord for a soft fringe, or leave braided cord intact for a tidy, low-shed finish. Put the empty pot back in and make sure the hanger hangs straight before adding a plant.
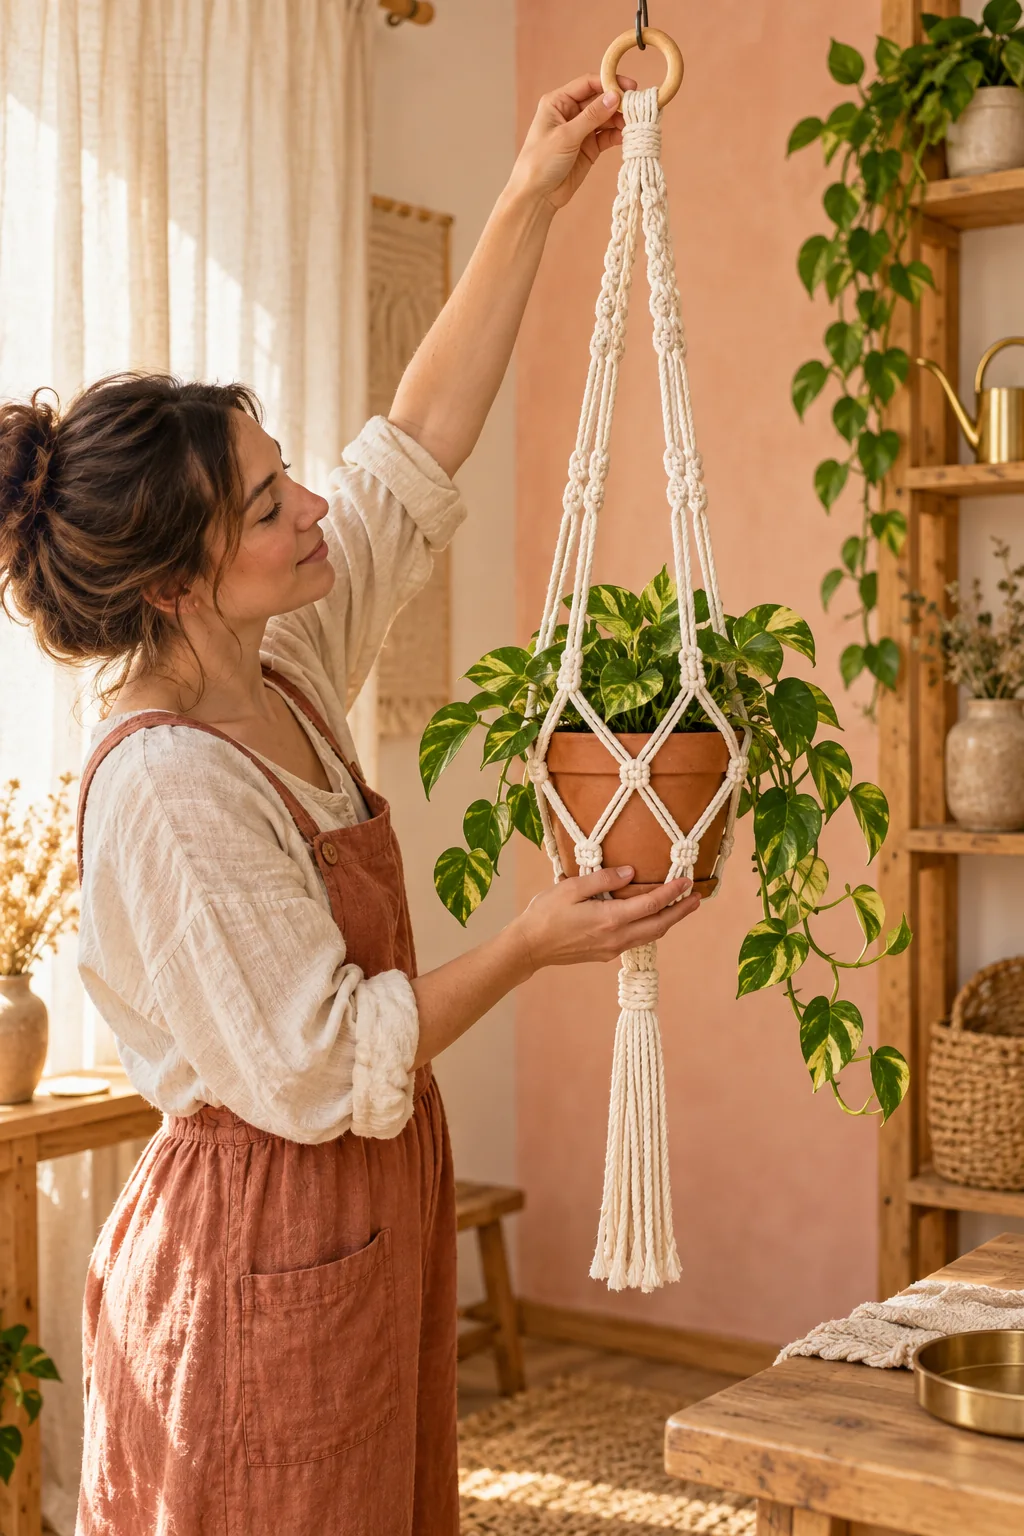
Fit checks and common fixes
The pot tilts
Remove it and compare the four bundles. A tighter knot or longer gap on one side can pull the pot off-center. Adjust the nearest knots until the distances from the ring to the cradle match, then test again.
The pot slips through the net
Move the cradle knots closer together or add a connecting row. The pot should rest above the narrowest part of its base, not balance on the tassel. Choose a pot with a defined rim and test it empty first.
The hanger is shorter than planned
Knotting consumes cord quickly. Next time, cut 5 m lengths, reduce the number of rows, or shorten the tassel. Measure the hanging drop before trimming any ends.
Frequently asked questions
How much cord does a beginner plant hanger need?
For this medium design, cut eight cords at 4.5 m each. Choose 5 m lengths for a longer plant hanger, wider pot or generous tassel.
Can I make this hanger without a wooden ring?
Yes. A sturdy metal ring works too, or you can make a cord loop at the top and secure it with a gathering knot. A ring is easier for beginners and helps the plant hanger sit evenly.
Which macramé knot should I learn first?
Learn the lark’s head for attaching cords, then practice the square knot. Those two knots are enough for this plant hanger and many other beginner projects.
What pot size works best?
Start with a light pot about 10–12 cm (4–5 in) wide. Pot shapes vary, so test the cradle with the empty pot instead of relying only on the measurement.
Want to see the knot movements in diagram form before you begin? DMC’s illustrated macramé stitch guide shows foundational knots, including the square knot. Use it as a visual reference alongside the measurements and project sequence in this tutorial.
Make it your own
This macrame plant hanger is easy to customize once the knot rhythm feels familiar. Try a longer tassel, a colored cord, or one extra diamond row while keeping the cradle snug around your pot. Save the portrait step photos for your craft board, and keep the finished hanger light until you have checked its knots and hanging support. For more inspiration, browse our macramé pattern collection.