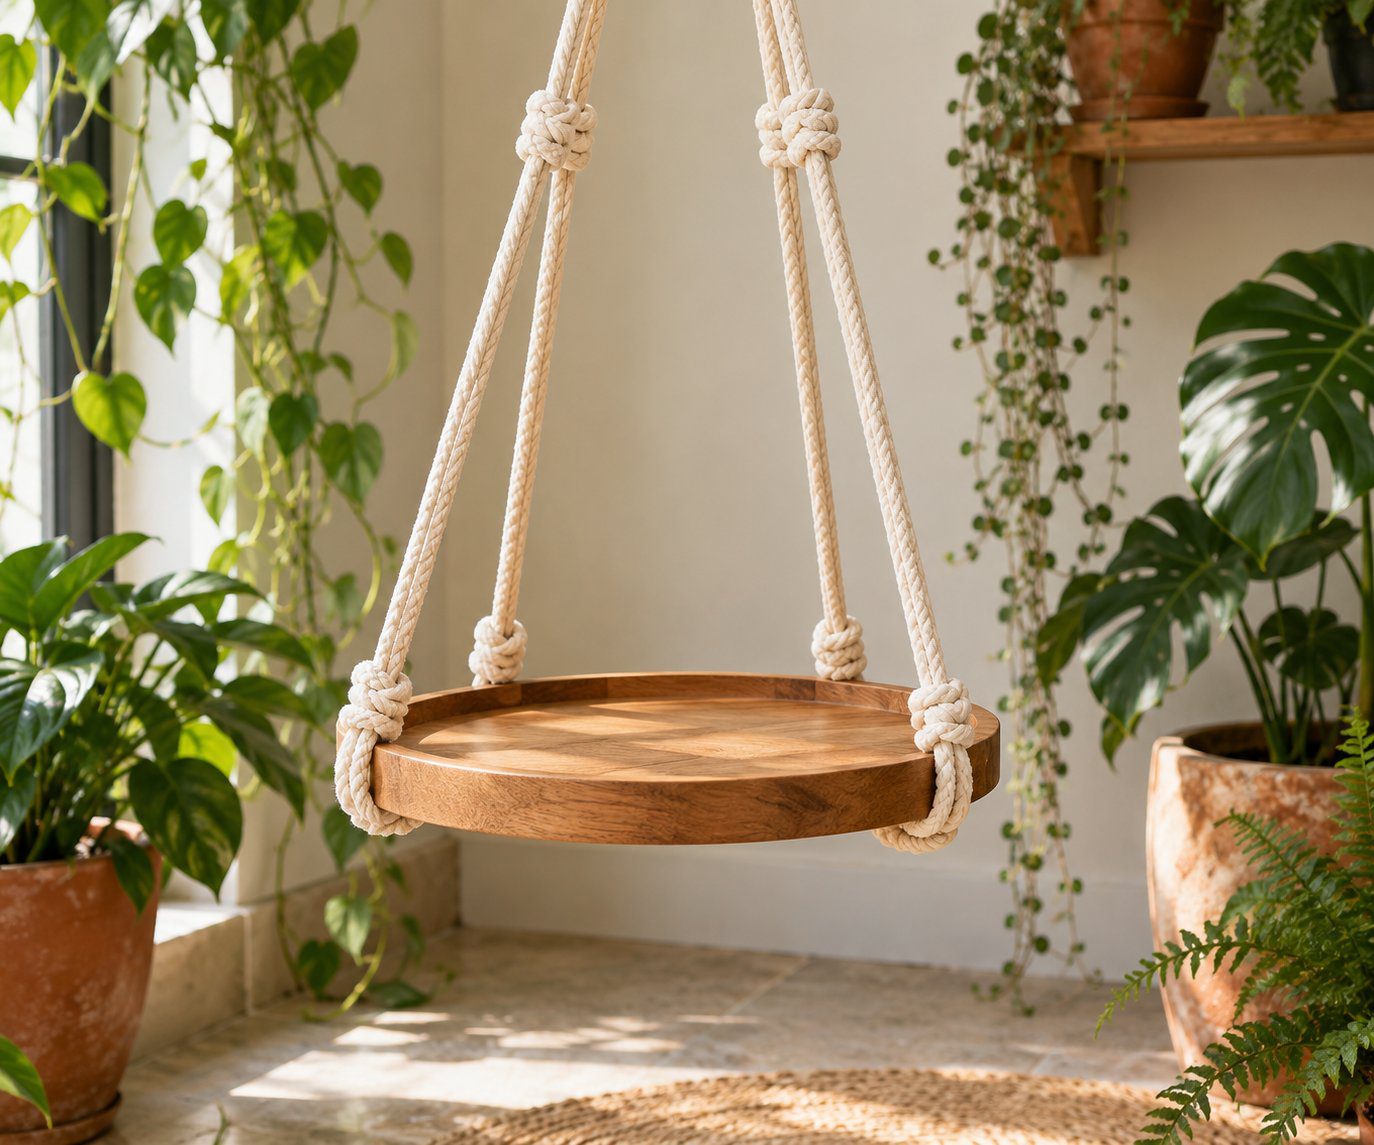
A hanging table is better approached as a decorative suspended tray. Flexible cords let it move, so it behaves differently from a side table standing on the floor. Plan the rim, balance and display position first; choose decorative knots afterward.
Decide whether a hanging tray fits your space
Use it where people will not lean on it, bump it or mistake it for a stable surface. A quiet display corner is more suitable than beside an armchair or a busy doorway. Avoid hot drinks, candles, liquids and items that would break if the tray swung. No knot arrangement in this guide establishes a load rating.

Three parts need to work together
| Part | Useful design question |
|---|---|
| Tray | Does it have a sound edge or rim that prevents the supports slipping inward? |
| Support groups | Can you identify and measure four balanced groups without crossing them? |
| Top fixing | Is the hardware suitable for the actual wall or ceiling and intended load? |
A flat disk without a retaining rim needs a different support detail from a deep tray. Do not assume a cord net gripping the outside will hold securely. Start with a purpose-built design that specifies how the tray is retained, or treat the piece as a nonfunctional styling prototype.
Sample the decorative supports
Try a four-strand square-knot sample, then a half-knot spiral sample. Use identical cord lengths and record how much each short sample consumes. The comparison tells you whether a spiral-heavy design will need more working cord. Our knot guide explains the difference between working and filler strands.
Choose one motif and repeat it equally on every support. Elaborate variations are harder to level. A plain gap between knot sections gives the eye a rest, but all gaps need to be measured from the same point rather than estimated while the cords hang.
Plan an orderly assembly
- Draw the tray from above. Mark four support positions at equal intervals. Check that those positions clear any handles.
- Record the finished drop. Measure from the proposed top attachment to the tray surface; allow room for the tray itself and lower securing details.
- Prepare a supported mock-up. Rest the tray on a table and arrange the cords around it. Confirm that the retaining detail cannot simply slide off the rim.
- Knot equal sections. Label each group, count knots and compare the groups side by side before connecting them.
- Level without trimming. Check front-to-back and side-to-side while the tray is still supported. Leave adjustment tails until the design and installation have been reviewed.
Common design mistakes
A tray that leans toward one side: compare both the cord lengths and the placement of the object on it. A central load and balanced empty tray are different conditions.
A support that migrates around the rim: revisit the retaining detail. More decorative knots higher up will not solve a slipping attachment below.
A ring that appears to stretch or a hook that shifts: stop using the display. Hardware selection needs to be resolved separately from the craft work.
Choose a calmer alternative when needed
If you want somewhere reliable for a drink, use a conventional table and add a macramé mat. If you want the suspended look, keep this piece decorative and light. For installation, follow the fixing manufacturer’s substrate-specific instructions; Fischer’s safety notes explain the limits of published holding values.
For a simpler suspended project, explore the beginner plant hanger, paying particular attention to pot fit and a suitable fixing.
Further reading
The project theme in this article is drawn from Macramé for Beginners and Beyond by Amy Mullins and Marnia Ryan-Raison. This PintoCreate guide uses new wording, additional planning advice and original generated illustrations. It does not reproduce the book’s diagrams or its full project pattern.