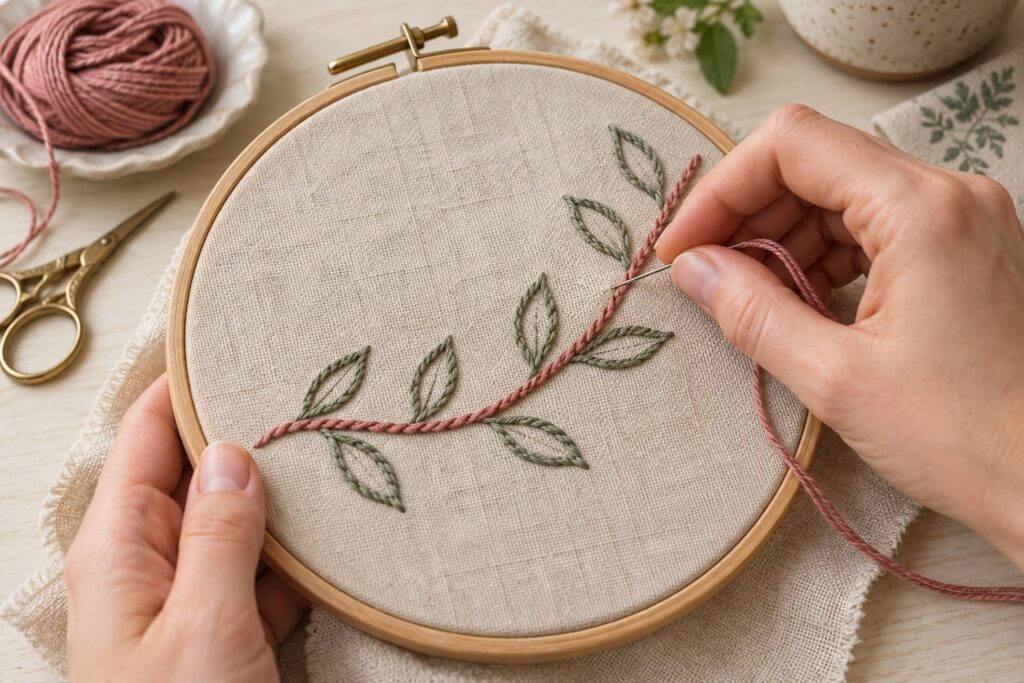
This avatar embroidery tutorial explains how to stitch a character design onto a fleece hoodie without stretching the knit or leaving a stiff, puckered result. Use an original drawing or artwork you have permission to reproduce. The photos below show the project setup and stitching stages; test the transfer and stabilizer on a hidden scrap first because fleece finishes vary.
If you are new to needlework, start with our embroidery projects and beginner guides. This hoodie project uses split stitch for outlines and short straight stitches for small filled areas.
Materials for embroidering a character on a hoodie
Gather a clean hoodie, embroidery hoop large enough to hold the design, embroidery needle with an eye suited to your floss, embroidery floss, small scissors, a washable marking tool or water-soluble transfer stabilizer, and a soft cut-away stabilizer for the inside of stretchy fleece. Choose colors from your design and separate only the number of floss strands that your fabric and detail need. A shorter thread is easier to control and tangles less.

Prepare the hoodie and transfer the design
Wash and dry the hoodie first if its care label recommends prewashing. This removes finishes and reduces later shrinkage surprises. Lay it flat and choose a stable area away from thick seams, pockets and ribbing. Check the placement while wearing the hoodie or on a dress form; a design that looks centered while flat can shift when worn.
- Trace or print a small, simple design onto water-soluble transfer stabilizer, following that product’s instructions. If using a washable pen, test that it removes fully from a hidden area first.
- Position the design on the hoodie. Place a piece of soft cut-away stabilizer behind the stitching area so it supports the knit.
- Put the fabric and backing in the hoop without stretching the fleece. Tighten the hoop until the layers are secure, then smooth wrinkles outside the hoop rather than pulling the fabric taut.
- Check that the hoodie body and sleeves are clear of the hoop opening so you do not accidentally stitch through both layers.

Stitch the outline and fill the design
Begin with the smallest useful amount of floss; too many strands can make details bulky on fleece. Secure the thread on the back with a few tiny stitches under the area that will be covered. Avoid large knots, which can create a hard bump against the wearer’s skin.
1. Outline with split stitch
Work a split stitch along the main contours. Keep stitches short and consistent, especially around curves. Bring the needle up through the center of the previous stitch to split its floss, then take it down a small step ahead. Turn the hoop as you work so your hand stays relaxed. For a stitch diagram, see DMC’s split-stitch tutorial.

2. Fill larger color areas
For a small area, use satin stitch: lay parallel stitches side by side and keep them flat rather than pulling tight. For wider shapes, use long-and-short stitch so the fill is less bulky. Work from one edge toward the other, keeping the stitch direction consistent within each shape. Leave tiny gaps between colors only where the design needs a visible outline; overlapping too much makes a stiff patch.

Remove the stabilizer and finish the inside
When stitching is complete, remove the hoodie from the hoop without pulling the fabric. Trim the cut-away backing, leaving a small margin around the embroidery; do not cut close to the stitches. If you used water-soluble stabilizer, remove it only as its manufacturer directs. Regular printer paper is not wash-away stabilizer—do not soak or scrub the garment to remove paper. Check every marking has disappeared before drying.
Fasten off thread ends on the back by weaving them under several stitches. If the inside feels scratchy, cover the embroidery backing with a soft iron-on garment cover only if it is compatible with the hoodie fabric and care label. Press from the reverse with a pressing cloth and low heat; avoid dragging the iron across the stitches.

Troubleshooting common hoodie embroidery problems
| What you see | Likely cause | What to try |
|---|---|---|
| Fabric puckers | The knit was stretched in the hoop or stitches are too tight | Remove the hoop, let the fabric relax, add backing and restitch with lighter tension. |
| Outline looks uneven | Stitch lengths vary or the hoop is awkwardly positioned | Rotate the hoop and use shorter stitches around curves. |
| Design feels stiff | Too many floss strands or dense overlapping fills | Use fewer strands and leave small breathing spaces between filled shapes. |
| Mark remains after stitching | Transfer medium is not compatible with the fabric or removal method | Follow the marker or stabilizer directions and test removal before using it on the finished hoodie. |
Care for the finished embroidered hoodie
Follow the garment and thread care labels. Turn the hoodie inside out, use a gentle wash cycle and mild detergent if machine washing is allowed, and air dry when practical. Avoid bleach and high heat unless the care labels specifically permit them. If you enjoy small surface-stitch projects, browse our embroidery collection and try the lavender embroidery guide next.
Frequently asked questions
Can I embroider directly onto fleece?
Yes. A stabilizer behind the fabric helps keep the knit from shifting. Test your needle, hoop tension and backing on a hidden area or matching scrap first.
Can I use ordinary printer paper as a water-soluble pattern?
No. Printer paper does not dissolve cleanly like purpose-made wash-away stabilizer. Use a transfer method designed for your fabric, and follow its removal instructions.
Why does the hoodie stretch out of shape?
The hoop may have stretched the knit, or the stitches may be too tight. Keep the fleece smooth but relaxed in the hoop, support it with backing, and let the garment rest before judging the finished shape.