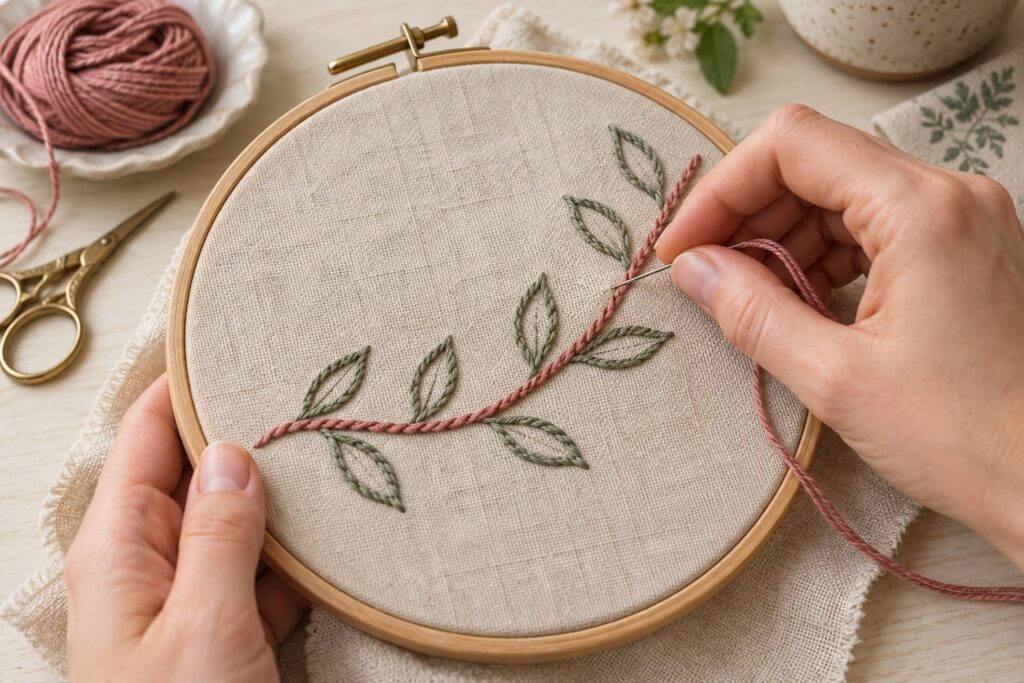
Satin stitch embroidery fills small shapes with smooth, closely spaced stitches. It works well for petals, leaves, initials and simple lettering when the design has a clear outline. The key is controlling stitch length, keeping coverage even, and securing the thread without bulky knots.
Materials and preparation
- Embroidery fabric firmly hooped, with stabilizer if the cloth needs support
- Embroidery needle with an eye suited to the thread
- Embroidery floss, scissors, and a washable or otherwise removable transfer method
- A practice scrap of the same fabric
Transfer a small shape with two opposite edges. Hoop the fabric taut like a drum but do not stretch it out of shape. Separate floss strands only as needed: fewer strands create a finer fill, while more strands give a bolder surface. Test on the scrap first because fabric weave and thread thickness change the result.
How to work a satin stitch
- Prepare a simple outline. Begin with a narrow petal, leaf, or letter. Mark both sides and identify the direction the stitches should travel.
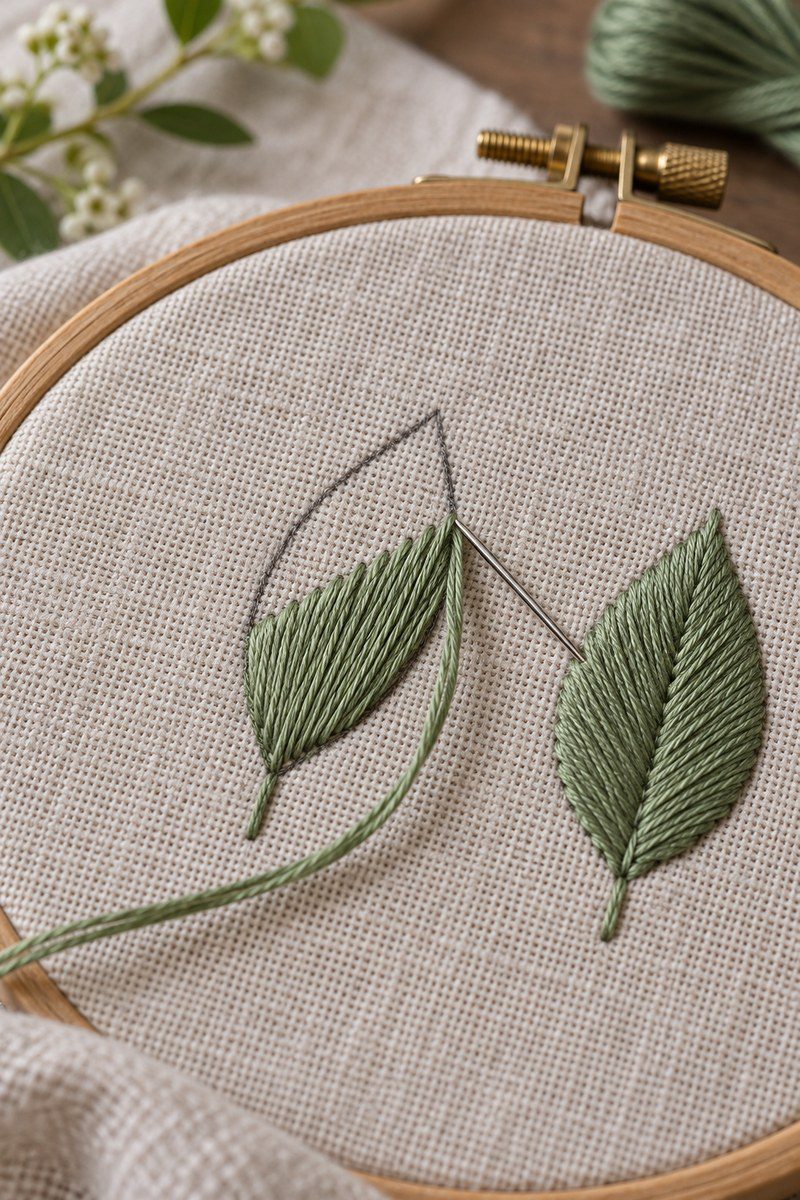
- Bring the needle up at one edge. Take it down directly opposite, spanning the shape. Keep the thread untwisted and lay the stitch flat.
- Make the next stitch beside it. Bring the needle up close to the previous entry point and return to the far outline. Place threads snugly side by side without pulling the fabric together.
- Keep the edge clean. Aim for consistent stitch direction and length. Tiny gaps can be filled with a carefully placed stitch; avoid repeatedly piercing the same hole.
- Finish the shape. At the back, weave the working thread under several existing stitches. Secure it without a large knot, then trim the tail.
How to avoid gaps and puckering
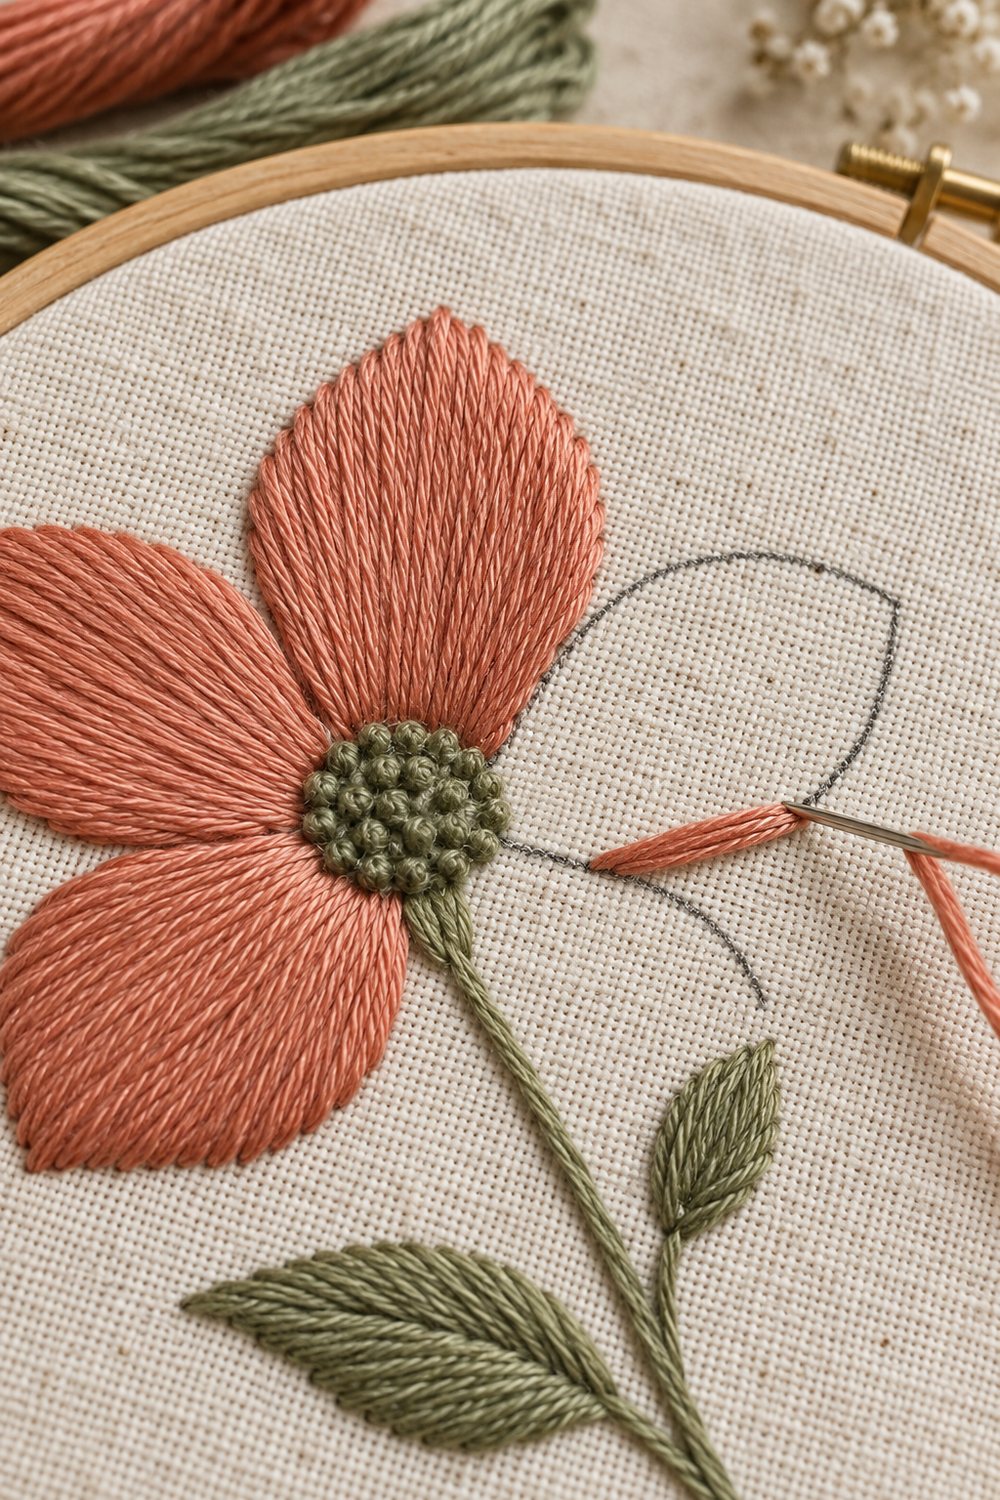
For a clean fill, start with shapes narrow enough that stitches do not become excessively long. Long satin stitches can snag; divide a broad area into smaller sections or outline the center with split stitch and fill each half toward it. Use a light touch: excessive tension pulls the fabric and creates ridges. If gaps appear, check that the strands lie parallel and slightly touch. If the fill looks bulky, reduce the number of floss strands or choose a smaller motif.
Curves, points and lettering
On a curve, vary stitch length gradually so the outer edge remains smooth. At a sharp point, shorten the final stitches and angle them toward the tip. For a large rounded design, split the shape into sections rather than crossing the entire width with long threads. Practice letters at a small scale before stitching a finished item.
Fix common problems
- Visible fabric between stitches: place the next stitch closer; do not yank it tight.
- Uneven outline: refine the transferred edge and use shorter stitches around curves.
- Wrinkling: re-hoop without stretching, add suitable stabilizer, and ease tension.
- Loose thread on the back: secure under several stitches and avoid carrying long floats.
Try it with another embroidery project
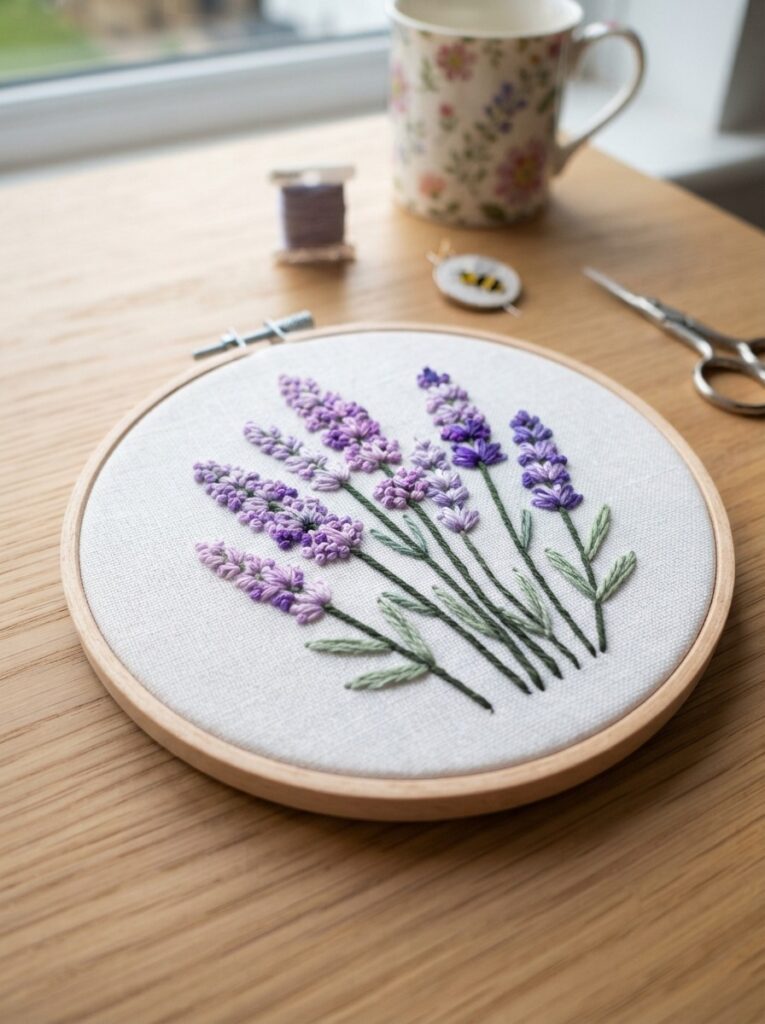
Start on a small motif, then use the same even rhythm for blossoms or initials. See our lavender embroidery guide and beginner embroidery project for more practice. DMC’s satin stitch demonstration and stitch diagrams provide additional visual references.
Before stitching a final piece, test strand count, fabric support, and tension together. A small sample helps you choose a motif size that gives smooth coverage without making stitches too long.
Plan stitch direction before filling a shape
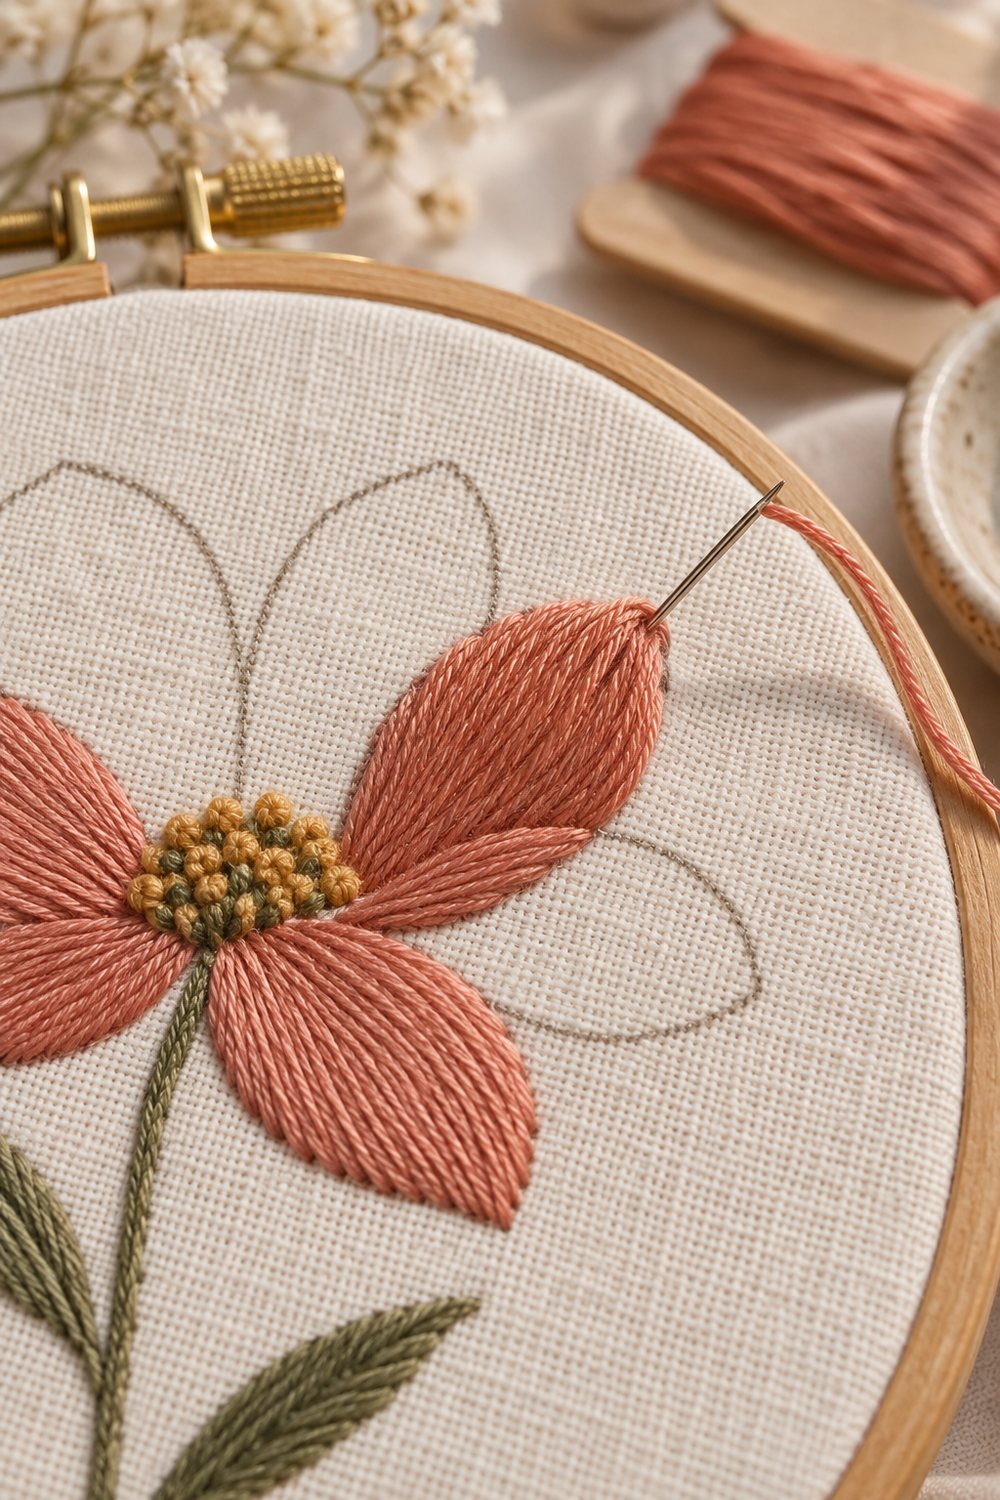
Mark the outline first, then decide where each stitch begins and ends. Across a leaf, stitches can travel from one long edge to the other, following the leaf’s width; for a narrow petal, work from one side to its opposite edge. Keep the direction consistent within a section so light catches the thread evenly. If a shape changes direction sharply, divide it into two smaller sections and let their edges meet along a natural center line.
For a pointed leaf, use progressively shorter stitches as you approach the tip, then gradually lengthen them on the other side. This creates a cleaner point than forcing several long stitches into a tiny space. For a rounded shape, small changes in length help the stitched edge follow the curve. Draw a few direction marks on the fabric with a removable pen before you start.
Set up the hoop and thread for smooth coverage
Secure the fabric and stabilizer together in the hoop so they stay aligned. The fabric should be firm, but do not pull it so hard that the weave distorts when you remove the hoop. For thin or stretchy fabric, a suitable stabilizer supports the stitches; test the stabilizer and removal method on a scrap first. A backing that tears away, washes away or remains in place should be chosen for the fabric and finished item.
Cut a manageable length of floss, around 18 inches (45 cm), to reduce tangling. Separate the strands one at a time, then bring the chosen strands back together before threading. Let the needle and thread hang briefly so twists can relax. Fewer strands give a finer fill; more strands give a fuller, bolder surface, but too many can make small shapes crowded. Stitch a sample with the same fabric and strand count you plan to use.
Start and finish without visible knots
On the wrong side, secure the starting tail beneath several existing stitches or use a small waste knot placed away from the design, then remove the knot and weave the tail in after the first stitches hold it. At the end, pass the needle under several stitches on the back and change direction once before trimming. Keep the back tidy and avoid long floats between separate shapes; start a new thread for a distant area instead of carrying it across the fabric.
Build the fill in a controlled order
- Trace and check the outline while the fabric is still in the hoop.
- Choose a stitch direction and strand count on a scrap.
- Fill one side of the motif in closely spaced, even rows.
- Turn the work often enough to check that stitches lie flat and are not twisting.
- Finish the second side, then inspect the edge before removing the hoop.
Do not try to correct a gap by pulling neighboring stitches tighter. Instead, add one carefully placed stitch in the open area. If the outline looks jagged, remove the last few stitches and shorten them around the curve rather than covering the problem with more thread.
Care for the finished embroidery
Before washing, check the fabric, floss and transfer-marking product instructions. Remove any water-soluble or heat-removable marks using the method recommended by its manufacturer, and test on a hidden scrap if you are unsure. Wash gently only if the materials allow it, support the stitched area while wet, and dry flat. Press from the back over a soft towel so the satin stitches are not flattened by the iron.
If this is your first fill stitch, practice on a small leaf or petal before working on clothing or a gift. For more motif ideas, see our lavender embroidery guide and beginner embroidery project. DMC’s satin stitch demonstration offers another view of the needle movement; compare its stitch direction with the shape you are filling.
Satin stitch fills a shape, while a line stitch can outline its edge. Our stem stitch embroidery tutorial explains how to form smooth curves and outlines.