Embroidery pattern transfer gives your project a clean starting point. Choose an embroidery pattern transfer method that you can safely remove from the fabric and thread you plan to use. The best option depends on fabric color, thickness, weave, and whether the design needs to disappear completely. This guide compares beginner-friendly methods, explains a careful tracing workflow, and shows how to prevent marks from showing through the finished work.
Embroidery pattern transfer: choose a fabric-safe method
| Method | Works best on | Keep in mind |
|---|---|---|
| Window or light pad tracing | Light, thin fabric | Needs a design visible through the cloth |
| Removable fabric pen | Light or medium cloth | Test removal on a scrap and follow the product label |
| Wash-away stabilizer | Textured, dark, or difficult fabric | Check that the stabilizer suits the fabric and project |
| Transfer paper | Firm, smooth fabric | Use only paper made for textiles; test its residue first |
Before you transfer
Prepare a washed and pressed fabric sample if the finished item will be laundered. Some fabrics shrink, and some marking products behave differently after washing. Cut enough cloth to fit the hoop with room around the design. Make sure the grain is straight and the fabric is not stretched. Read the marking product’s removal instructions before drawing: some marks should be removed promptly and may be damaged by heat.
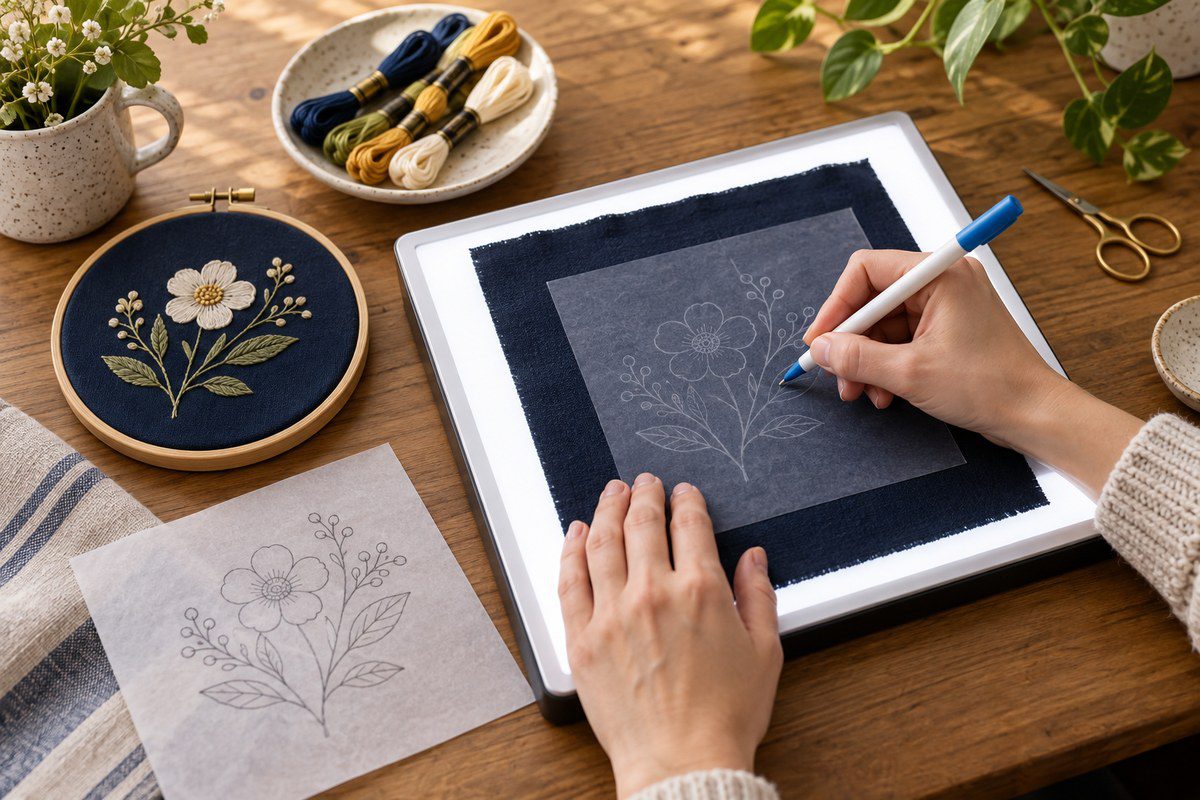
Window tracing for light fabric
- Tape the paper design flat against a bright window or place it on a light pad.
- Lay the fabric over the design and secure the edges so neither layer shifts.
- Use a fine, fabric-safe removable pen or pencil to trace only the lines you need. Keep the marking tool nearly upright for a controlled line.
- Lift one corner to check visibility and alignment before removing the fabric.
- Hoop the fabric without pulling it off grain. Confirm all important lines remain visible.
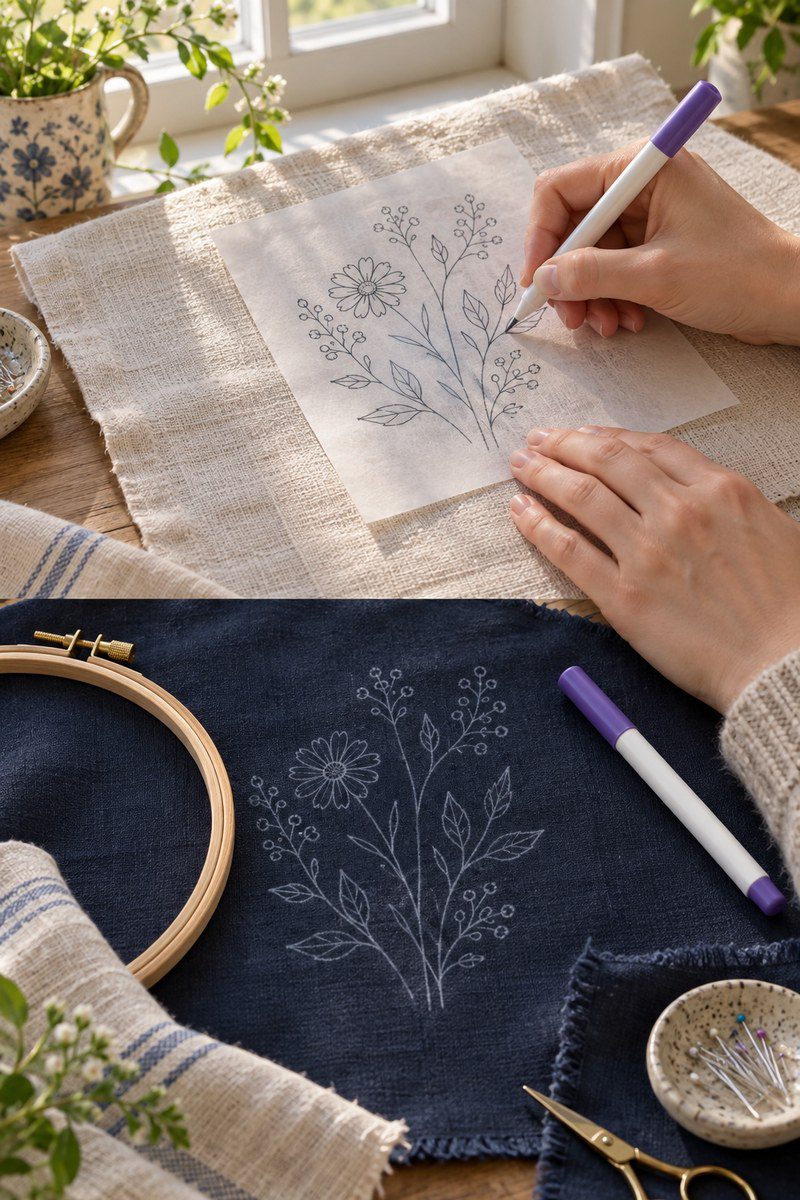
Using a water-soluble pen safely
First test the pen on a hidden piece of the same fabric. Add a short line, wait as directed, and remove it exactly as the manufacturer specifies. Check for a halo, color change, or mark that remains after drying. Do not assume every pen is safe for every fiber. When the test succeeds, draw a light outline and avoid pressing hard, which can leave a wider mark. DMC’s embroidery transfer pen guidance describes its water-soluble product; always follow the label for the specific tool you own.
Dark or thick fabric
For dark cloth, try a suitable light-colored textile transfer pencil only after testing it on a scrap. If the lines are hard to see or fabric texture makes tracing unreliable, use a wash-away stabilizer designed for embroidery: trace or print the design onto the stabilizer, attach it according to its instructions, stitch through it, then remove it as directed. Avoid soaking fabric unless its care label and the stabilizer instructions permit it.

Check placement and stitchability
Before stitching, place the hoop over the design and check that the motif is centered and oriented correctly. Keep transfer lines just inside the intended edge when the stitches will cover them. For open or delicate stitches, use the faintest line possible. Photograph the marked design for reference, then remove the photo from your workflow once you no longer need it. Test the first few stitches on a small section to ensure the transferred line stays concealed.
Common transfer problems
- Design shifted: secure paper and fabric at several edges and recheck registration before tracing.
- Marks show beside stitches: use a thinner line, test a different method, or redraw only the sections you need.
- Line will not disappear: stop adding heat or chemicals; follow the marker’s directions and test removal on the sample first.
- Fabric puckers: release the hoop, smooth the cloth without stretching, and re-hoop evenly.
Keep learning
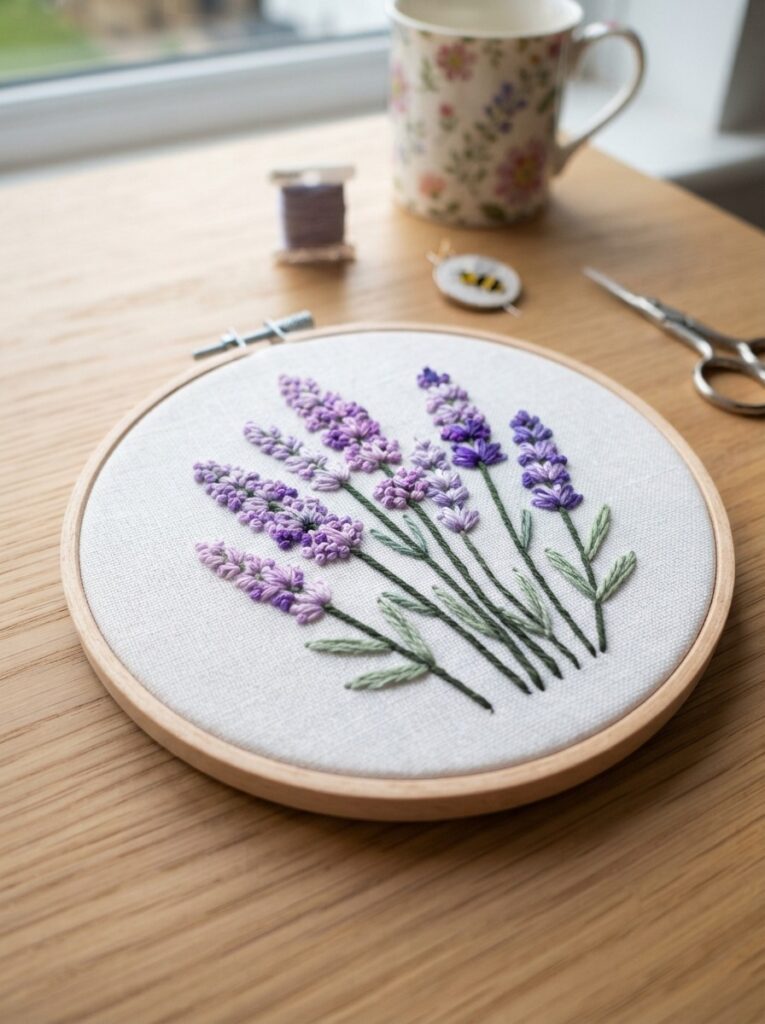
Practice the transfer on a small motif before starting a larger piece. Then try our lavender embroidery guide or beginner embroidery project. A clear pattern and an appropriate marking method make the actual stitching calmer and more accurate.
Choose the transfer method by fabric and design
First decide what will happen to the guide lines. A wash-away mark is suitable only when the fabric and thread can be safely washed. A heat-removable marker needs a test for both removal and heat tolerance. Stabilizer can remain under the stitching or be removed, depending on its type. For dark fabric, a light-colored textile pencil or printed wash-away stabilizer can be easier to see than a standard pen. If the finished item cannot be washed or pressed, use a method that can be removed without those steps.
Check whether the design contains lettering or an asymmetric motif. A tracing method preserves the orientation you see on the paper, while some transfer papers or printing processes may reverse it. Preview the design against the fabric before marking so words and left-right details do not end up backward.
Make a reliable test before marking the project
- Use a scrap of the same fabric, including the same wash and press preparation as the final piece.
- Apply a short mark using the same pressure and tool you plan to use.
- Wait for the product’s stated time, then test the specified removal method.
- Let the scrap dry fully and inspect it in bright light for a shadow, halo or color change.
- Repeat with the stabilizer or transfer paper if you are considering another method.
Some marks become permanent after heat or time, and some fibers react differently even when a pen is labeled removable. Do not iron over a mark until its instructions specifically allow it. Keep the test scrap until the finished project has been cleaned successfully.
Transfer a design with a light pad or window
Lay the paper flat on the light source and tape its corners so it cannot slide. Place the fabric over it, align the grain and secure the fabric lightly at the edges. For a large piece, transfer only the section that will fit inside the hoop, then reposition the cloth carefully. Use a fine removable tool and trace with short, controlled strokes rather than pressing hard. Lift the fabric occasionally to confirm the lines are not drifting and that the whole motif remains visible.
If the fabric is too thick to see through, place the paper design on top and use a textile transfer method that suits the fiber, or trace onto wash-away stabilizer. Do not push a pencil or ballpoint through the fabric; it can snag threads and stretch the weave.
Use stabilizer for textured and stretchy cloth
Cut stabilizer with enough margin to hold it securely in the hoop. Print or trace the design onto the product’s marked side, then attach it according to its label. Smooth it without stretching the fabric. Stitch through both layers, keeping the hoop tension even. Remove a wash-away type only as directed; some products dissolve fully while others need a brief soak. Blot excess moisture and dry the work flat. If the stabilizer is tear-away, tear slowly toward the stitched edge to avoid pulling delicate stitches.

Transfer paper: protect the fabric from residue
Use transfer paper made for textiles, not ordinary carbon paper. Place it between the pattern and cloth with the transfer side touching the fabric, then trace with a blunt stylus and even pressure. Lift one corner before removing all layers to see if the line is dark enough. Too much pressure can leave a permanent line or mark the table beneath the cloth, so put a protective sheet underneath and test first. Follow the product’s removal directions; rubbing or heat can set residue.
When a mark is too dark or will not disappear
Stop stitching over a line that remains visible and do not add bleach, solvent or extra heat. Check the marker instructions and test the approved removal method on the scrap. If the mark persists, the safest option may be to cover it with a design element or keep the piece unwashed until you can confirm a suitable remedy. Avoid experimenting on the finished fabric, because aggressive removal can damage dyes, fibers or embroidery thread.
Final placement check
- Center and orientation match the project plan.
- The design fits inside the hoop with working room around the edge.
- Lines are faint enough to be covered by the chosen stitches.
- The marker or stabilizer has passed a removal test on matching cloth.
- The hoop holds fabric and stabilizer together without stretching the grain.
After transfer, take a quick reference photo and keep the fabric flat until it is hooped. Practice the embroidery itself with our lavender embroidery guide or beginner embroidery project. For product-specific use and removal, follow the instructions from the manufacturer of your transfer pen or stabilizer.
Once your outline is ready, choose a stitch that suits each line. Our stem stitch embroidery guide shows how to make smooth curves and outlined details.