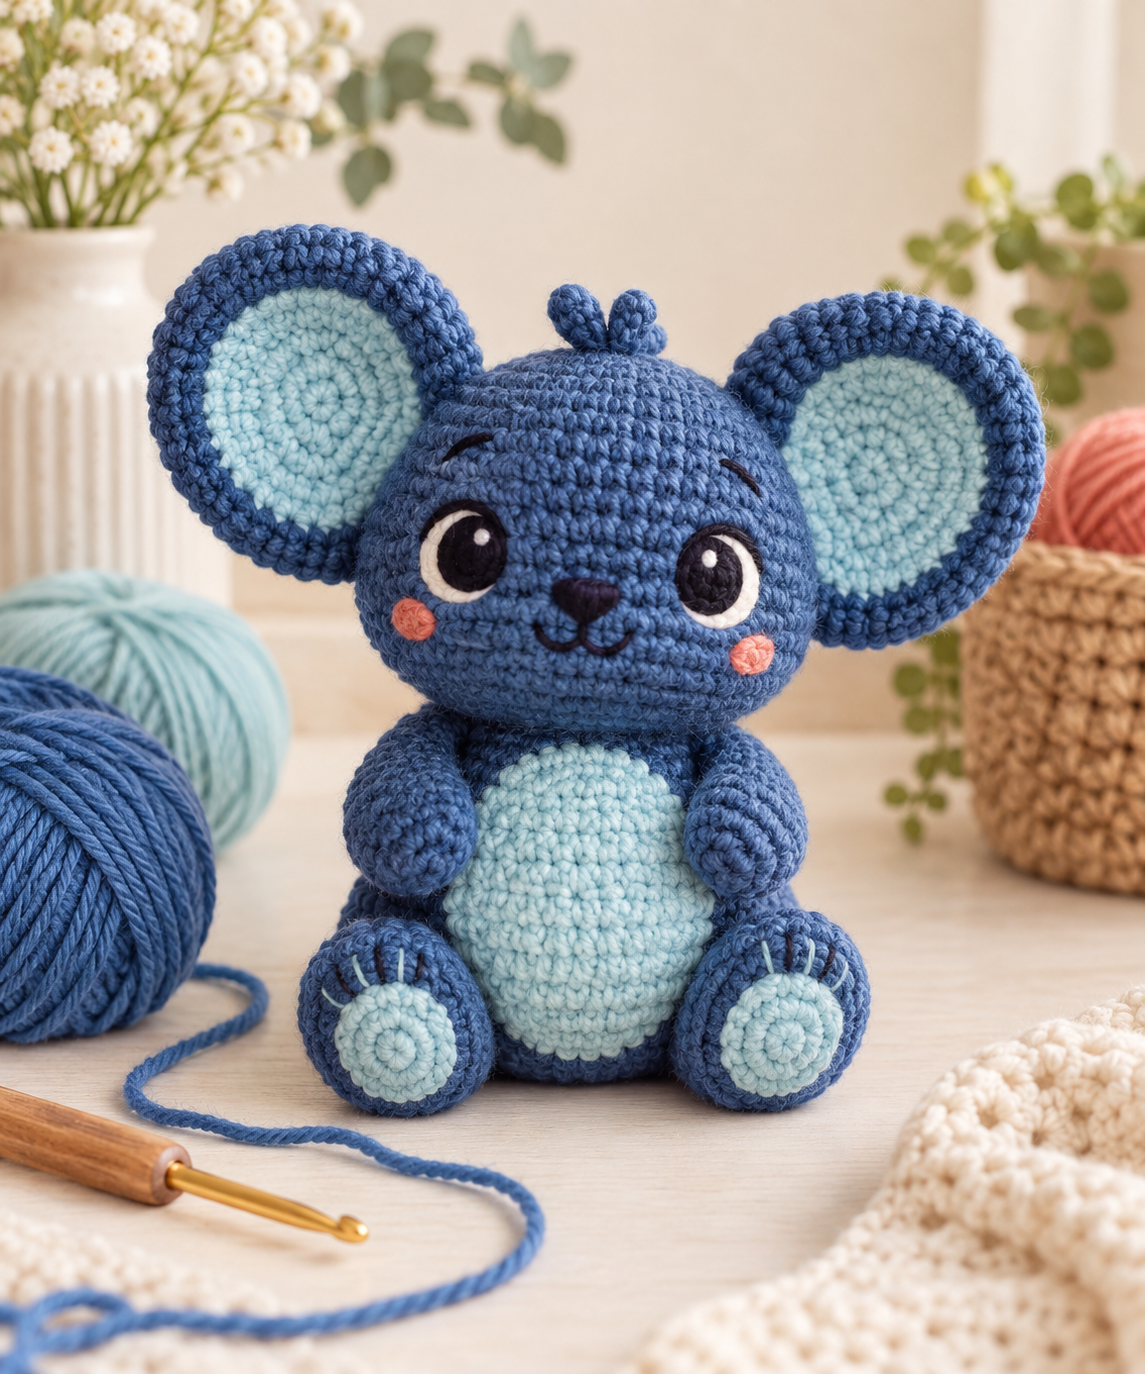
A blue amigurumi plush is usually made from separate crocheted shapes: a head, body, ears, limbs and contrast details. This guide explains how to plan those pieces, choose a suitable yarn-and-hook combination, and assemble them neatly.
Use this alongside a counted pattern. It is a construction and finishing guide, rather than a round-by-round pattern for the pictured character. You will need a pattern that specifies stitch counts, increases, decreases and attachment positions. The images illustrate the idea and are not scale or stitch-placement diagrams.
Choose a pattern before buying materials
Look for a design with a materials list, finished measurements, US or UK terminology, and a stitch count at the end of each round. Read its assembly instructions before you begin: some eyes, patches or joints must be attached before a piece is closed.
- For a first plush: choose a simple body, a small number of separate pieces and clear assembly photos.
- For a seated plush: check that the design includes a stable base and shows where the feet attach.
- For layered ears: make sure both the outer and inner pieces have instructions. A smaller inner layer cannot always be made by simply omitting a round.
Write down the pattern name, yarn, hook size and any changes. If you want to make a matching pair later, these notes are more useful than relying on memory.
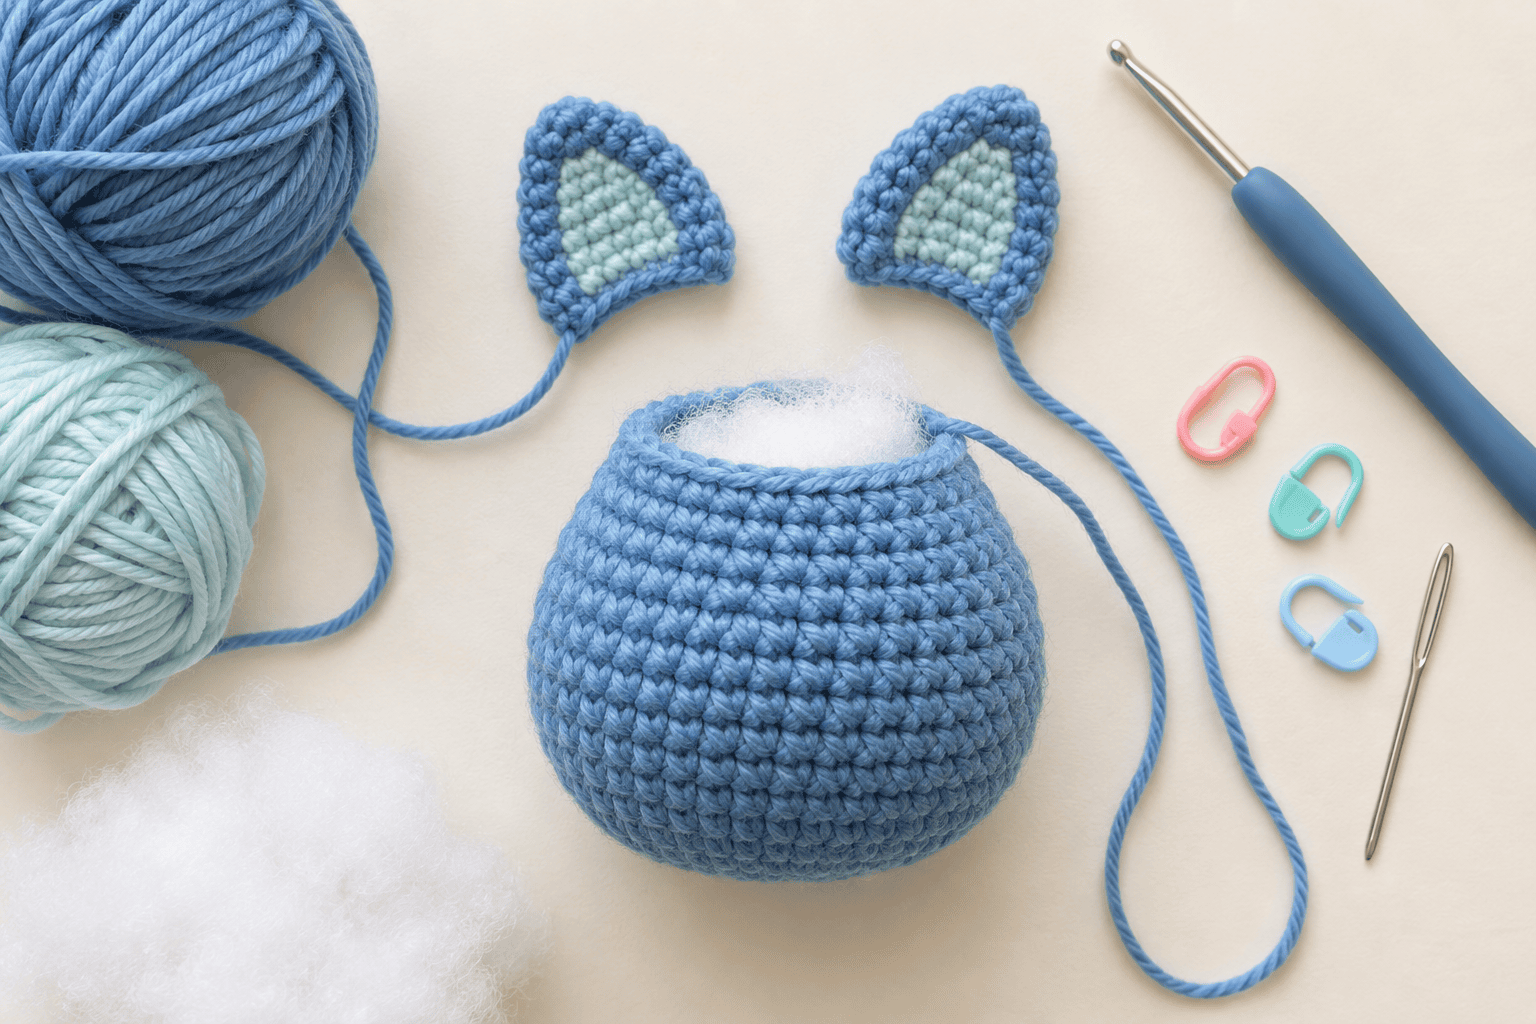
Gather compatible materials
| Item | What to check |
|---|---|
| Main and contrast yarn | Follow the pattern’s yarn weight. Use compatible yarns for pieces that need to fit together. |
| Crochet hook | Start with the pattern’s recommendation. Your stuffed fabric should remain firm without visible gaps. |
| Stuffing | Check the fibre and care instructions. Add it in small portions so you can control the shape. |
| Needle, markers and scissors | Use a blunt yarn needle for joining and a removable marker for the first stitch of each round. |
| Face details | Decide on embroidered features or other components before closing the head. Suit the construction to its intended use. |
A larger hook does not automatically make a good larger plush. Changing the hook without matching the yarn can create open fabric that exposes stuffing. If resizing matters, choose a pattern written for your intended yarn rather than changing every material at once.
Read the crochet terms consistently
The Craft Yarn Council abbreviation reference defines common US terms and compares US and UK naming. In US terminology, sc means single crochet, inc means increase and dec means decrease. A particular pattern should explain how it wants you to work its increases and decreases.
Mark each completed round and check its stitch total before moving on. For example, if a pattern expects 24 stitches and you count 23, find the missing stitch now. Continuing makes the later shaping harder to diagnose.
Work and organise the pieces
- Head: follow the counted shaping instructions. Keep the opening accessible until any internal face components have been secured.
- Body: distribute stuffing gradually and compare the shape with the pattern’s intended silhouette. Overfilling stretches stitches and can make the body lumpy.
- Ears: label the left and right pieces if they are shaped differently. Lay inner and outer layers flat before joining.
- Arms and feet: keep matching pieces together. Compare their size and stuffing before sewing them onto the body.
- Belly patch and tail: make these according to the chosen design. Check that the patch lies flat and does not distort the body.
Use a tray or labelled bag for each pair. Keep long sewing tails out of the stuffing, and tick off each piece on a simple checklist: made, ends secured, positioned, attached.
Plan the assembly before sewing
Arrange the parts on a clear surface. Position the belly, head, ears and limbs temporarily, following the pattern. Keep pins away from children and pets, and remove every pin when you finish.
Compare the front and side views. A head that looks centred from the front can lean forward from the side. For symmetrical ears, count stitches outward from the same centre reference on each side rather than judging only by eye.
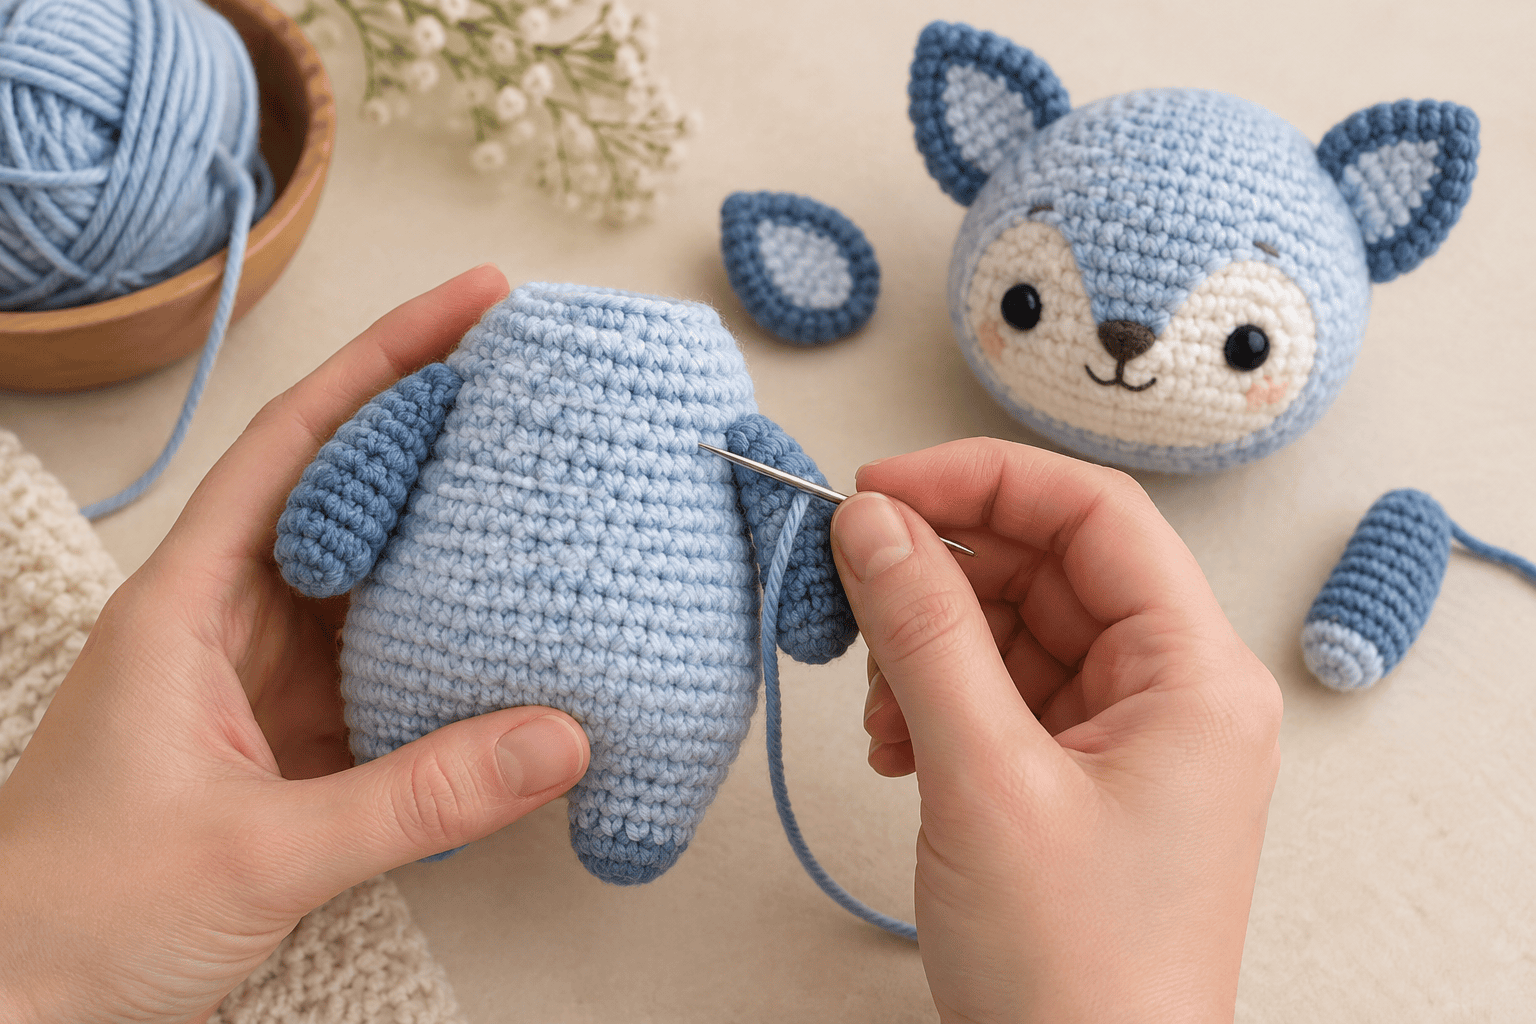
- Attach the patch while you can still reach its sewing area comfortably.
- Join the head to the body along the attachment points specified by the pattern.
- Attach paired ears and limbs, checking the second against the first before tightening the join.
- Add the tail if the design includes one.
- Secure the yarn ends through several stitches, then hide them inside the fabric.
Use small, even sewing stitches. Pull the yarn firmly enough to close the join without cinching the surrounding crochet. Stop periodically to check that the piece has not shifted.
Finish the face and check the joins
Embroider a simple nose and mouth with short stitches. Avoid pulling so hard that the face puckers. If you change the eye placement, mark the new position before removing the old stitches so you have a clear reference.
Embroidered eyes remove separate plastic-eye components, but they do not by themselves establish that a handmade item is safe for a child. Intended age, materials, seams, loose components and applicable toy-safety requirements all matter. Treat an unassessed project as decorative, and avoid loose accessories for items intended for young children.
Troubleshoot one issue at a time
| Problem | First check | Practical response |
|---|---|---|
| Stuffing shows through | Are the gaps present before stuffing, or only after overfilling? | Reduce excess stuffing if it is stretching the fabric. For loose fabric, remake a sample with a more suitable hook before restarting. |
| One limb is larger | Compare round totals, yarn and stuffing. | Correct the mismatched piece before attaching it; sewing cannot reliably fix different stitch counts. |
| Head leans | Inspect its placement and the neck join. | Reposition the join before fully securing it. Keep stuffing evenly distributed. |
| Patch cups or ripples | Check the pattern’s increases and your stitch count. | Correct the count before adding extra increases at random. |
Keep a useful project record
Before calling the project finished, check for remaining pins, exposed ends, loose components and gaps at the joins. Record your yarn, hook, adjustments and care instructions. Photograph the front and side so you can compare a future version.
Practise the starting technique with our magic-ring guide, browse more crochet tutorials, or explore the digital crochet collection when choosing your next pattern. Check each design’s contents and licence before starting.