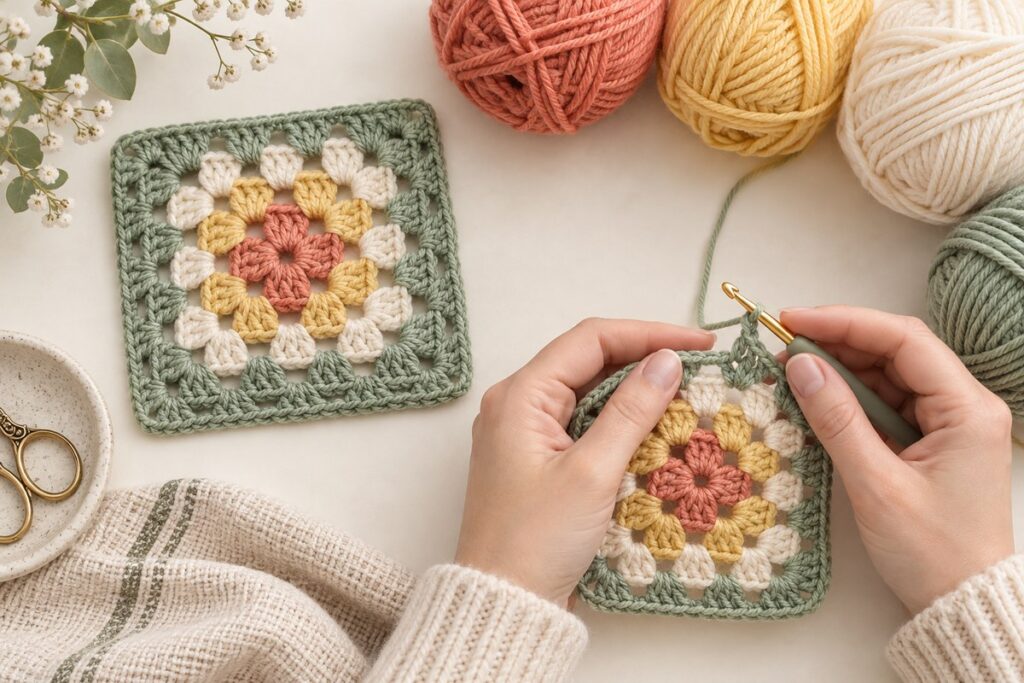
A crochet magic ring—also called an adjustable ring—creates a closed center for projects worked in the round. It is especially useful when a pattern begins with a small number of stitches, such as a beanie crown, amigurumi head, or flower center. Unlike a short chain loop, the ring can be drawn closed by pulling its tail.
This tutorial uses a common finger-wrap method and six single crochet as a practice round. Follow your pattern for the actual stitch type and count: not every pattern begins with six single crochet, and some use a chain to secure the loop.
Materials and terms
- Yarn and hook recommended by your pattern, plus scissors and a removable marker.
- Working yarn: the strand connected to the yarn ball. Tail: the short cut end used to close the ring.
- Work the stitches over both the ring loop and the tail so the tail is enclosed in the round.
Step 1: Form the loop
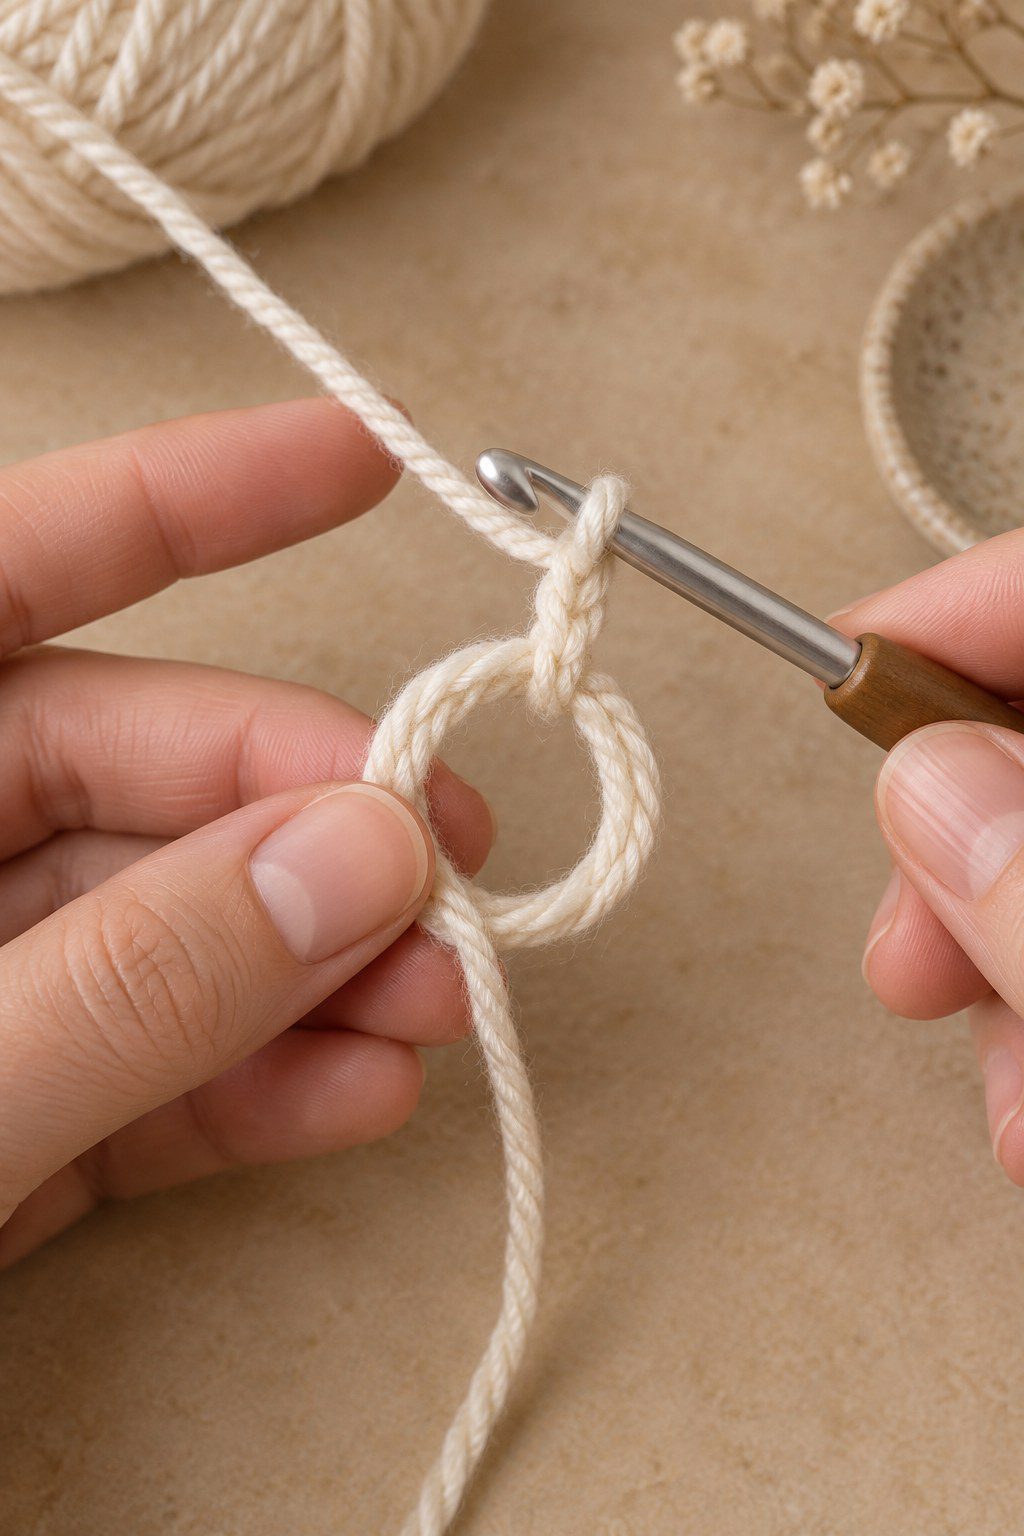
Leave a tail about 10–15 cm (4–6 in) long; bulky yarn or a project with a large starting round may need more. Lay the tail across your palm and wrap the working yarn around two fingers, crossing it over the tail to form an X. The working strand leads back to the yarn ball. Keep the crossing point pinched so the loop cannot unwind.

Step 2: Pull up a loop and secure it
Insert the hook under the front strand of the X, catch the working yarn behind it, and draw a loop through. Rotate the hook so the loop stays on it, then make the securing chain specified by your pattern. Many patterns use one chain for single crochet; the chain usually does not count as a stitch unless the instructions say it does. For a taller starting stitch, the pattern may call for a different number of chains.
If your hand method feels awkward, place the loop on the table and hold the crossing point between your thumb and finger. The goal is the same: maintain one adjustable loop while the hook draws through the working strand.

Step 3: Work stitches into the ring
Insert the hook through the center opening, yarn over, draw up a loop, yarn over again, and pull through both loops for a single crochet. Repeat into the center, working over both the ring and tail each time. For this practice round, make six single crochet, unless you are following a pattern with another count.
Keep the ring open enough to see where the hook enters. Do not accidentally stitch around only one strand; that can prevent the tail from closing the center neatly. Count each completed stitch as you go and place a marker in the first stitch if the pattern is worked in a spiral.
Step 4: Close and join the round
Hold the stitch group gently and pull the tail. The loop should shrink and bring the stitches together. If it resists, tug the working yarn a little to identify which strand tightens first, then pull the tail again. Do not yank hard: delicate or loosely spun yarn can break. Once closed, join or continue in a spiral according to the pattern.
After the next round, weave the tail securely through several stitches on the wrong side, changing direction once. A magic ring can loosen if its tail is left unsecured, especially in a stuffed toy. Do not cut the tail flush until it is woven in and the center remains closed after gentle handling.


When the ring will not close
- Stitches were not worked over the tail: undo the first round and place each stitch around both the ring and tail.
- The tail moves but the loop does not: check that the starting wrap formed one adjustable loop rather than a knot or a twist that trapped the tail.
- Yarn frays or snaps: pull more gently, leave a longer tail, or make the stitches slightly looser. Some highly textured or fragile yarns are easier with the chain-loop alternative.
- Center remains visible: close the loop fully, then weave the tail securely. Very bulky yarn may leave a small opening even when the ring is correctly made.
Alternative: chain loop
If the yarn is difficult to pull through or the ring repeatedly loosens, make the number of chains your pattern specifies, join them into a loop, and crochet into that loop. The center may be more visible than with an adjustable ring, but this is a useful, reliable alternative for slippery, fuzzy, or delicate yarn.
Keep learning
Use the ring for the first round of our crochet chameleon project or browse our crochet plush tutorial for another small project worked in the round. The Interweave adjustable-ring tutorial and the Craft Yarn Council’s ring diagram offer alternate hand positions.
Frequently asked questions
Does the starting chain count as a stitch?
Only if the pattern states that it does. Check the pattern key or round instructions before counting it.
How many stitches go into the ring?
Use the pattern’s count. Six single crochet is a common practice example, not a universal starting number.
Can I use the magic ring for every round project?
It works well when a pattern begins from a closed center. Some patterns intentionally use a chain loop or another foundation, so follow their construction instructions.