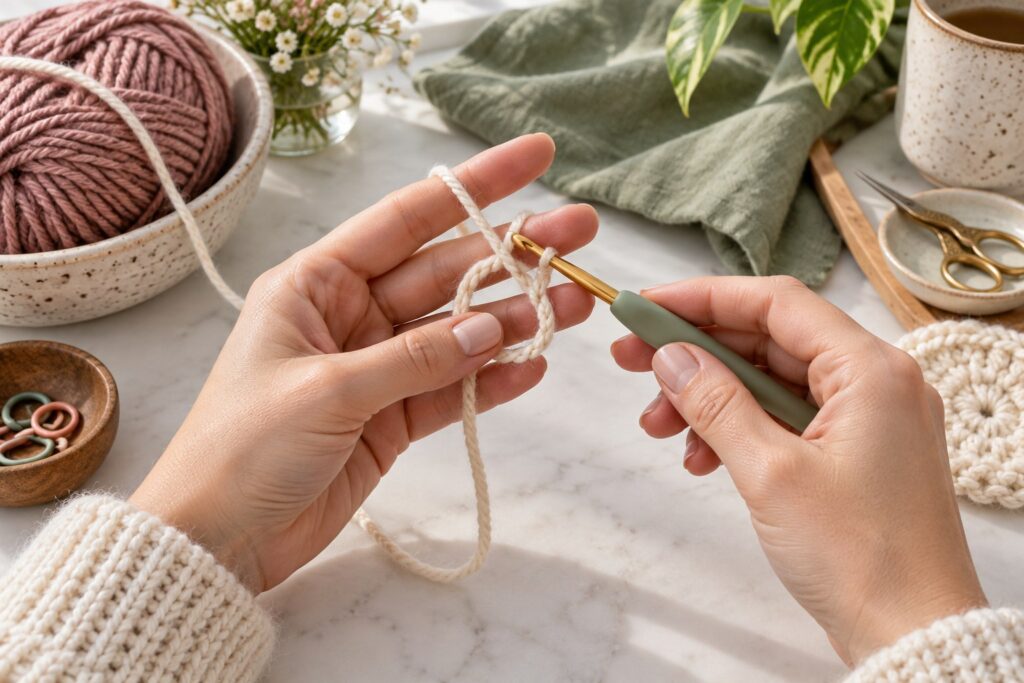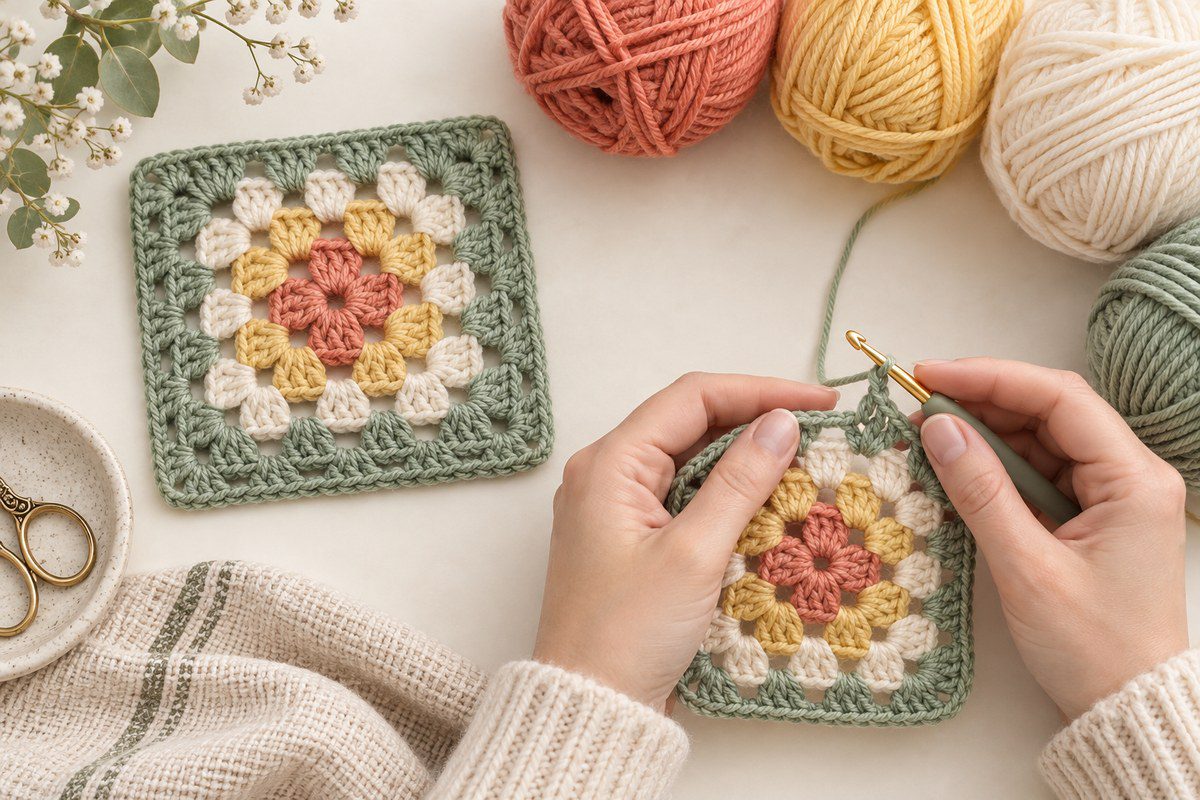
A granny square is a classic crochet motif built from four corner spaces and groups of double crochet stitches. This beginner-friendly version uses US crochet terms and walks through the center, first three rounds, color changes, shaping, blocking and joining. Work one square as a practice swatch before making enough motifs for a blanket or bag.
Materials and US crochet abbreviations
- Medium or worsted-weight yarn in one or more colors; a smooth, light color makes stitches easier to see.
- A crochet hook recommended on the yarn label, plus scissors and a yarn needle.
- Optional stitch markers for the four corner spaces.
Abbreviations: ch = chain, sl st = slip stitch, dc = double crochet, sp = space. In this tutorial, ch 3 at the start of a round counts as one dc. US and UK stitch names differ: a US double crochet is called a UK treble crochet. Follow the terminology in the pattern you are using. A small swatch is useful because yarn, hook size and personal tension all affect the finished measurements.
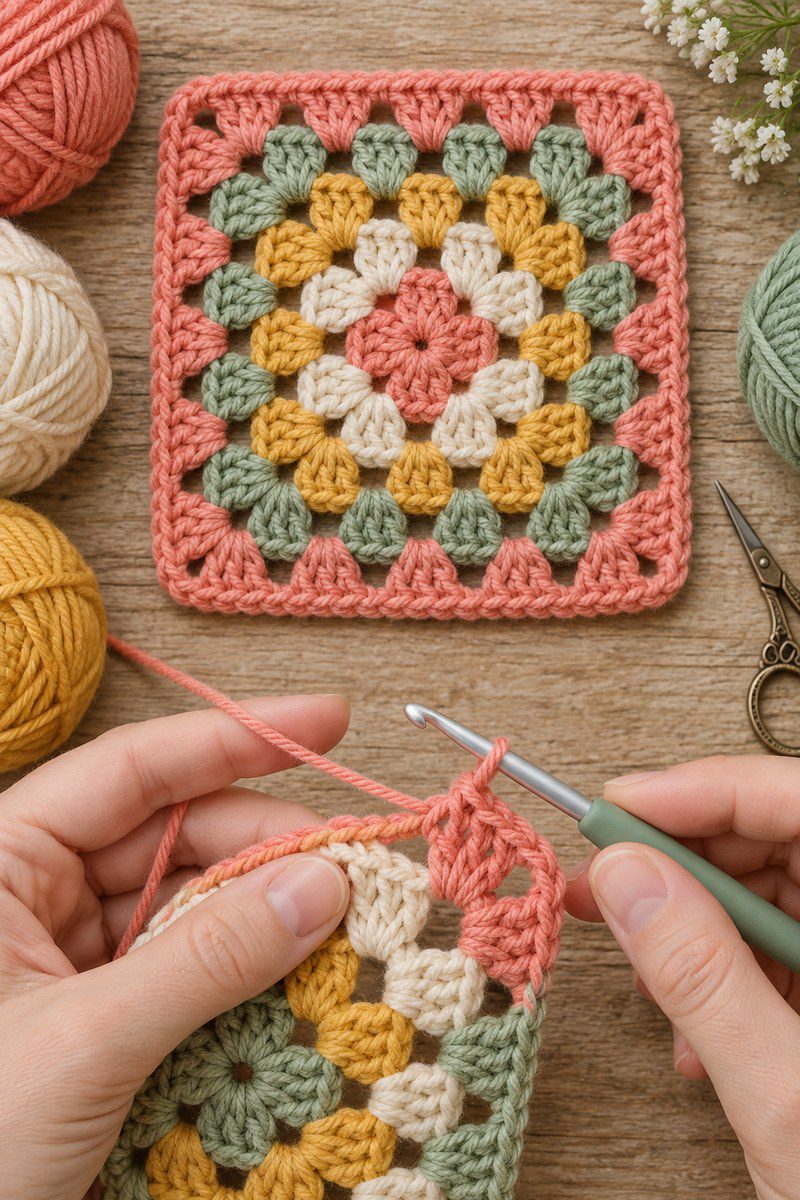
Round 1: form the center and four corners
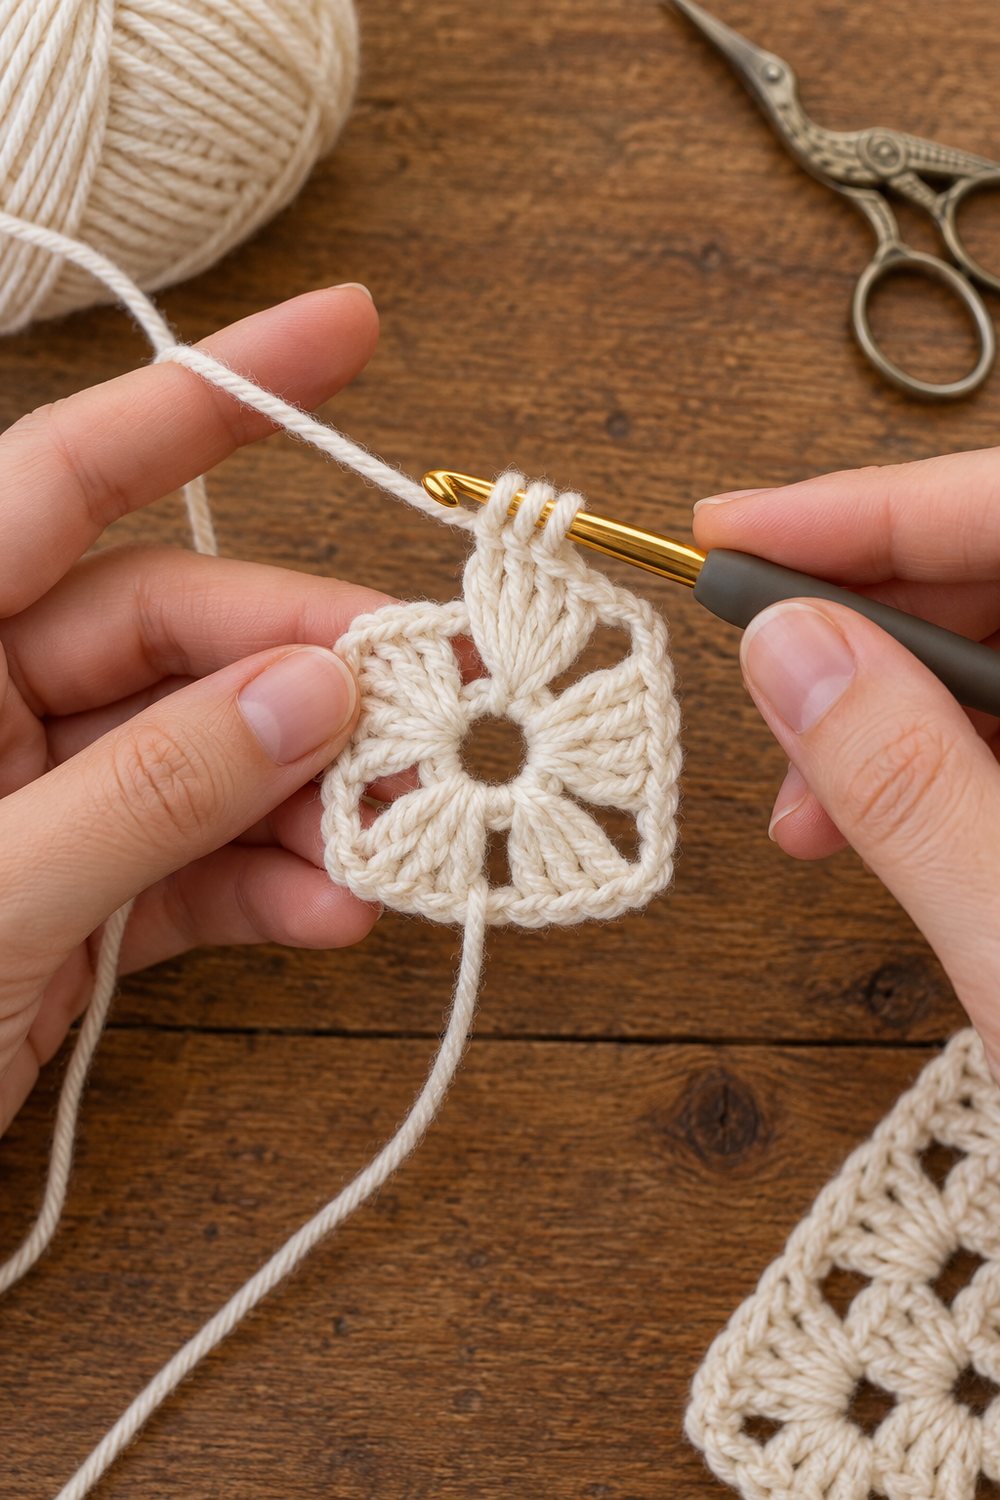
- Make a slip knot and chain 4. Join the chain into a ring with a slip stitch in the first chain. Keep the ring open enough to work several stitches into it.
- Chain 3; this counts as the first dc. Work 2 dc into the center ring to make the first 3-dc cluster.
- Chain 2 to form a corner space. Work 3 dc into the ring, then ch 2.
- Repeat [3 dc into the ring, ch 2] two more times. You should now have four 3-dc clusters and four corner spaces.
- Join with a sl st to the top of the beginning ch 3. Tighten the ring tail gently, leaving it secure for weaving in.
Round 2: make the first square sides
- Join yarn in any corner space, or slip stitch across the cluster tops to reach one. Chain 3 and work 2 dc into that same corner space.
- Chain 2, then work 3 dc into the same corner. The [3 dc, ch 2, 3 dc] group forms one corner.
- Chain 1. In the next corner space, work [3 dc, ch 2, 3 dc].
- Repeat the corner group in the remaining two spaces, placing ch 1 between corners. Join with a sl st to the top of the starting ch 3.
After round 2, each corner has two 3-dc clusters separated by ch 2. Each side has one open ch-1 space between the corner clusters. If your chosen pattern uses a different beginning-chain or joining convention, follow that convention consistently; stitch counts can vary between designs.
Round 3 and later: add one cluster to each side
Slip stitch across the next cluster to reach a corner space. Work [ch 3, 2 dc, ch 2, 3 dc] into that corner. Chain 1, work 3 dc into each side space, and ch 1 between those side clusters. At the next corner, work [3 dc, ch 2, 3 dc]. Continue around, adding one 3-dc cluster to each side space from the previous round. Join to the top of the beginning ch 3.
For every larger round, repeat the same rule: two clusters with a chain space at each corner, and one cluster in each side space. One additional cluster will appear along each side with every round. Count clusters between corners rather than individual dc stitches; this makes it easier to spot a missed space.
Choose yarn, hook and finished size
Use one yarn and hook combination for the whole project. If the square feels stiff, try a larger hook; if it flops and the holes look unusually large, try a smaller one. Do not change hook size halfway through a blanket unless you intend to change its drape. Make one sample square, let it rest, and measure it before estimating the number of motifs. For example, if a relaxed square is 4 inches wide and a panel should be about 40 inches across, plan roughly ten squares across, then allow extra width for joining and edging.
Change colors and weave in ends
For a neat color change, finish the final joining slip stitch with the new yarn: insert the hook into the joining stitch, yarn over with the new strand, and pull through both loops. Alternatively, fasten off and join the new color directly in a corner space. Both methods work; use the same approach on each motif so the joins look consistent.
Leave a 5 to 6 inch tail. Thread it onto a yarn needle and weave through the backs of several stitches, then change direction and pass through a few more. Keep the tail secure without pulling so tightly that the corner puckers. Avoid a bulky knot at the center. For a washable project, secure every end and follow the yarn label’s care instructions.
Keep the square flat: common problems
| What you see | Likely cause | What to check |
|---|---|---|
| Square cups into a bowl | Too few stitches or tight tension | Check both clusters at every corner and loosen the chain spaces slightly. |
| Edges wave or ruffle | Extra clusters or chains | Make sure side spaces receive one cluster, not a full corner group. |
| One side is shorter | A skipped side space or uneven tension | Compare the number of clusters between corners on all four sides. |
| Center hole is large | Loose ring tail | Gently tighten after round 1, then weave the tail through the back of the first round. |
| Join leaves a visible step | Tight slip stitch or wrong joining loop | Join to the top of the starting ch 3 and keep the slip stitch relaxed. |
Correct an error as soon as you find it. Undo the stitches back to the last correct corner; later rounds can make mistakes harder to see. A removable marker in each corner helps keep track of the four spaces while learning.
Finish, block and join granny squares
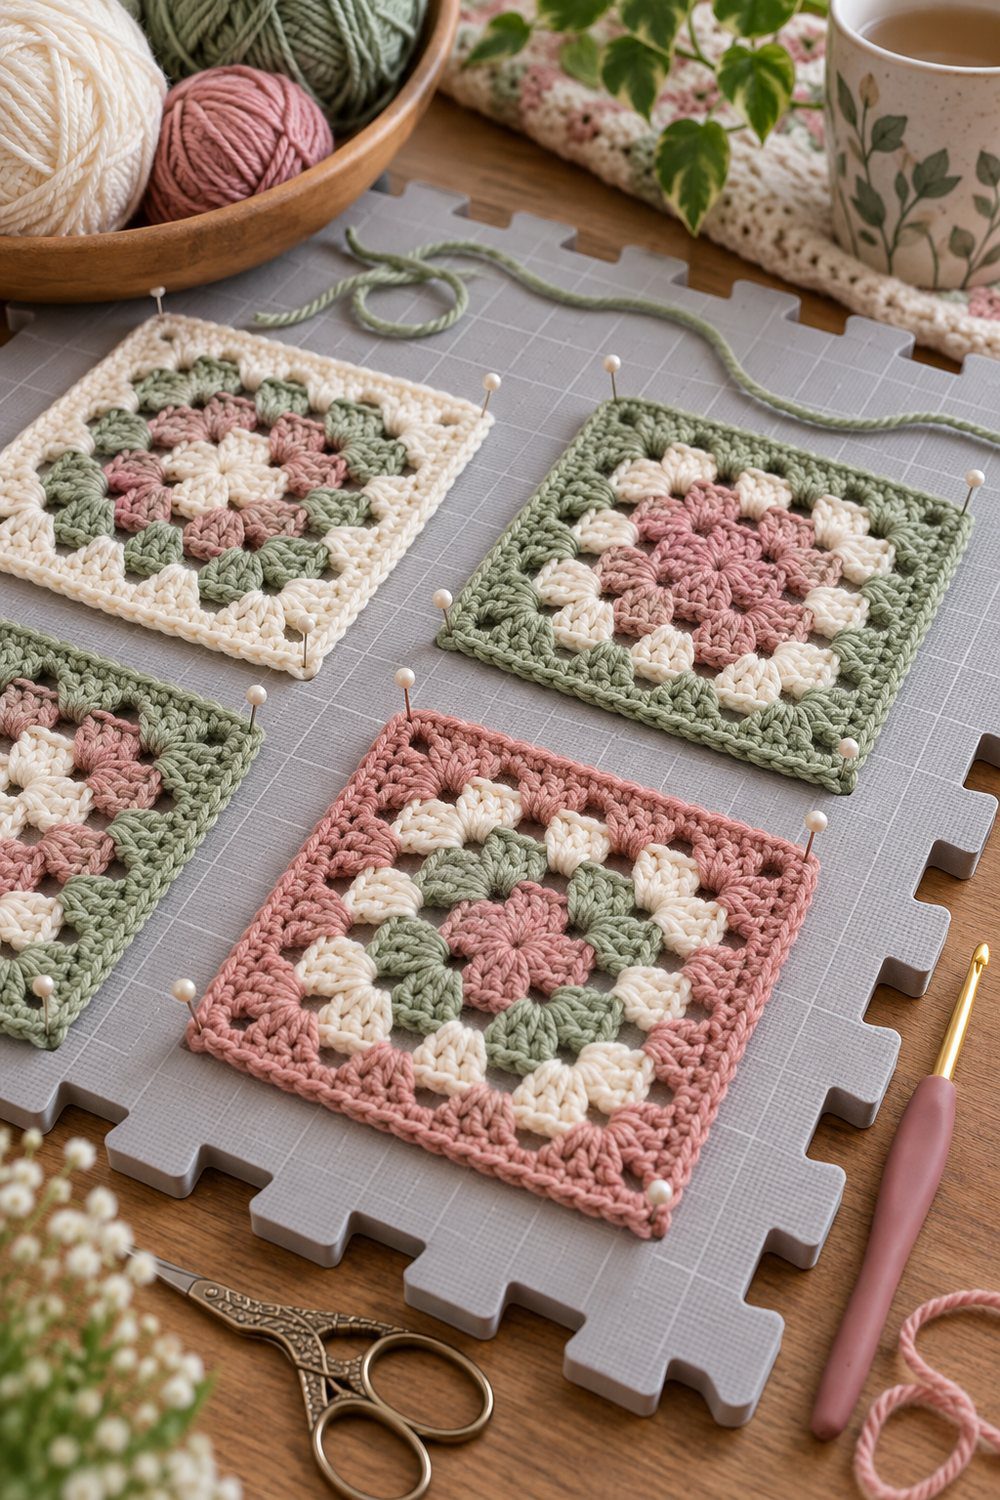
After the final round, cut the yarn with a tail, pull it through the active loop and weave it in. Lay the motif flat and compare both diagonals. If the corners are not square, blocking can even the edges. Check the fiber label first. Dampen and pin the motif only if the yarn care instructions allow it, and let it dry fully before removing pins. Avoid aggressive heat or stretching, especially with acrylic yarn.
Make several motifs before choosing a joining method. Whip stitch or a mattress-style seam creates a flexible join; a slip-stitch crochet join makes a visible ridge. Join motifs in rows and then join the rows, keeping the same side facing up for a consistent look. Weave ends before joining if you want a tidy back, or afterward if the seam helps conceal them.
Final checklist
- There are four clear corner spaces and each has the same chain-space size.
- Every side has the same number of 3-dc clusters.
- The square rests flat without being stretched into shape.
- All yarn ends are woven through several stitches on the back.
- Any blocking or washing method matches the yarn fiber and care label.
Keep learning
For another small amigurumi project, see our crochet chameleon guide and blue amigurumi tutorial. The Craft Yarn Council’s crochet abbreviation reference and pattern-reading guide explain common written terms. Always check the stitch definitions in an individual pattern before starting.
Granny squares start with a closed center. If you prefer a fully adjustable center before working the first round, see our beginner guide to the crochet magic ring.