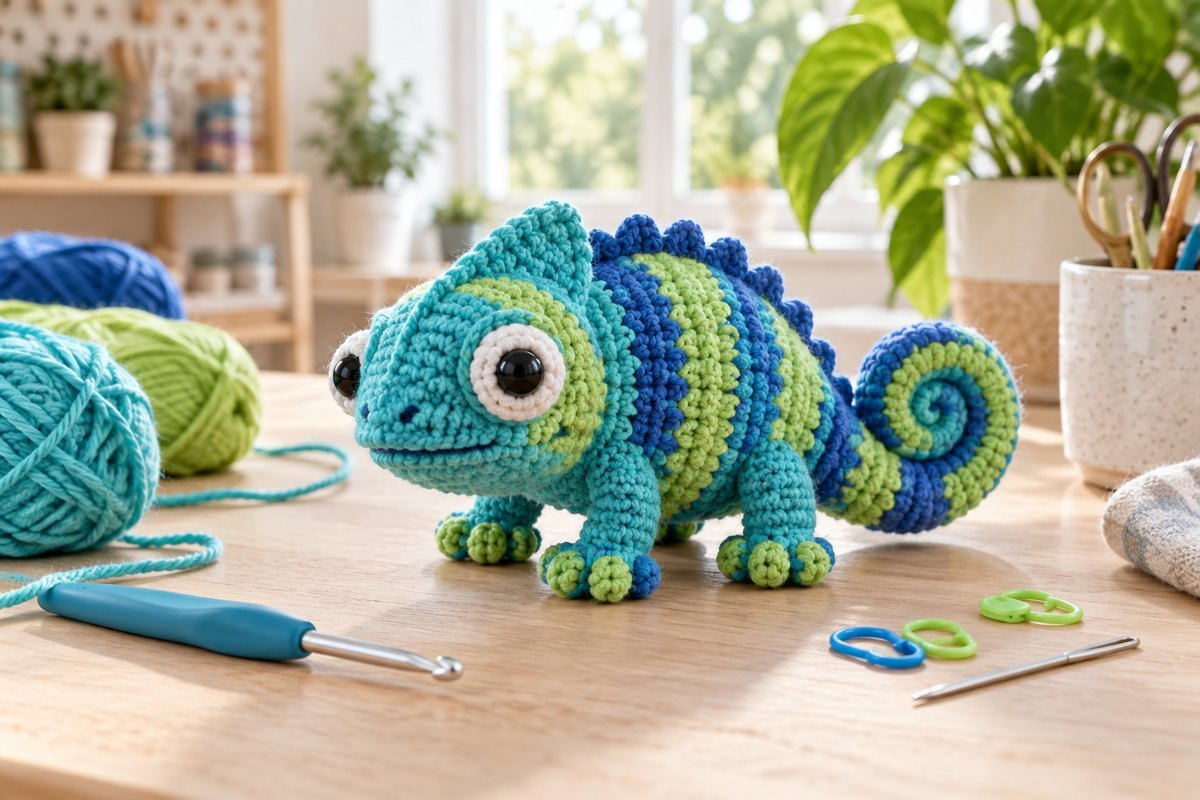
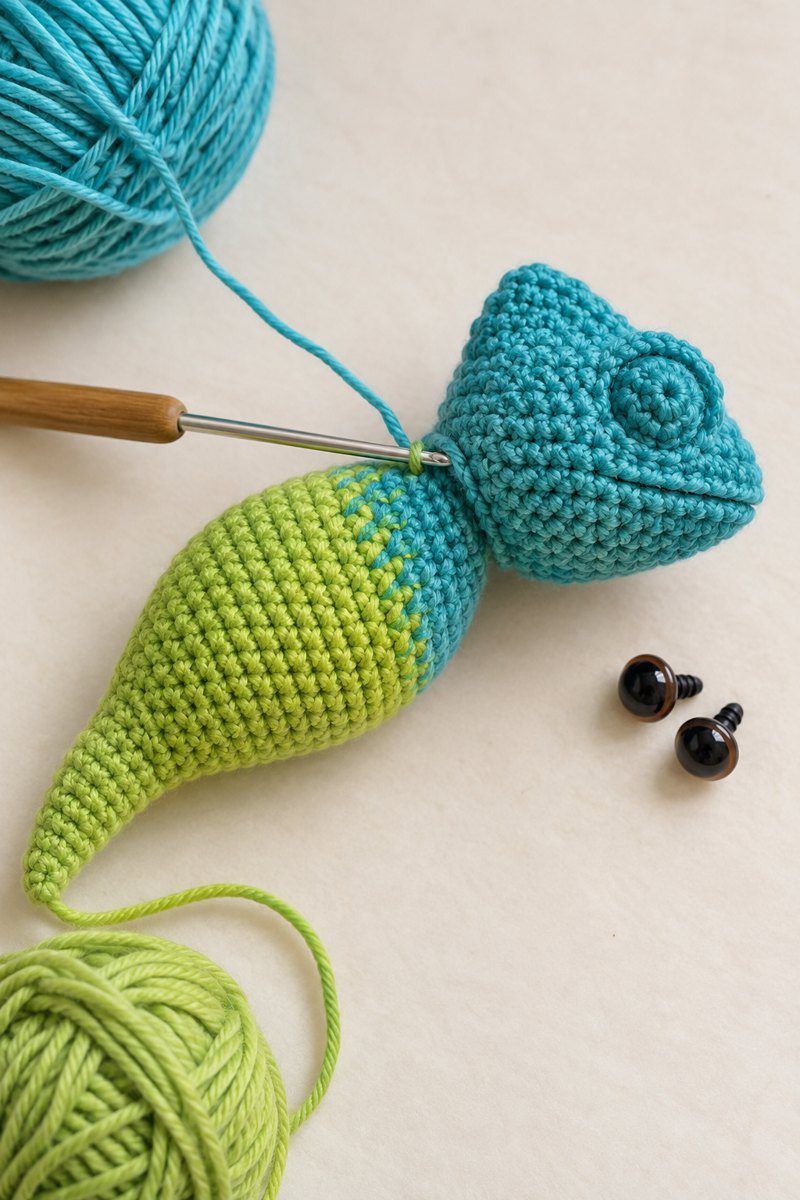
This crochet chameleon pattern makes a palm-sized, soft amigurumi with a rounded head, tapered body, four little legs, a curled tail, and colorful back details. The project is worked in continuous rounds with simple single crochet shaping. Follow the full round-by-round instructions below; the photos show the main construction stages.
The pattern is written in US terms and includes stitch counts so you can check your work as you go. Use embroidered eyes and firmly sewn details if the finished plush is intended for a young child. This is an original small chameleon project designed for this guide.
At a glance
| Skill level | Confident beginner: single crochet, increases, decreases, and sewing |
|---|---|
| Construction | Head and body in one piece; legs and tail made separately |
| Finished size | About 10–13 cm (4–5 in) from nose to rump, before the curled tail; size varies with yarn and tension |
| Terms | US crochet terminology; worked in continuous rounds |
| Time | Approximately 3–5 hours, depending on experience |
Materials and tools
- DK / light-worsted yarn in a main color, plus 2–5 small contrast colors for stripes or spots. A small amount of cream or black yarn is useful for facial details.
- A 2.5–3 mm crochet hook, or a hook one or two sizes smaller than the yarn label suggests. Amigurumi should have a firm fabric with no stuffing visible through the stitches.
- Washable toy stuffing, a stitch marker, blunt yarn needle, scissors, and pins.
- Optional: two 6 mm safety eyes. Choose embroidered eyes instead for a toy for a child under three or whenever detachable parts are unsuitable.
US crochet abbreviations
| Abbreviation | Meaning |
|---|---|
| MR | Magic ring |
| ch | Chain |
| sc | Single crochet |
| inc | Make 2 single crochet in the same stitch |
| dec | Invisible decrease: work the front loops of the next 2 stitches together |
| sl st | Slip stitch |
| st / sts | Stitch / stitches |
| FO | Fasten off |
Before you start
- Place a marker in the first stitch of each round and move it up as you work. Do not join rounds unless an instruction says to.
- Numbers in parentheses are the stitch count at the end of that round. If your count differs, pause and correct it before continuing.
- Use invisible decreases to reduce small gaps. Keep the yarn snug, but loose enough to insert the hook easily.
- Change color on the final yarn-over of the stitch before a new stripe: insert hook, yarn over and pull through, then use the new color to yarn over and finish the stitch.
Crochet chameleon pattern: head and body shaping
Start at the nose and work toward the body and rump without cutting the yarn. The head narrows at the neck, then the body widens and tapers closed. This shaping creates the chameleon silhouette in one piece.

Head shaping
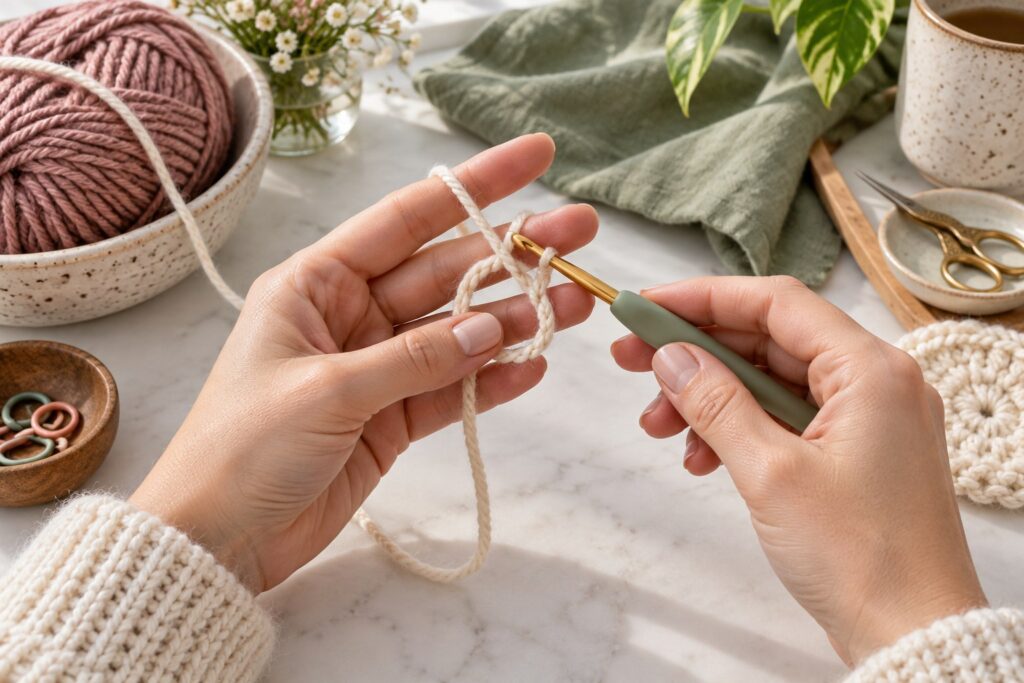
With the main color, begin with a magic ring. The stitch counts below assume you work in a spiral.
- Round 1: 6 sc in MR (6).
- Round 2: inc in each stitch around (12).
- Round 3: (sc, inc) 6 times (18).
- Round 4: (2 sc, inc) 6 times (24).
- Rounds 5–7: sc in each stitch around (24 each round).
- Round 8: (2 sc, dec) 6 times (18).
- Round 9: sc in each stitch around (18).
- Round 10: (sc, dec) 6 times (12).
Pause before the neck closes. If using safety eyes, place them between rounds 5 and 6, about 5–6 stitches apart across the face, and secure their backs now. Check the face from the front before locking them in place. For embroidered eyes, add them after stuffing with smooth, short stitches.
Neck and body shaping
- Round 11: inc in each stitch around (24).
- Round 12: sc in each stitch around (24).
- Round 13: (3 sc, inc) 6 times (30).
- Rounds 14–18: sc in each stitch around (30 each round).
- Round 19: (3 sc, dec) 6 times (24).
- Round 20: sc in each stitch around (24).
- Round 21: (2 sc, dec) 6 times (18).
- Round 22: (sc, dec) 6 times (12).
Begin stuffing at the head and neck once there is enough room to reach inside. Add small amounts at a time and shape the snout and cheeks with your fingers. Keep the neck slightly narrower than the head and body. Stuff the body firmly enough to hold its shape, but do not stretch the stitches.
- Round 23: dec 6 times (6).
- Cut yarn, leaving a 15 cm (6 in) tail. Thread it through the front loops of the remaining stitches, pull closed, and weave the end securely inside.
Crochet chameleon pattern: four little legs
Make four legs in the main color, or use a contrast color for the feet. Each leg is a short tube that you flatten at the top before sewing it to the body.
- Round 1: 6 sc in MR (6).
- Rounds 2–5: sc in each stitch around (6 each round).
- FO, leaving a long sewing tail. Add only a pinch of stuffing at the rounded foot if you want more definition; leave the upper end unstuffed.
Attach the legs evenly
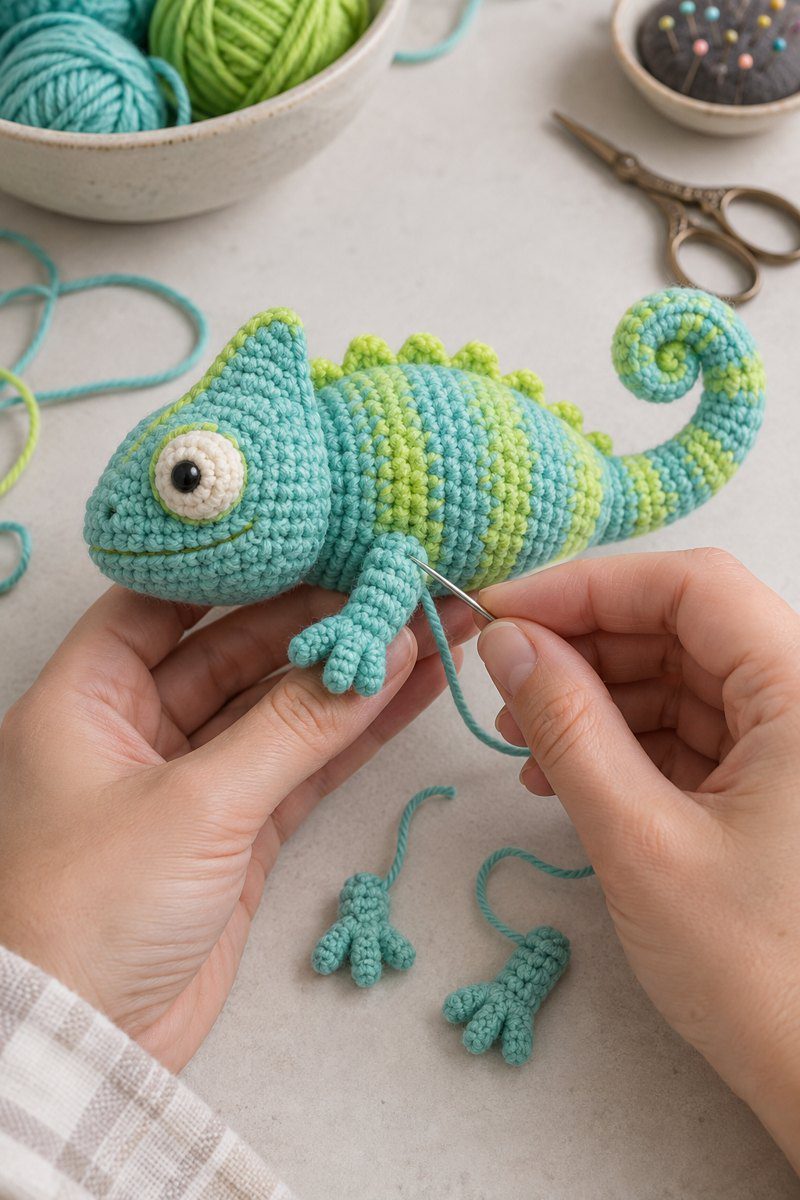
Pin the plush on a flat surface first so it does not roll. Sew the front pair underneath the body just behind the neck, around body rounds 15–17. Place the hind pair farther back near rounds 19–21. Keep each pair level with the other and angle the feet slightly forward. Take small stitches through the leg and body, then weave the yarn tail inside. Check that all four feet touch the table before hiding the ends.
Crochet chameleon pattern: a flexible curled tail
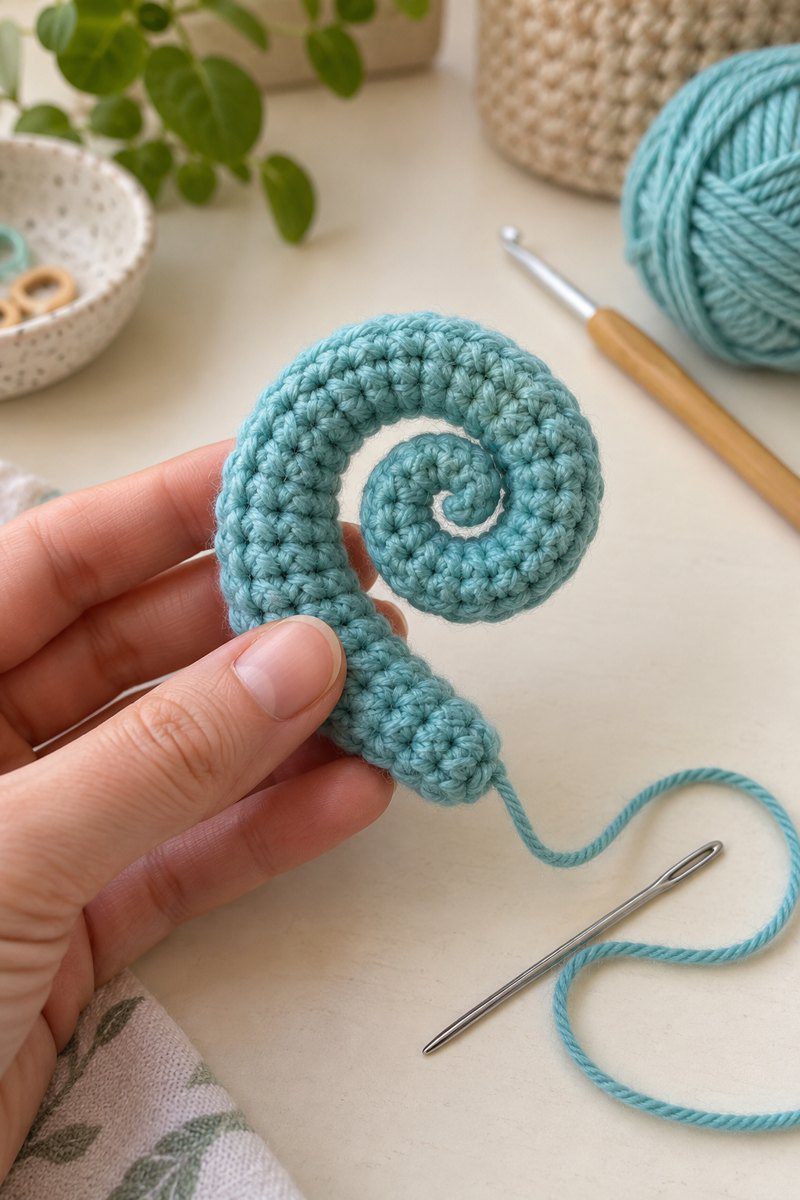
With the main or contrast color, ch 30. Starting in the second chain from the hook, sl st in each chain back to the beginning (29 sl sts). Keep these slip stitches relaxed so the cord can bend. FO with a long tail at each end. Coil the final 5–7 cm (2–3 in) into a spiral and sew the coil to itself with a few small stitches. Sew the straight end to the center back of the rump, then curve the tail to one side and tack it in place if needed.
Add color, eyes, and chameleon details
Color is an easy way to personalize this crochet chameleon. For clean horizontal bands, change color at the end of a round and carry the unused yarn inside if the stripe is only one round. For a tidy inside, cut and rejoin for wider color blocks, then weave every end in securely.
| Body rounds | Suggested detail |
|---|---|
| 13–14 | First bright stripe or contrast color |
| 15–16 | Second stripe |
| 17–18 | Third stripe, then return to the main color for shaping |
For a spotted look, embroider small dots down the back using a blunt yarn needle. Add a short curved mouth with a strand of dark yarn. A few tiny stitches above the eyes can suggest brows; keep them symmetrical. If you prefer a ridge, work a line of surface slip stitches down the back from the nape toward the tail. Do not use glue for details that could loosen during play.
Finishing and shaping checklist
- Check that the head, neck, and body feel evenly stuffed, with no hard lumps.
- Make sure the nose points forward and both eyes sit at the same height.
- Reposition the legs until the plush rests without tipping, then sew them down firmly.
- Secure the tail at its base and at the coil. Weave all yarn ends through several stitches on the inside.
- Roll the finished toy gently between your hands to soften the shape. Spot-clean according to the yarn label and allow it to dry fully.

Troubleshooting your chameleon
The stuffing shows through
Use a smaller hook or tighten your tension slightly. The fabric should be dense, but you should still be able to insert the hook without straining your hand. If a small gap appears at a decrease, try an invisible decrease through the front loops only.
The head leans to one side
Check that the increases and decreases are spaced correctly and that the marker has not shifted. A few extra stitches in a round can move the face off center. Before closing the body, redistribute stuffing and gently shape the neck between your fingers.
The tail will not keep its curl
Make the slip-stitch cord with relaxed tension, coil it around a pencil, and tack the curl in two or three hidden places. Avoid pulling the sewing yarn tight enough to flatten the spiral.
Frequently asked questions
Can I use a different yarn weight?
Yes. Use a hook that creates a firm fabric for your yarn. A heavier yarn makes a larger chameleon; a finer yarn makes a smaller one. The stitch counts stay the same, but the finished dimensions and stuffing amount change.
Can a beginner make this amigurumi?
If you can make single crochet, increase, decrease, and a magic ring, you can follow the pattern. Beginners who find the magic ring difficult can chain 2 and work the first 6 single crochet into the second chain, then pull the starting tail snug.
How do I make it safer for a young child?
Use embroidered eyes and facial details instead of safety eyes or small add-ons, and sew every part firmly. Safety eyes are not appropriate for every age or use; review the US CPSC guidance on small parts and children’s products and follow local product-safety requirements.
More crochet projects to try
Want another soft character project? Try our step-by-step blue amigurumi plush tutorial or make a crochet strawberry bunny. For stitch terms, the Craft Yarn Council’s crochet abbreviation guide explains common US and UK differences.
Once you have finished, gently shape the nose, smooth the stripes, and arrange the tail so the spiral is easy to see. This crochet chameleon pattern is ready to finish with a neatly shaped nose, smooth stripes, and a visible spiral tail; the plush can sit on a desk, join an animal collection, or become a thoughtful gift.