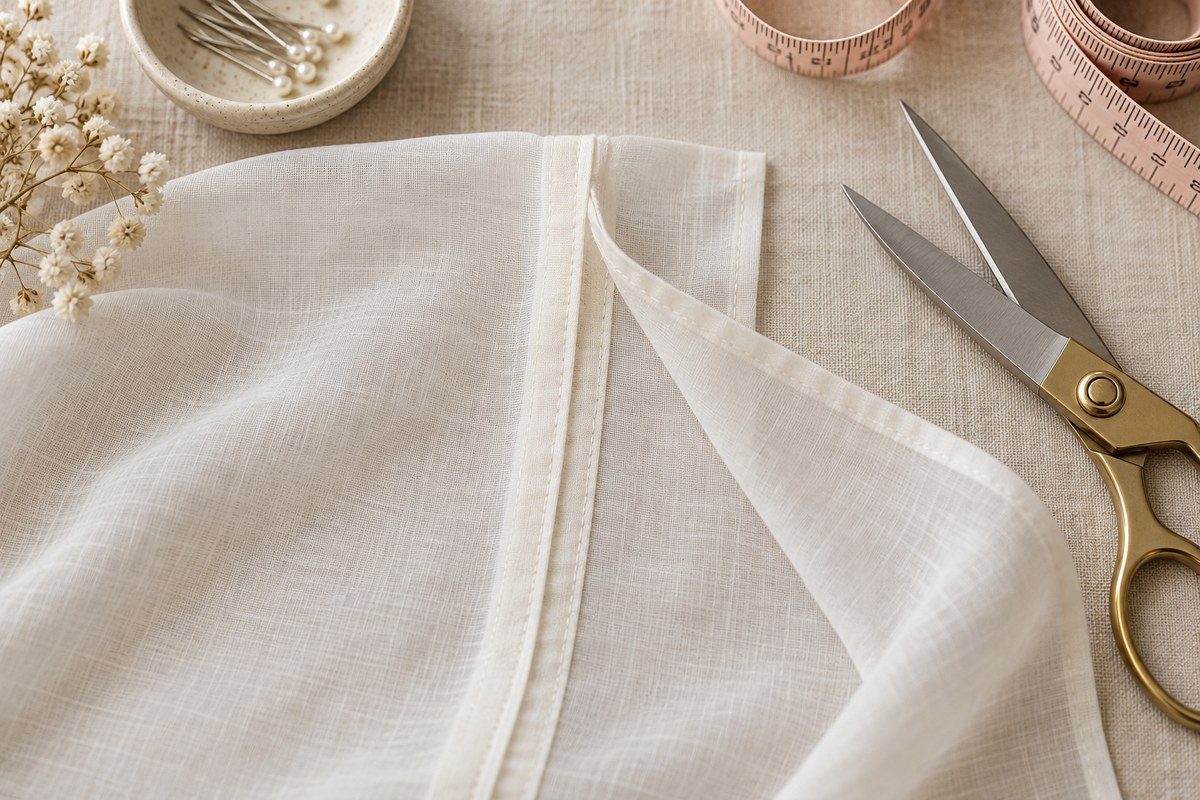
A French seam hides the cut edges inside the seam itself, so the inside of a garment looks as tidy as the outside. It is a useful finish for lightweight woven fabrics that fray or show through, including voile, lawn and some fine cottons. The method takes two straight rows of stitching, so a careful sample is worth the few extra minutes.
This guide uses a total seam allowance of 1.5 cm (5/8 in): a narrow first seam, trimmed, followed by a wider enclosing seam. If your pattern specifies a different allowance, keep the same principle and test the measurements on a scrap before sewing the garment.
French seam measurements at a glance
| Pass | Fabric position | Example stitching line | Purpose |
|---|---|---|---|
| First | Wrong sides together | 6 mm (1/4 in) from raw edge | Joins the pieces before enclosing |
| Trim | Seam allowance only | Trim close to 3 mm (1/8 in) | Reduces bulk; do not cut the stitches |
| Second | Right sides together | 9 mm (3/8 in) from the folded edge | Encases the trimmed edge |
The two stitching lines do not simply add up as separate visible seam widths: the first line sits inside the folded allowance. The example works when the pattern gives about 15 mm (5/8 in) from the original cut edge to the final seam line. Measure your actual fabric and adjust the first pass if your allowance differs.
What you need
- Two fabric pieces with matching seam edges
- Matching thread, pins or clips, and a sewing machine with a straight stitch
- Seam gauge or ruler, fabric scissors, iron, and a pressing surface
- A small scrap of the same fabric for testing stitch length and pressing
Use a fresh, fine needle appropriate to the fabric, and reduce the stitch length slightly if your swatch puckers. A narrow seam guide or removable tape on the machine bed can help keep the first pass even; keep tape clear of the feed dogs and needle path.
How to sew a French seam step by step
1. Test and mark the allowance
Cut two scraps with straight edges. Mark 6 mm (1/4 in) from one edge for the first row and 15 mm (5/8 in) for the final seam line. Stitch the sample, then check that the raw edge is fully enclosed and the finished width matches the project plan. If your pattern allowance is not 15 mm, recalculate the second line before sewing the real pieces.
2. Sew the first pass with wrong sides together
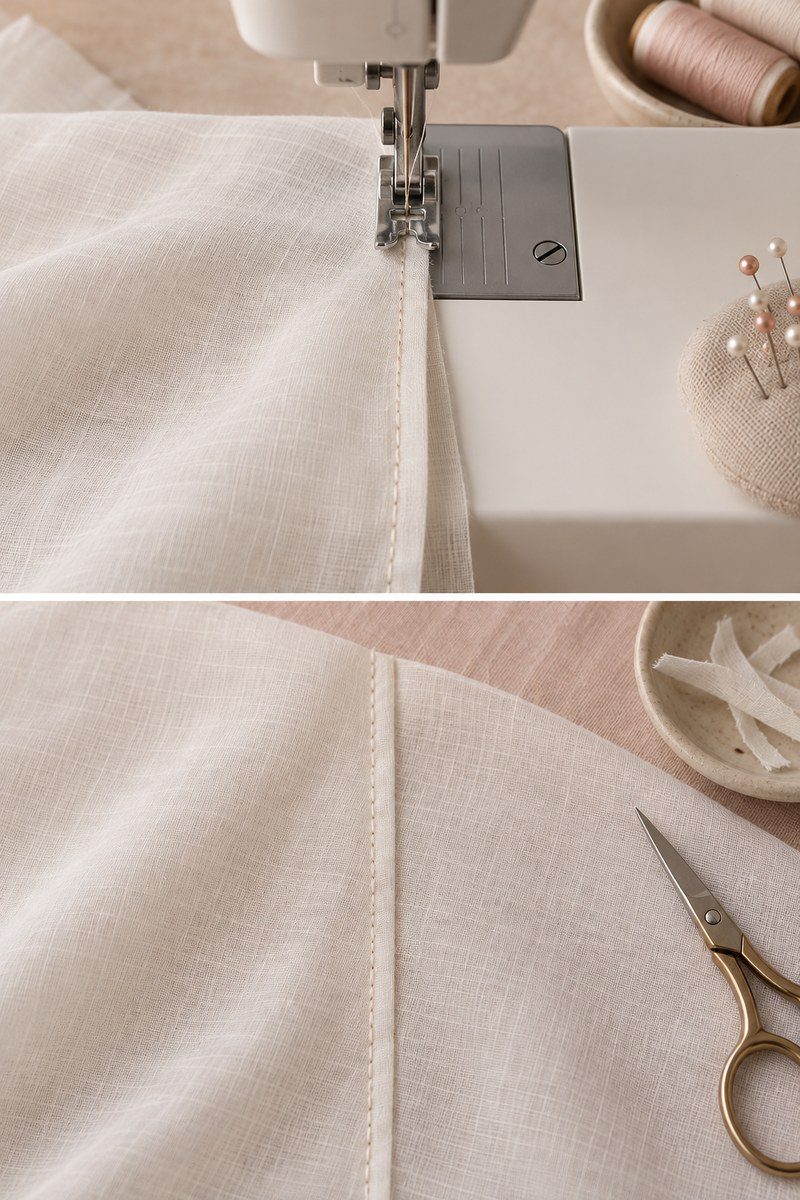
Place the fabric pieces with their wrong sides facing each other; the right sides will face outward. Align the raw edges and pin within the allowance. Stitch a straight line 6 mm (1/4 in) from the edge, backstitching only where the garment construction calls for it. Keep the fabric flat and let the feed dogs move it instead of pulling from behind.
3. Trim, press and enclose
Trim the seam allowance evenly to about 3 mm (1/8 in), taking care not to nick the stitches. Press the seam as sewn to set the stitches, then press it open. Turn the work so the right sides face each other and the first seam lies exactly on the fold. Press the fold sharply. The trimmed raw edges should now be trapped inside the fold.
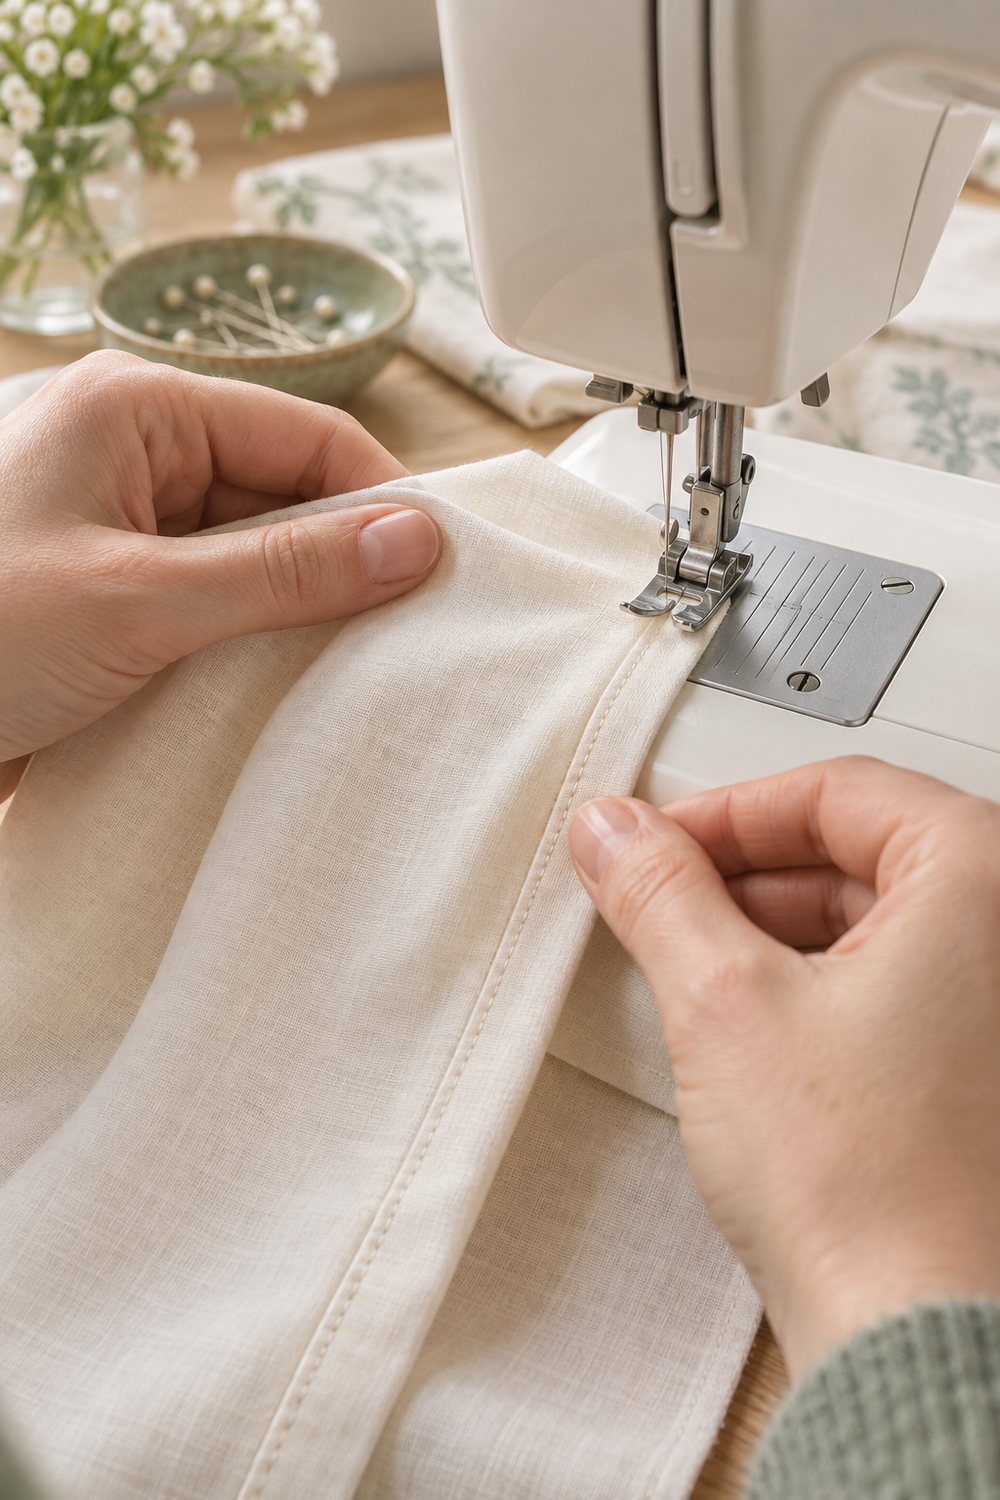
4. Stitch the enclosing pass
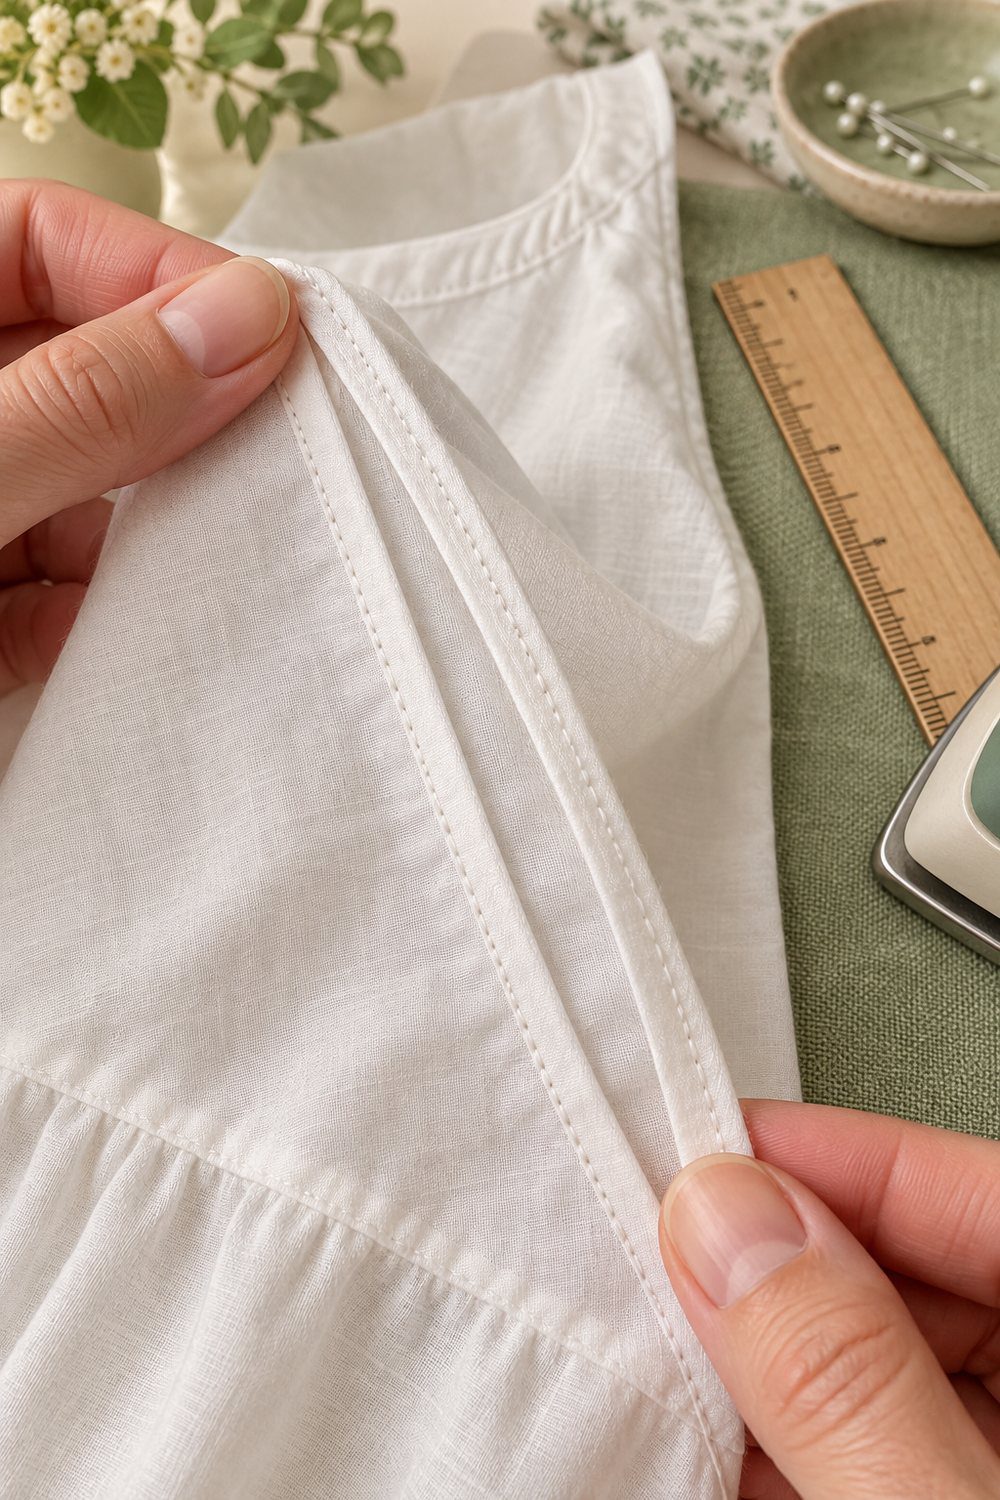
With right sides together, stitch 9 mm (3/8 in) from the folded edge for this example. Check that the line catches the folded allowance all along its length. The original raw edges should disappear inside the new seam. If a thread or fiber peeks out, unpick that short section, trim stray fibers, and resew rather than trimming into the completed seam.
5. Press the finished seam
Press the seam to one side, following the garment pattern’s pressing direction. Use a press cloth and the heat setting recommended for the fabric. Press rather than sliding the iron, especially on bias sections or sheer cloth, which can stretch or distort. Let the seam cool flat before handling.
Where French seams work well—and where they do not
They are especially useful on straight seams in lightweight woven garments, such as the side seams of a blouse or nightwear. They can also work on some medium-weight fabrics after testing. They are usually a poor choice for bulky cloth, thick intersections, very tight curves, or seams that need to be clipped open and spread flat. The enclosed layers add thickness, and tight curves can ripple.
On a gentle curve, sew slowly and use a smaller first allowance so the fabric can turn smoothly. On a tight curve, choose a finish that allows the seam allowance to spread, such as a narrow zigzag or bias binding, if the pattern permits it. Do not force a French seam into a seam shape that needs clipping.
Common French seam problems
- Raw edge shows: the second row is too close to the fold or the first edge was not trimmed evenly. Unpick the affected section and move the second line slightly farther from the fold.
- Seam feels bulky: use a lighter fabric, trim the first allowance consistently, and avoid French seams where several layers intersect.
- Fabric puckers: test a finer needle, reduce thread tension only after checking the manual, shorten the stitch slightly, and support delicate fabric without stretching it.
- Finished garment is too narrow: the final line was sewn farther inside than the pattern allowance. On the next seam, measure from the original edge and account for the full allowance before cutting.
Use it in a garment project
Before adding French seams to a pattern, check the seam allowance printed in its instructions and whether the seam is straight enough for an enclosed finish. Our nightwear sewing pattern guide explains printing and assembling a layered pattern, while the dress pattern drafting guide covers measurement and fit foundations. For another machine demonstration, see SINGER’s French seam tutorial; its particular seam allowance may differ from the example above, so follow your pattern’s allowance.
Quick checklist
- Confirm the pattern’s seam allowance and test on matching fabric.
- Stitch wrong sides together for the first narrow pass.
- Trim without cutting stitches, press open, then fold right sides together.
- Stitch the enclosing pass at the measured distance from the fold.
- Inspect both sides before pressing the finished seam.
A French seam is most reliable when its measurements are planned before the first pass. A clean test sample shows whether the fabric, curve and allowance are a good match—and prevents hidden raw edges or an unexpectedly narrow garment.
Fit the finish to curves and garment seams
French seams are easiest on straight or gently curved edges because both rows of stitching must enclose the same fold. For a curved seam, sew a scrap in the same direction as the real pieces first. If the curve ripples, a smaller first allowance can help the fabric turn, but the final allowance must still cover every trimmed edge. Do not clip through the enclosed allowance. On sharp armholes or shaped seams that need to spread open, choose a finish allowed by the pattern instead.
Plan seam intersections before sewing. Two French seams crossing at an underarm or side seam can become bulky. If the garment construction allows it, stagger the enclosed seams or press one toward the front and the other toward the back. Baste the intersection and test how it feels before finishing the rest of the garment.
Pressing sequence that keeps the seam accurate
- Press the first pass flat as sewn to set the stitches.
- Press the first allowance open so it folds cleanly when turned.
- Turn right sides together and press the fold on the original stitching line.
- After the second pass, press the enclosed seam to the direction specified by the pattern.
Use a press cloth on heat-sensitive or sheer fabrics. Lift and lower the iron instead of sliding it; moving the iron can stretch a bias edge. Let the fabric cool on the pressing surface before moving it so the crease can settle.
Check your seam allowance before cutting
The 6 mm first pass and 9 mm enclosing pass in this guide are examples for a 15 mm total allowance. If your pattern gives 1 cm, make a sample with a narrower first pass and verify that the second pass encloses the trimmed edge while keeping the seam line at the pattern’s intended position. Always measure from the original raw edge when planning the final line, not only from the fold.
For garments with stretch fabric or shaped openings, see our guides to sewing knits on a regular machine and binding a curved neckline; each finish suits a different fabric and seam shape.