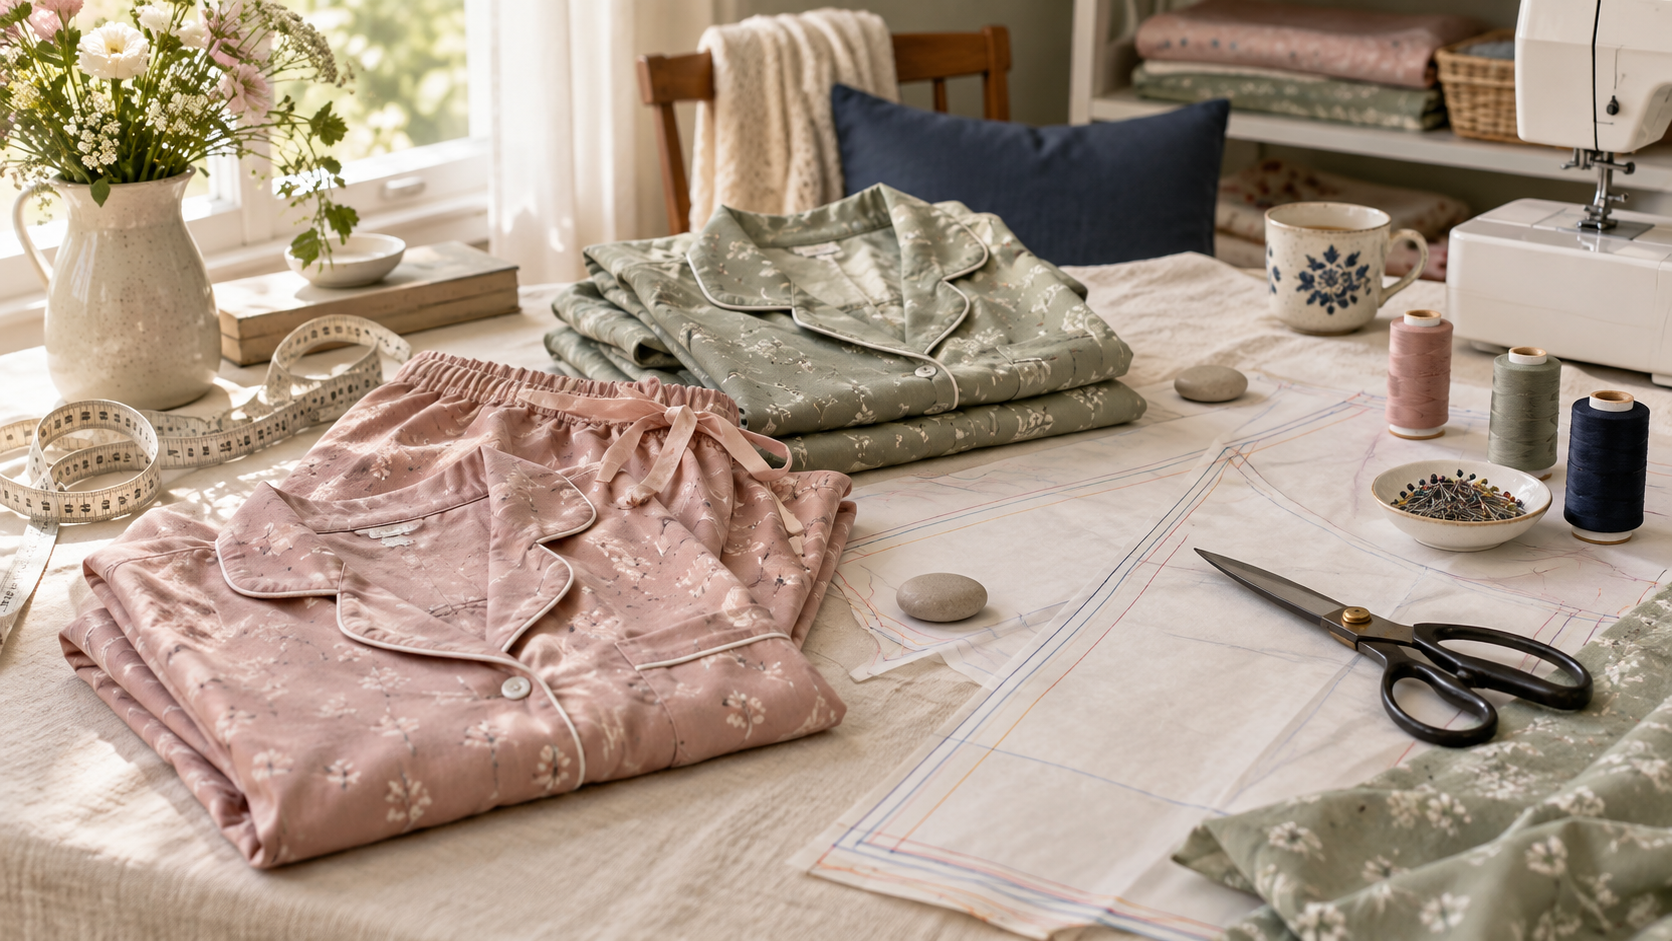
Looking for a nightwear sewing pattern you can actually trace? This guide includes image versions of every pattern sheet in the supplied set, plus practical steps for choosing a size, checking print scale, assembling tiled pages, preparing fabric and sewing the garment. The sheets cover sizes S, M, L and XL in US Letter, A4, A0 and projector formats.
Before cutting: the pattern sheets identify pieces and size lines, but do not show a body-measurement chart, fabric yardage, seam-allowance value or a written construction sequence. I explain how to work safely with the printed markings below; do not guess missing measurements or seam allowances. Confirm those specifications with the pattern source before cutting your final fabric.
What this nightwear sewing pattern includes
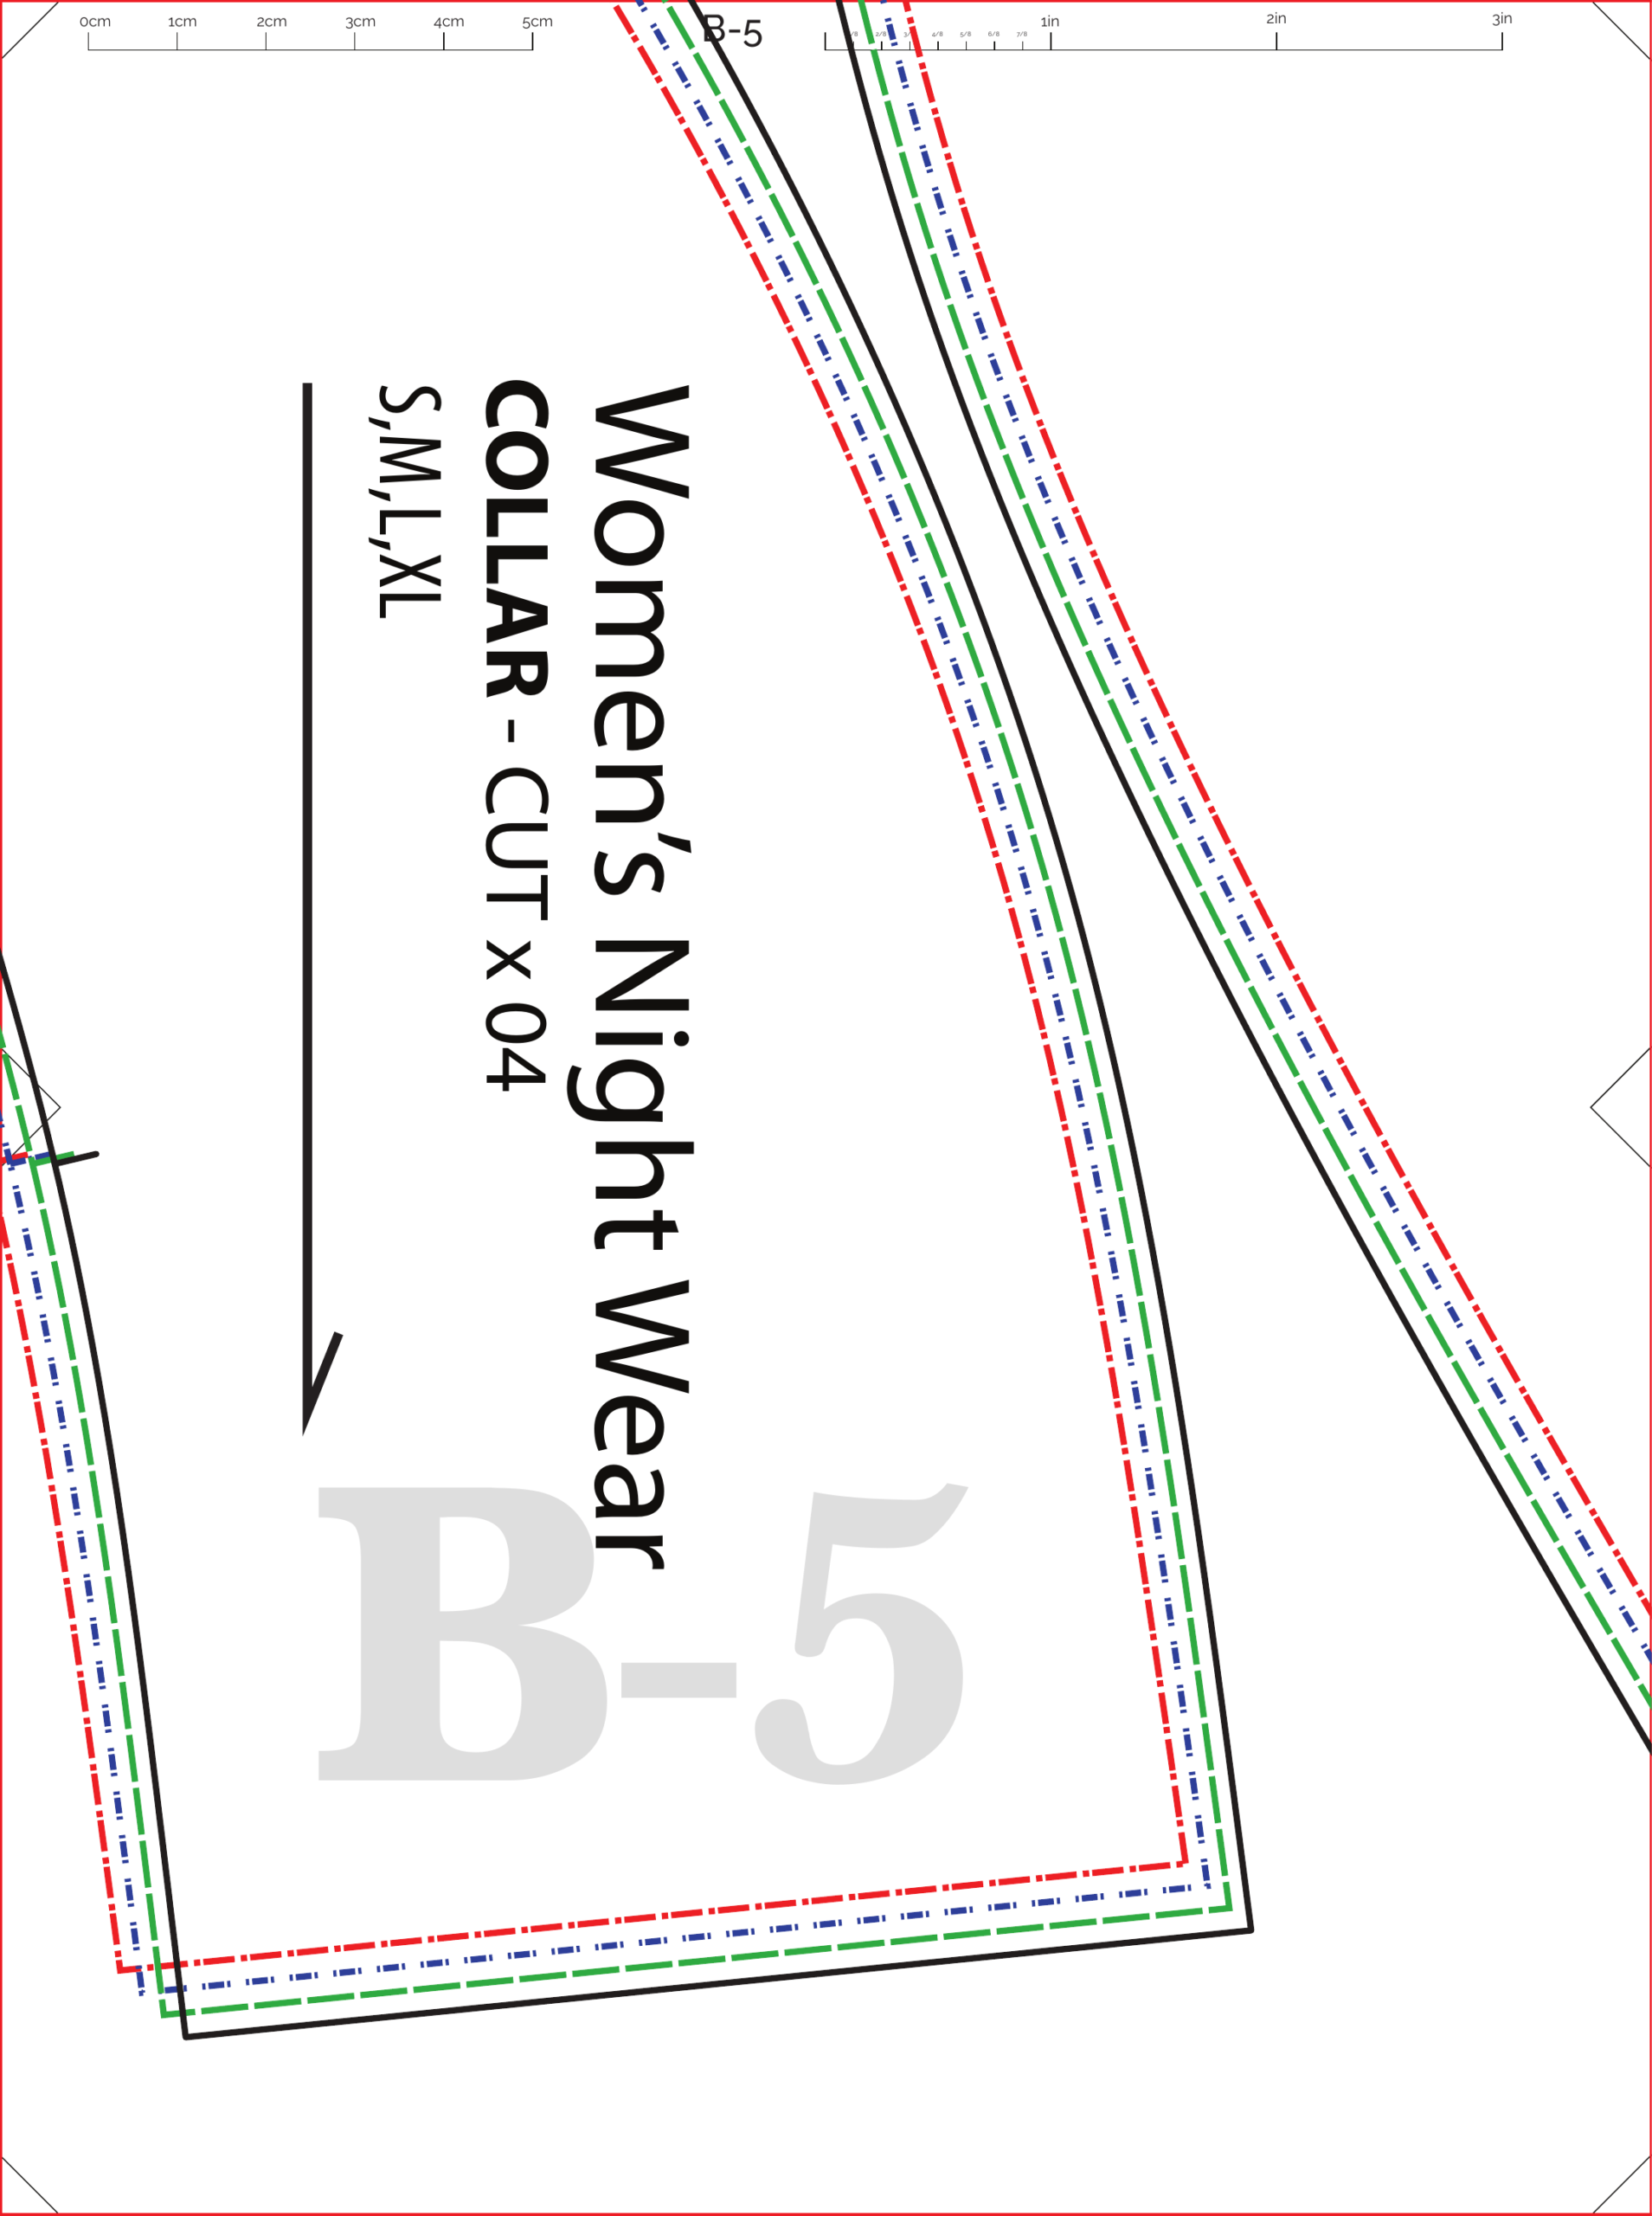
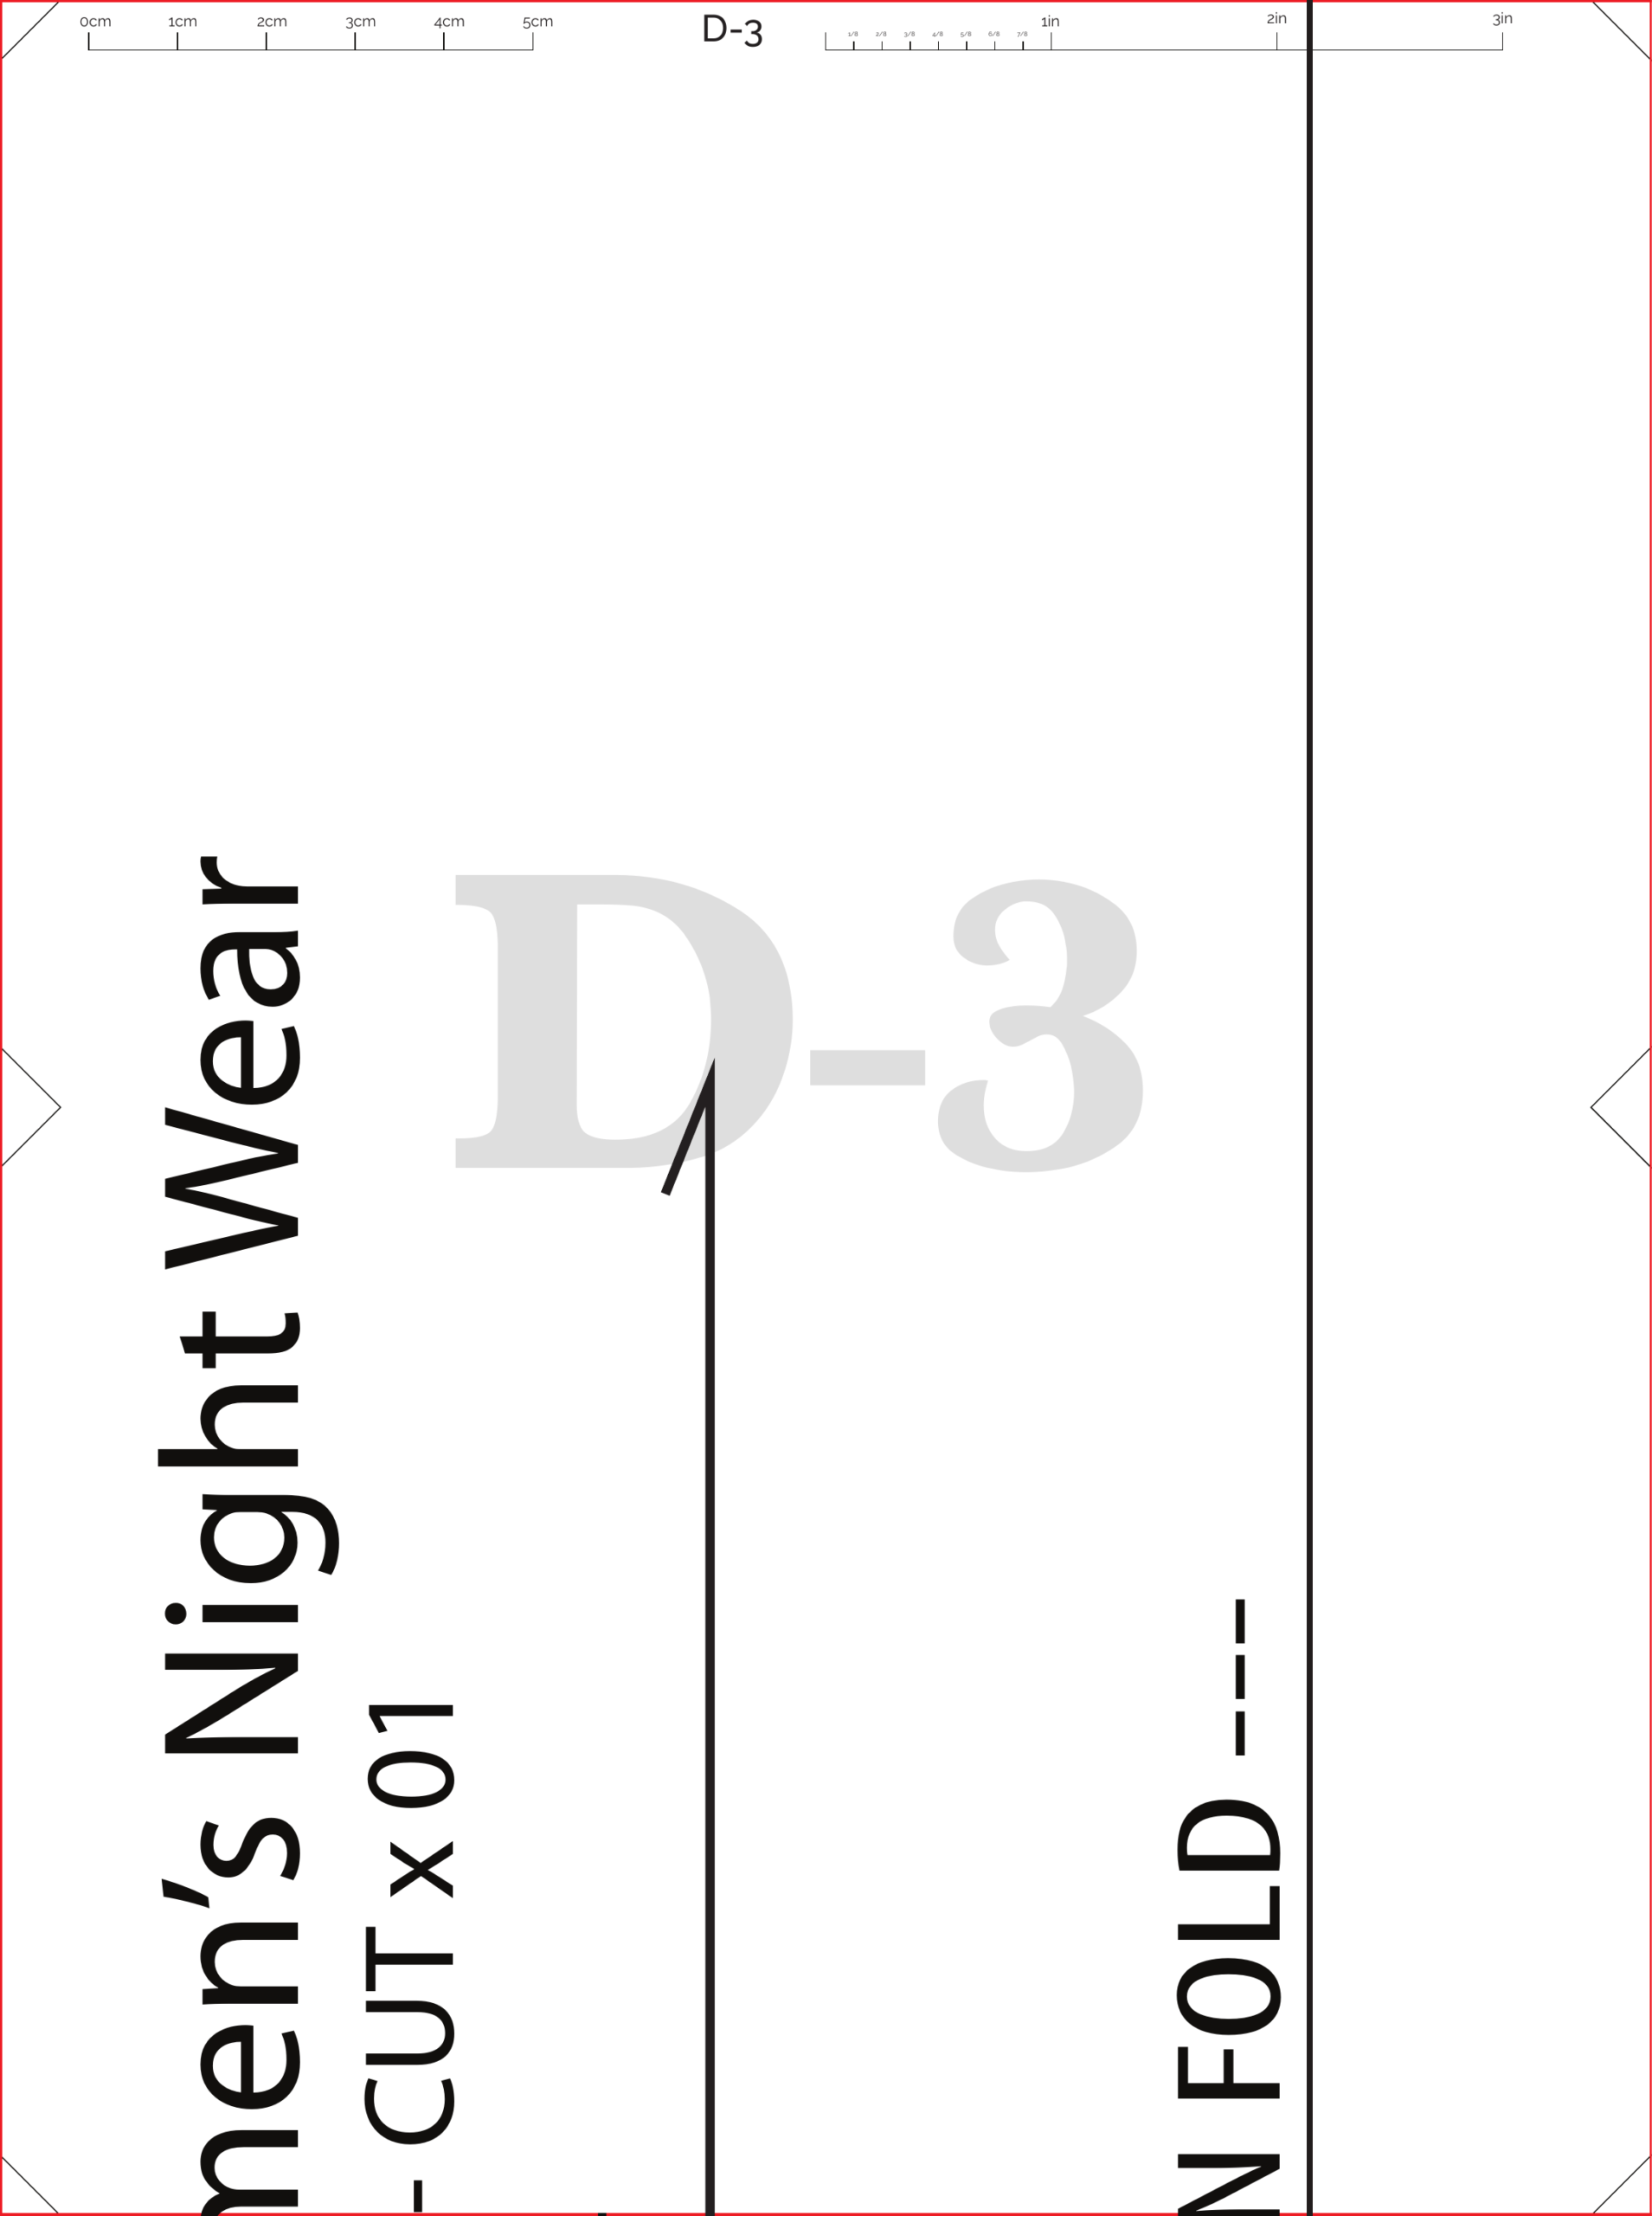
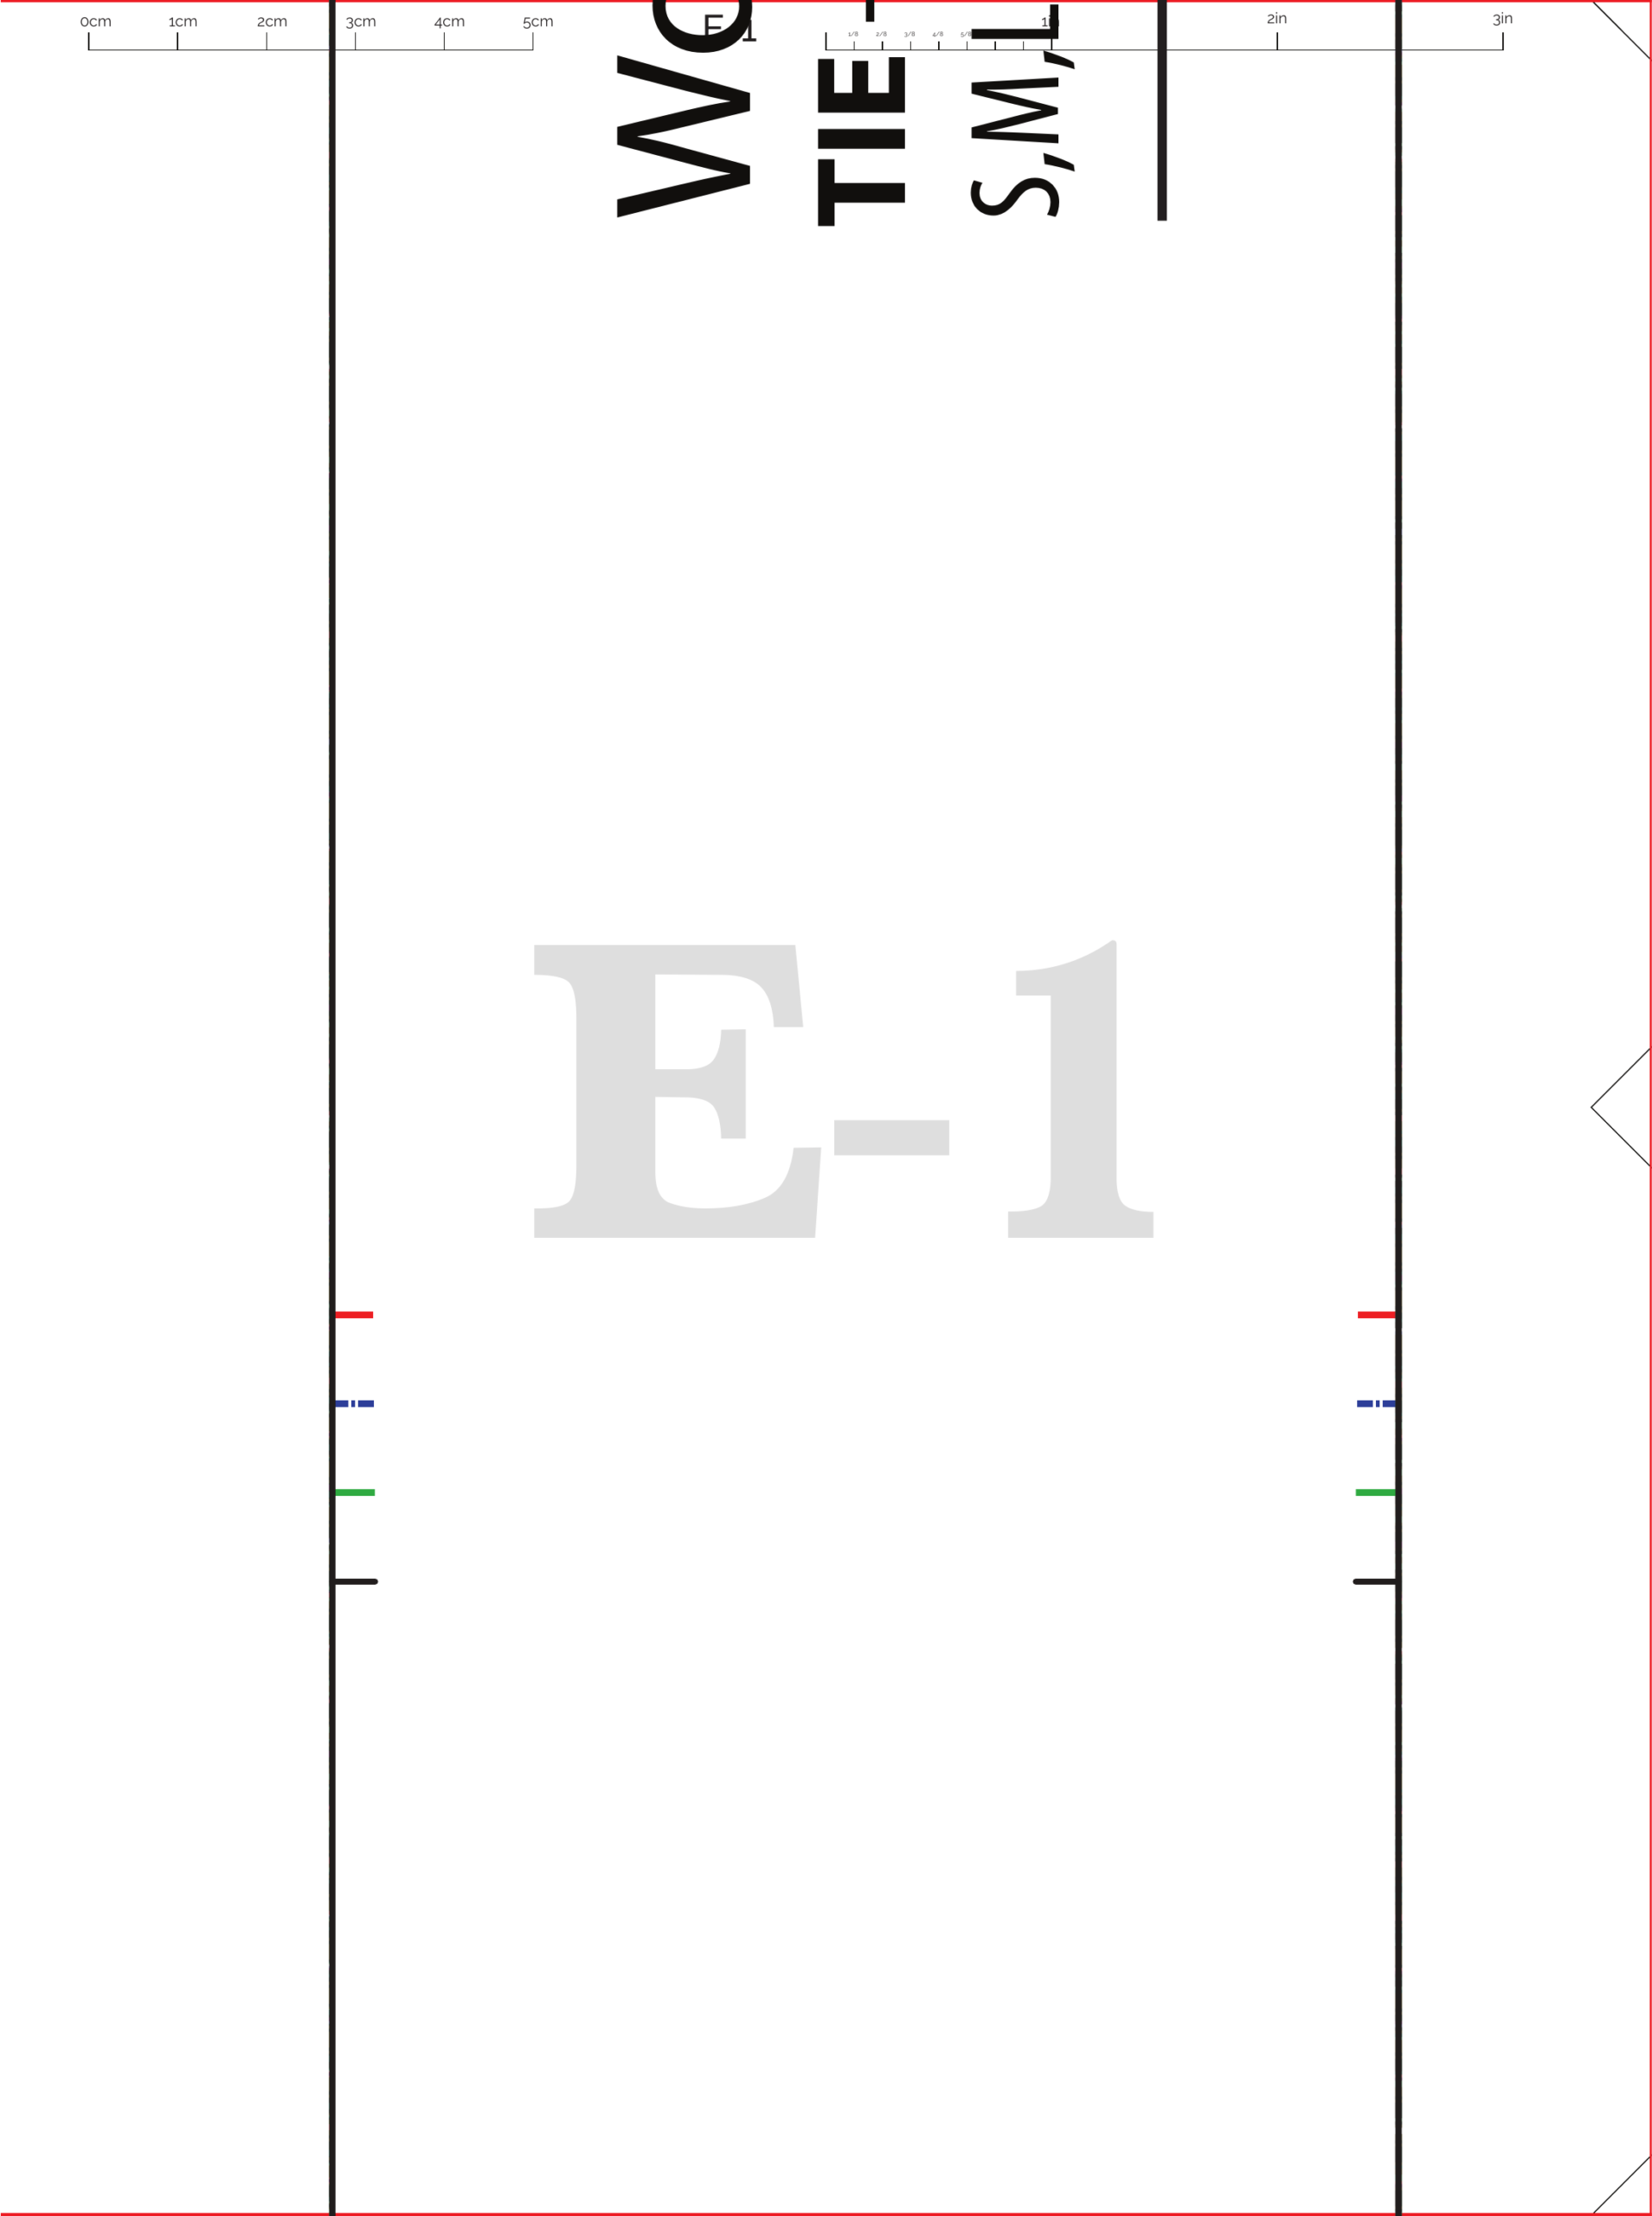
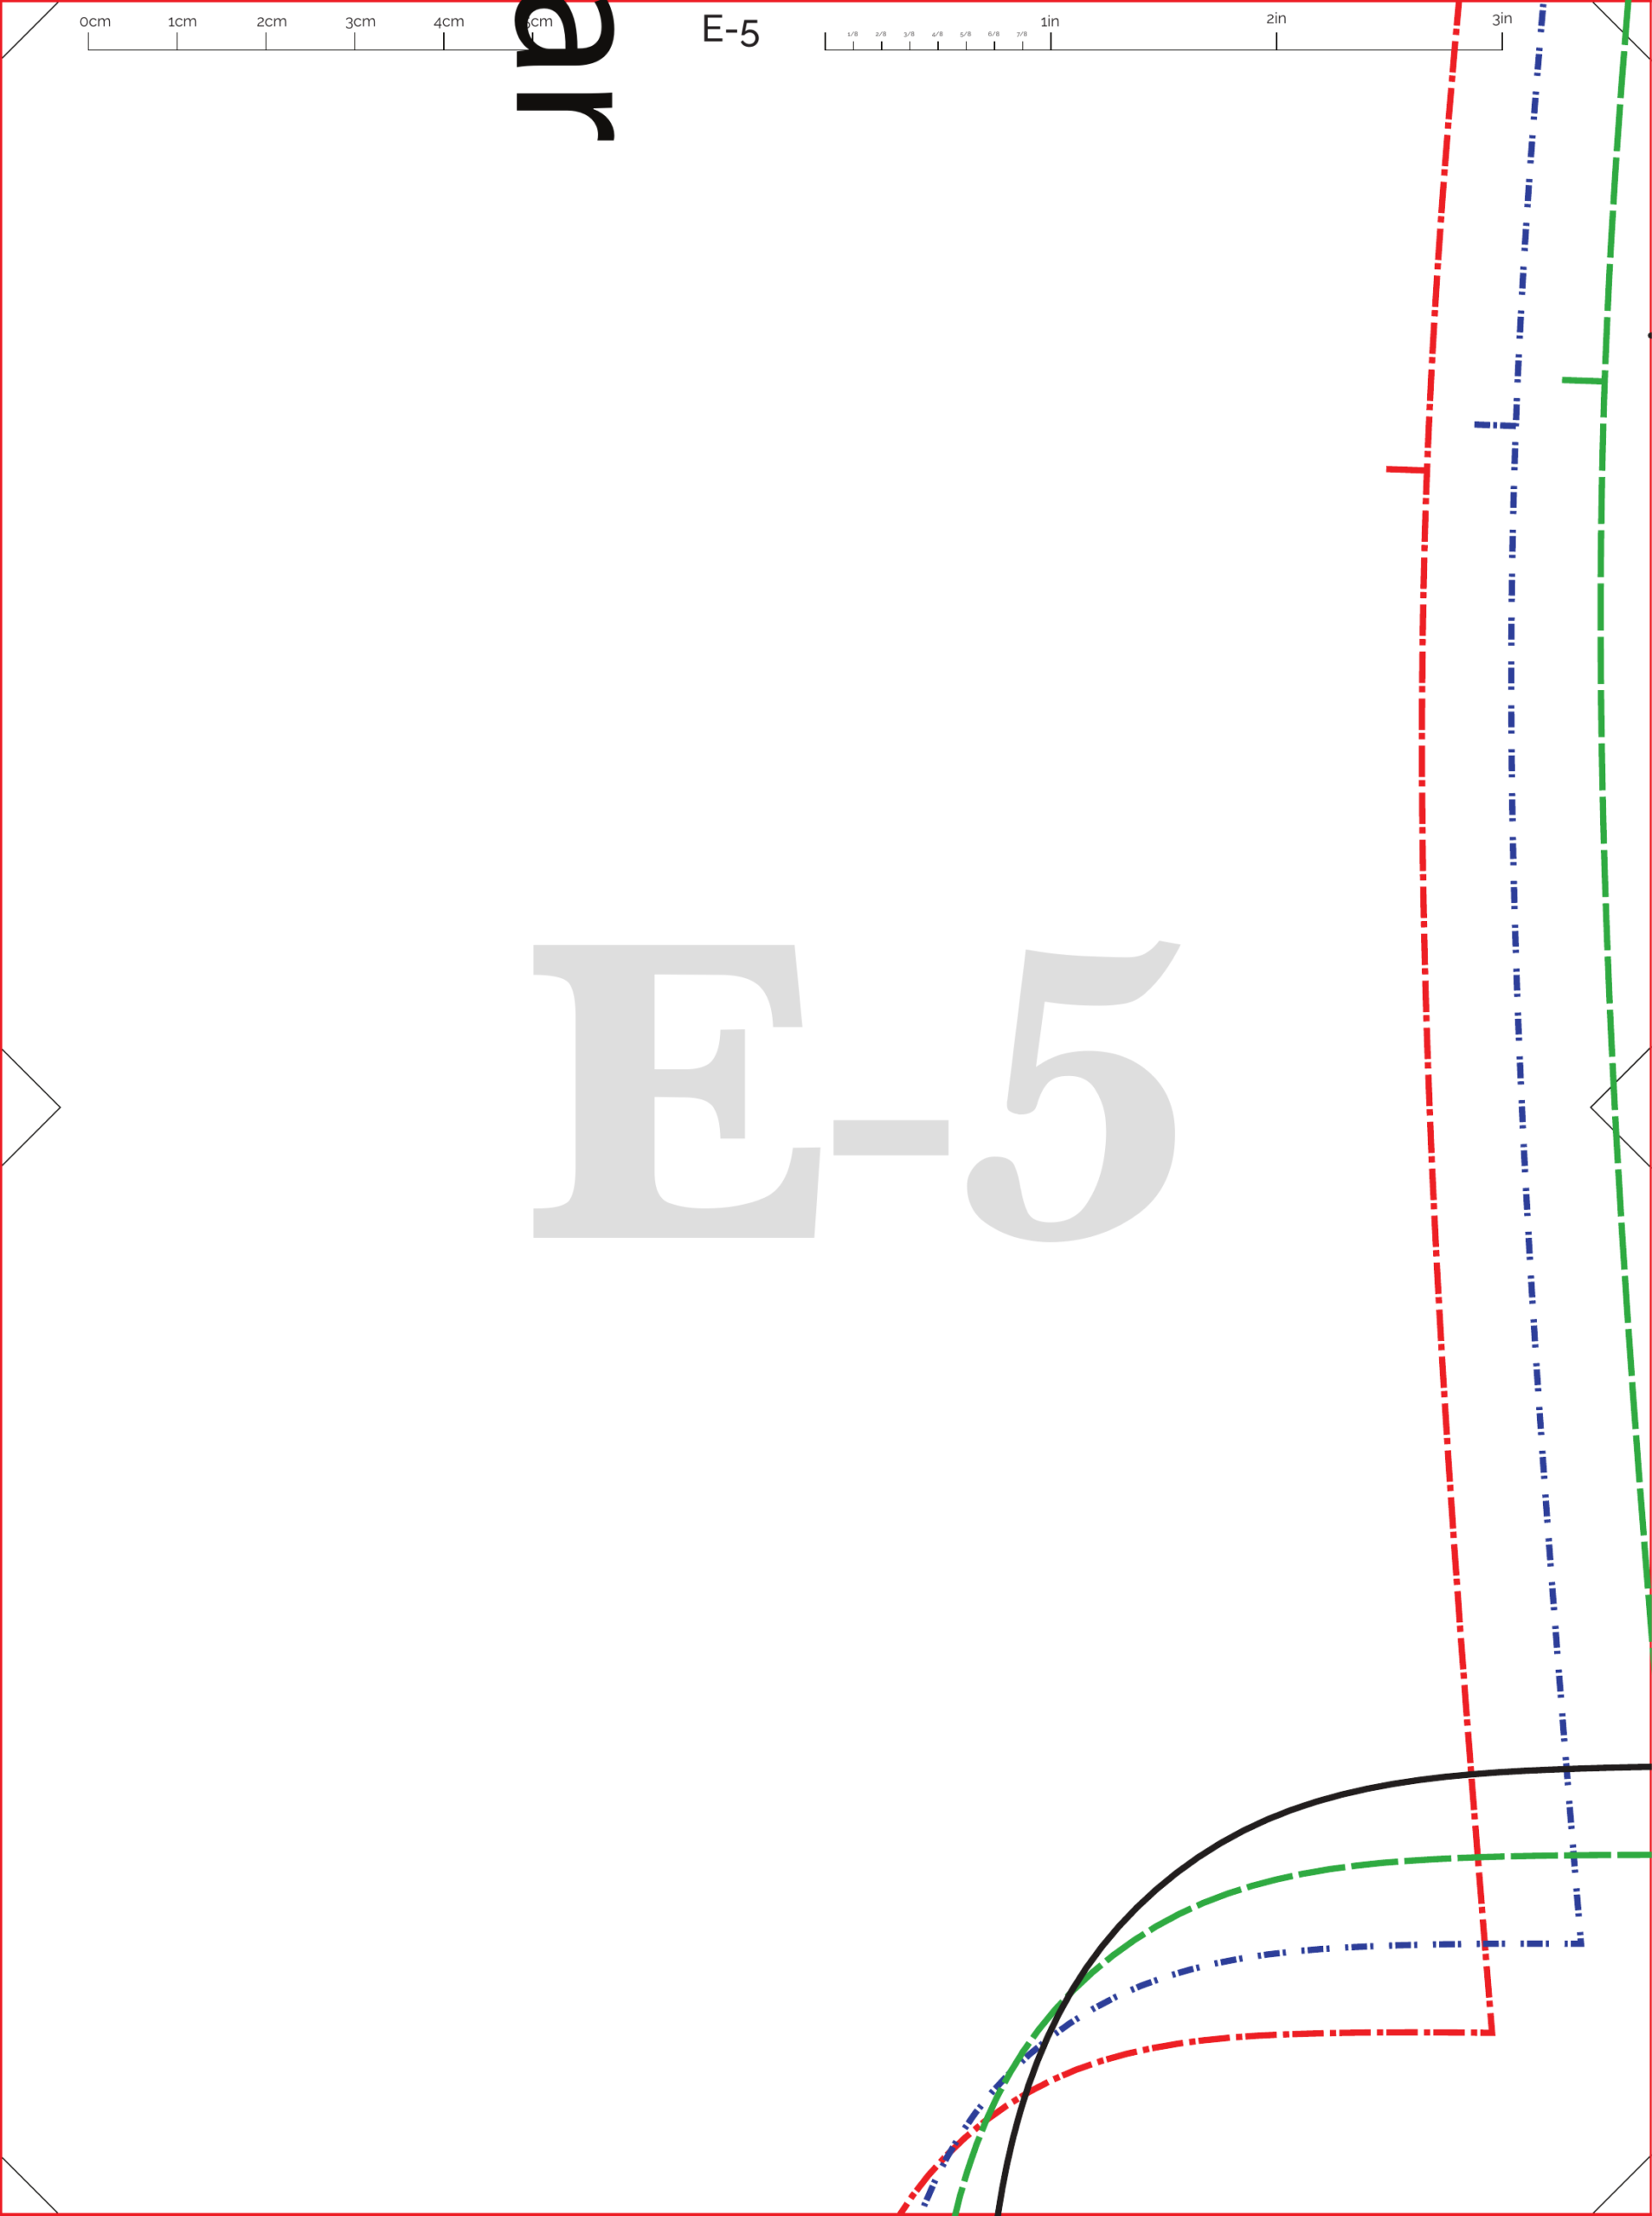
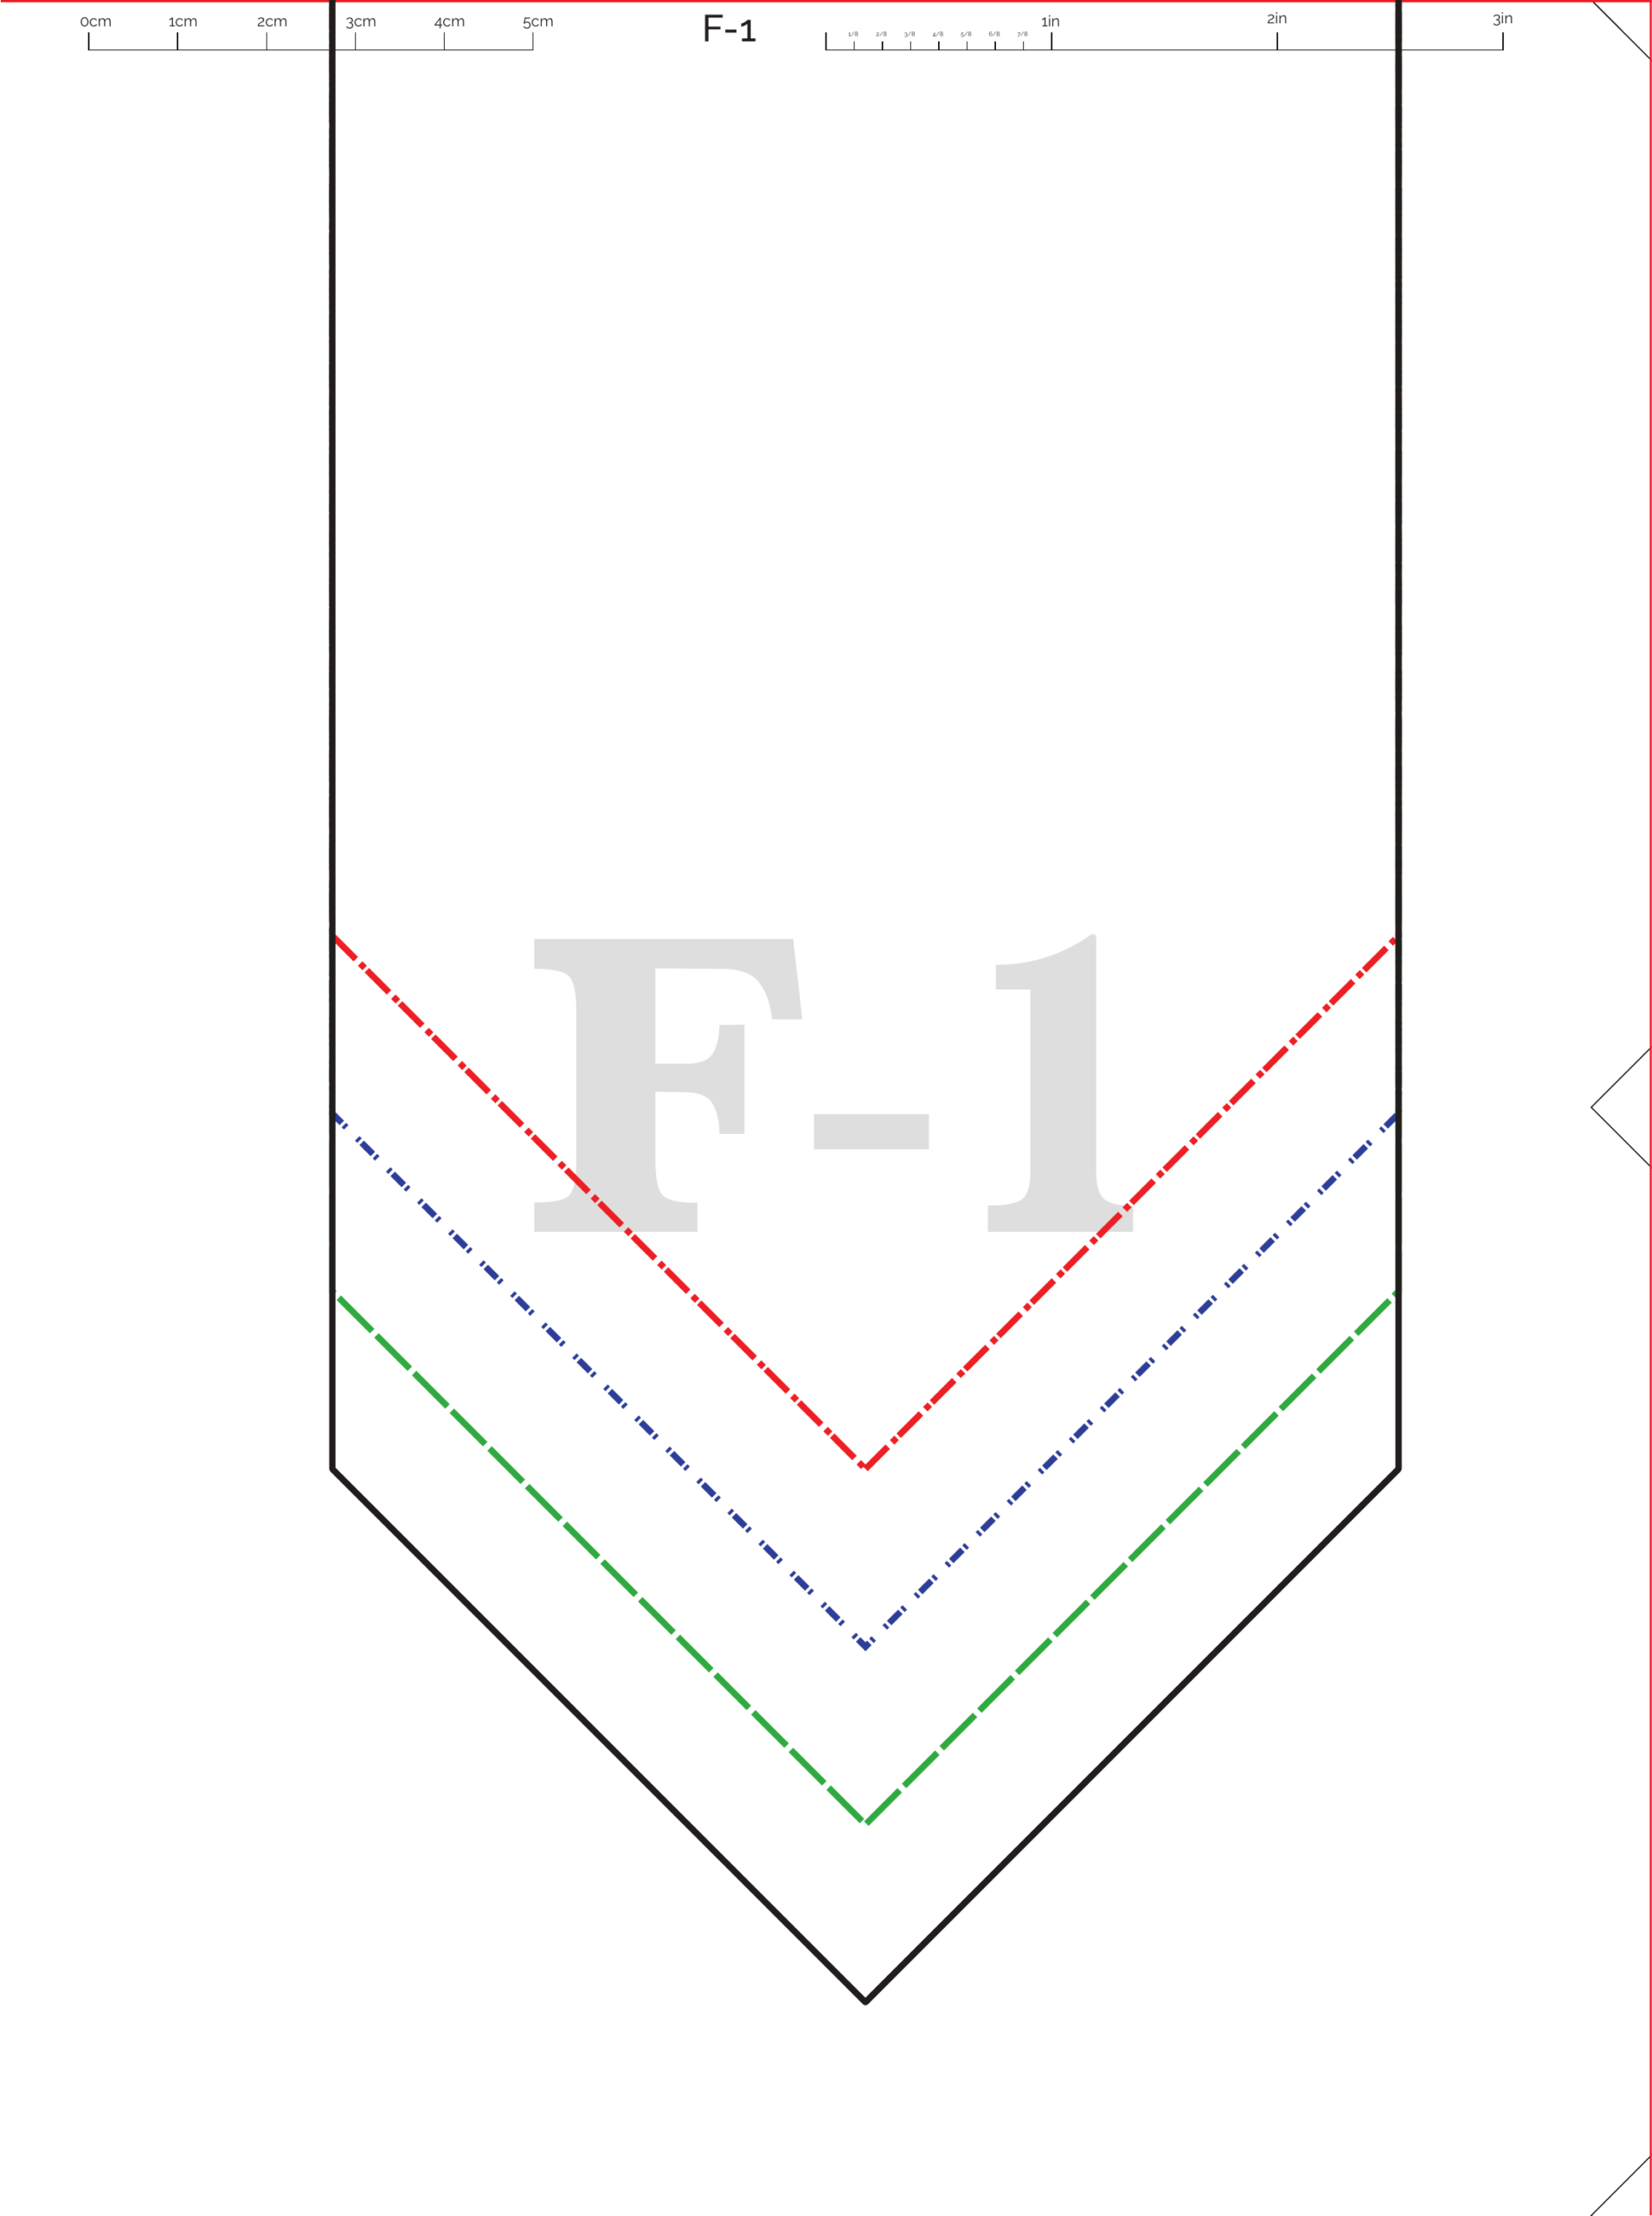
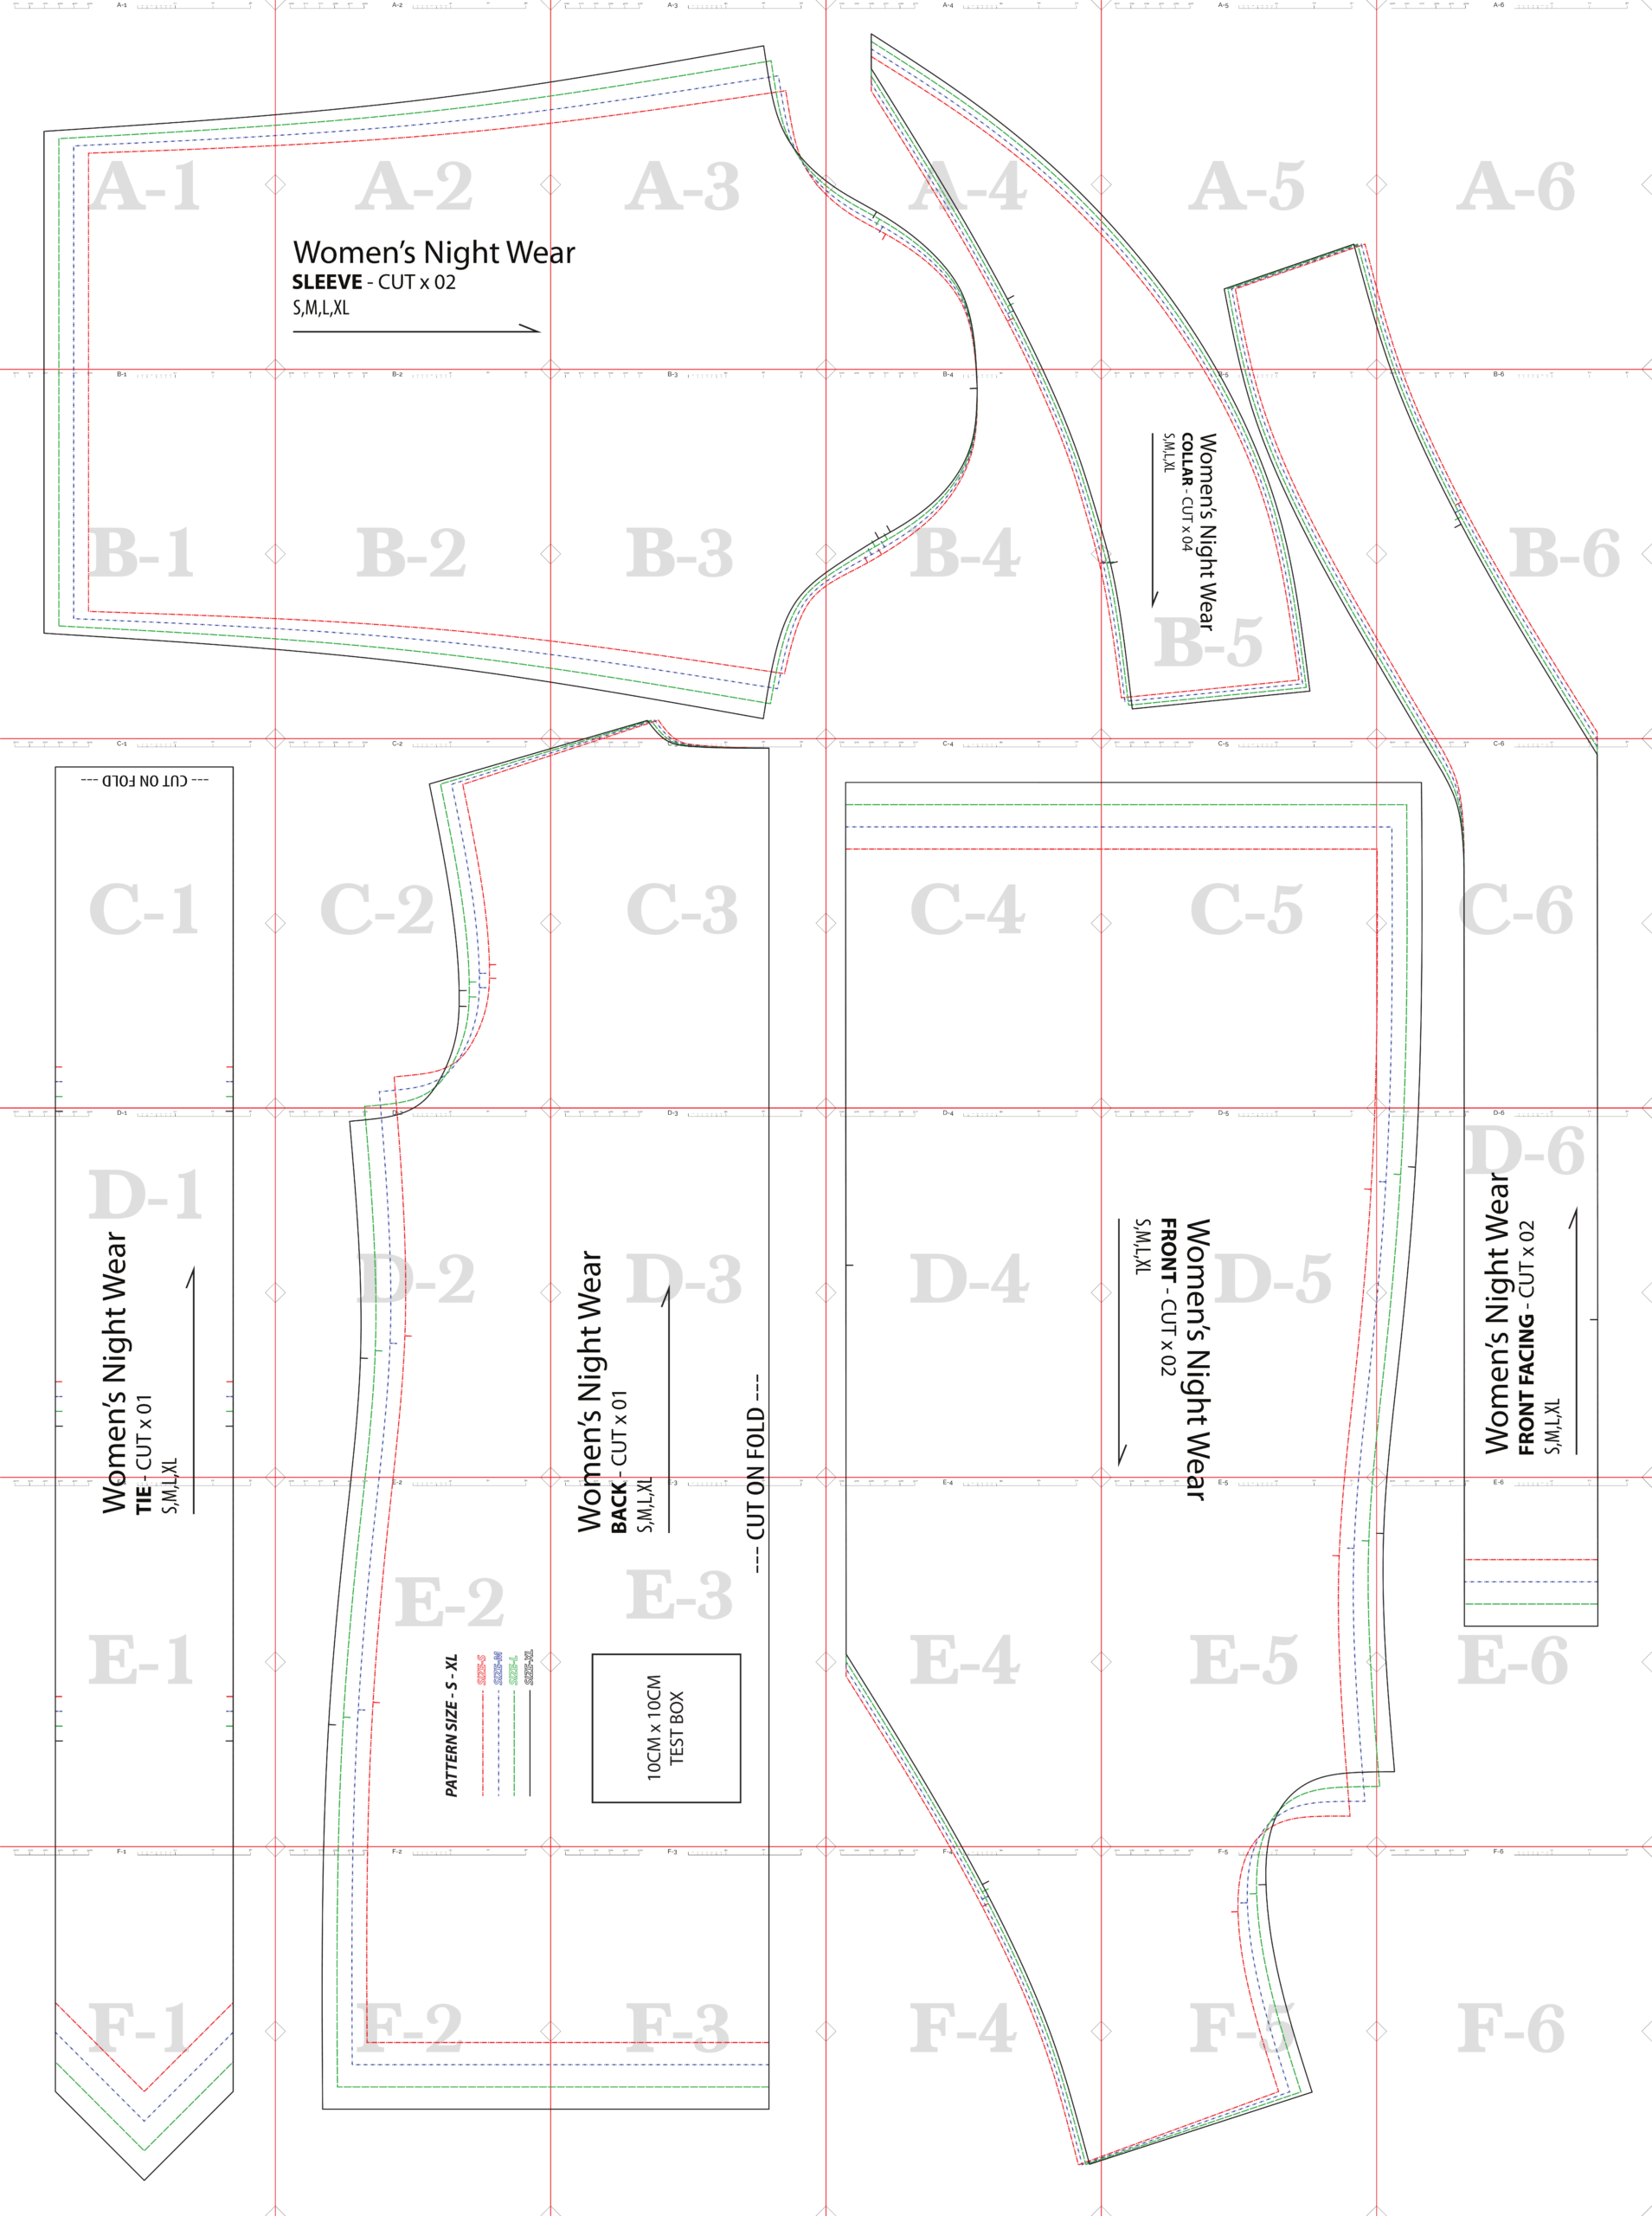
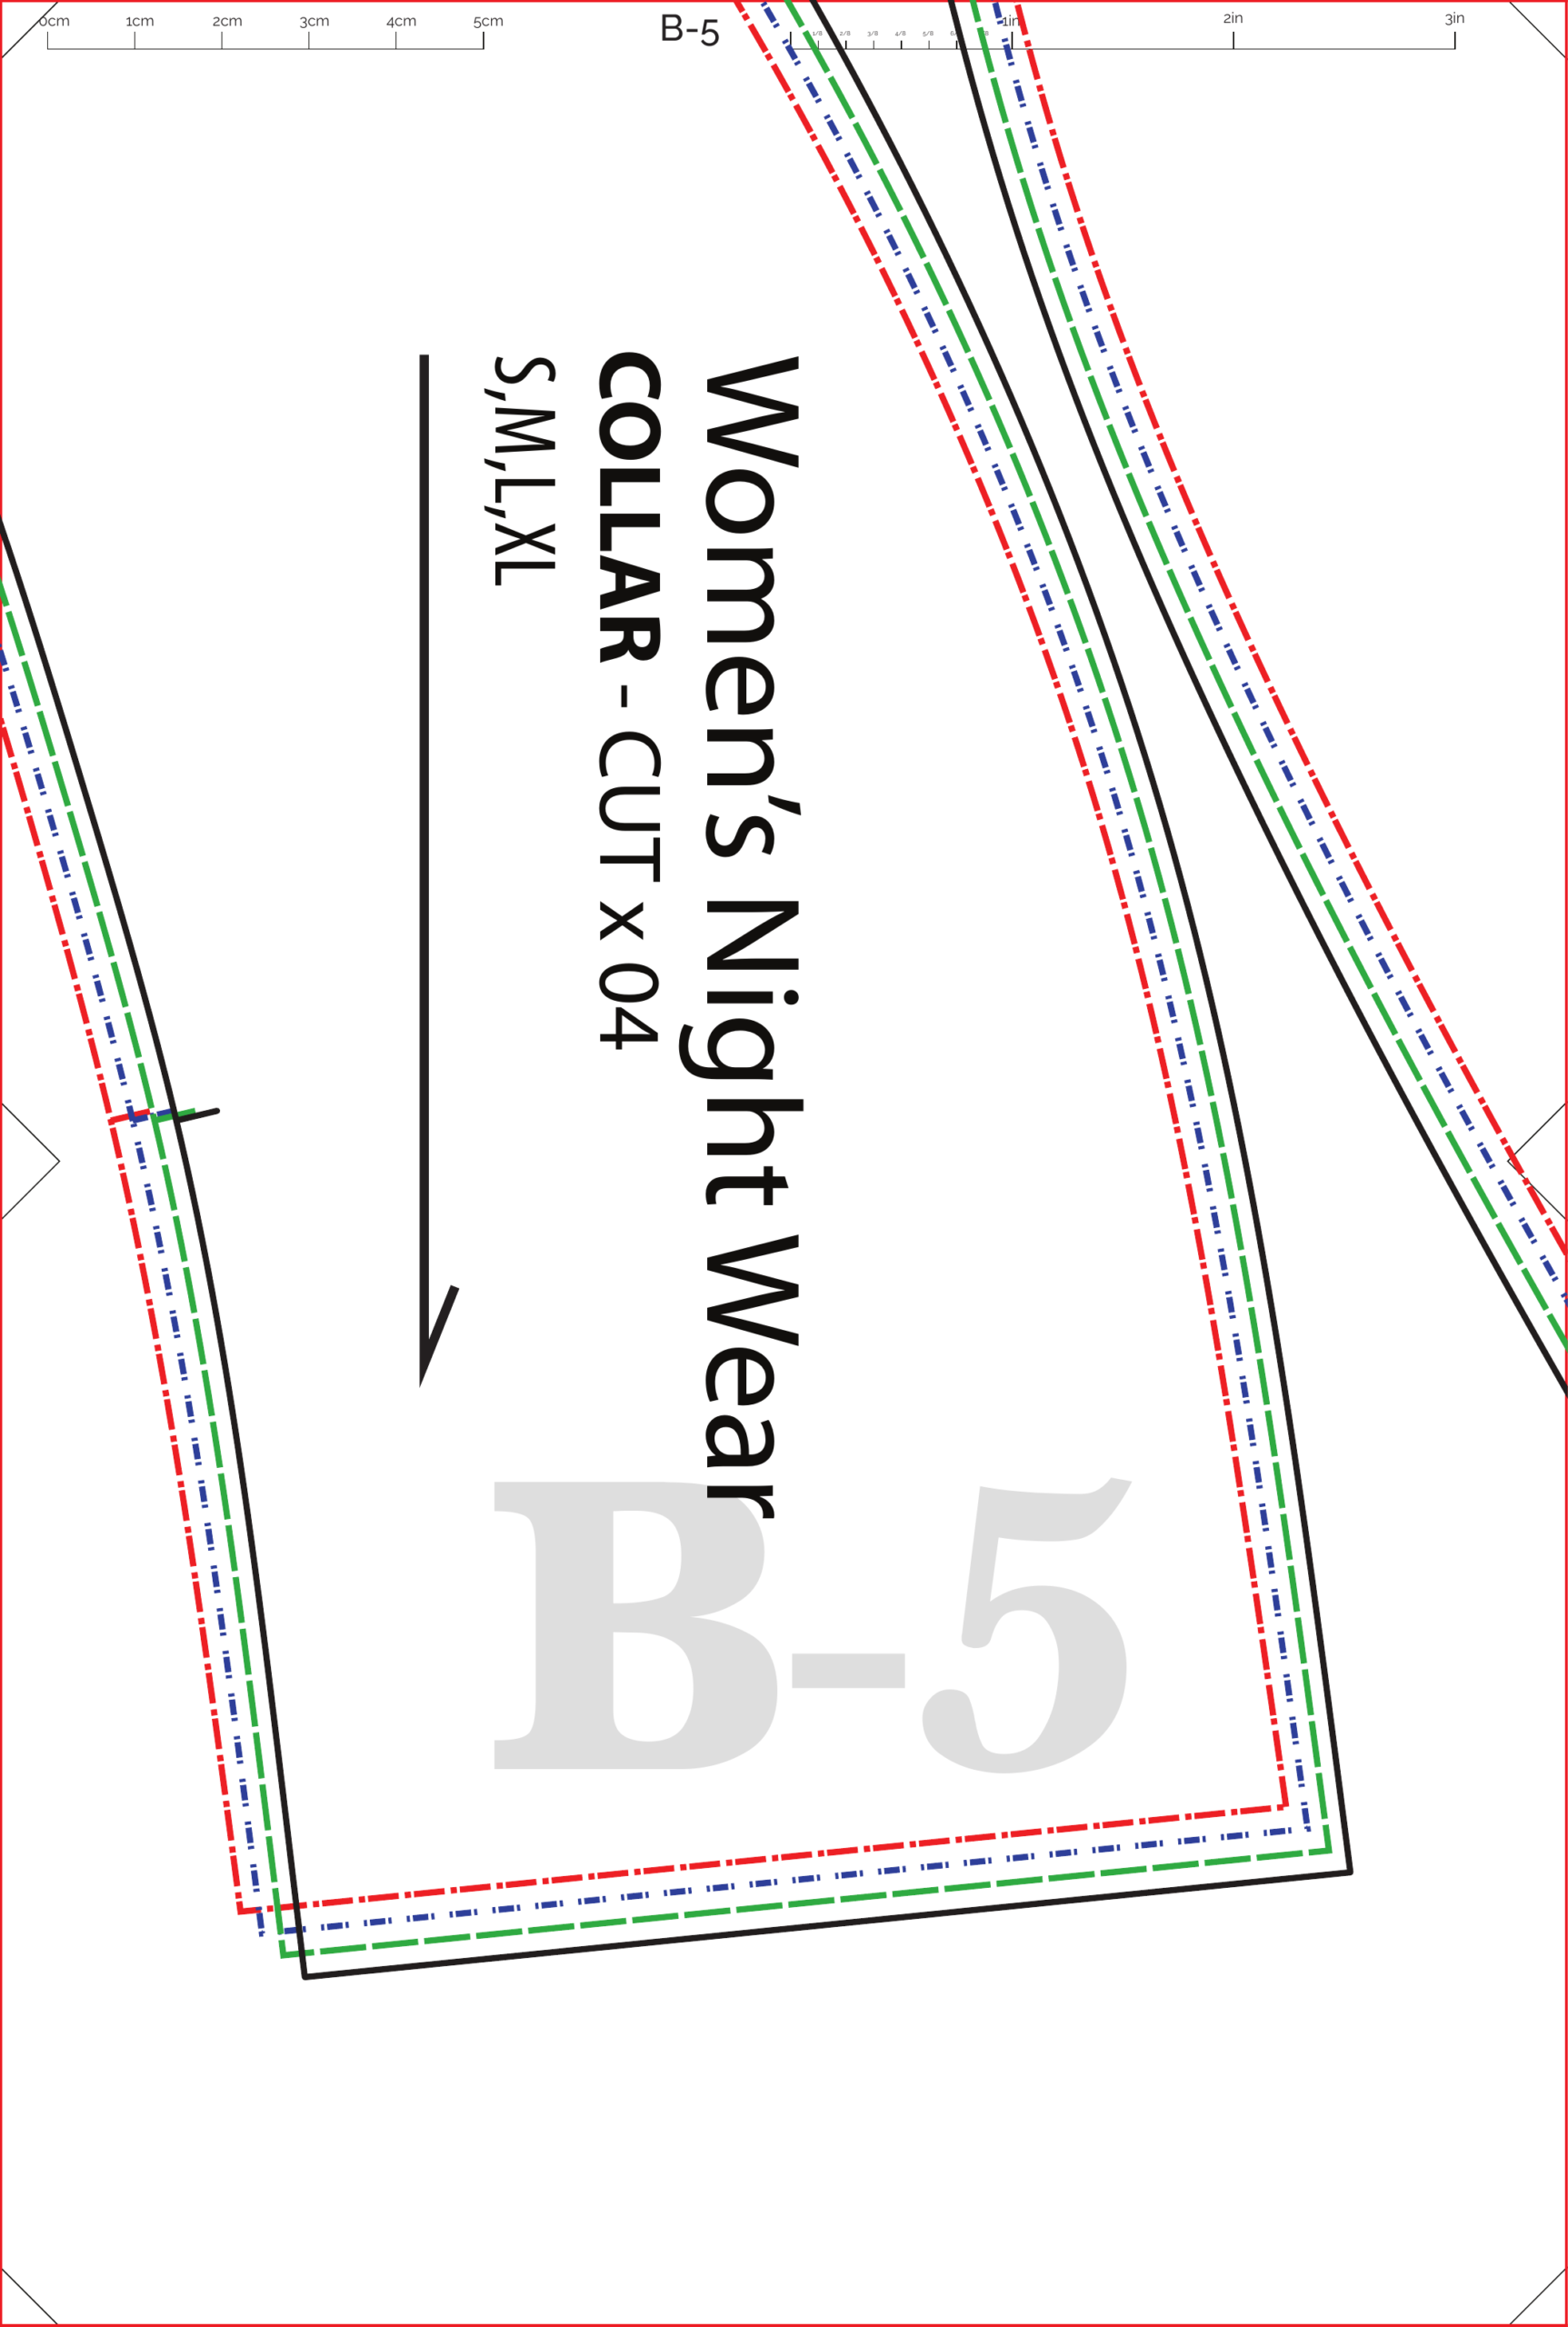
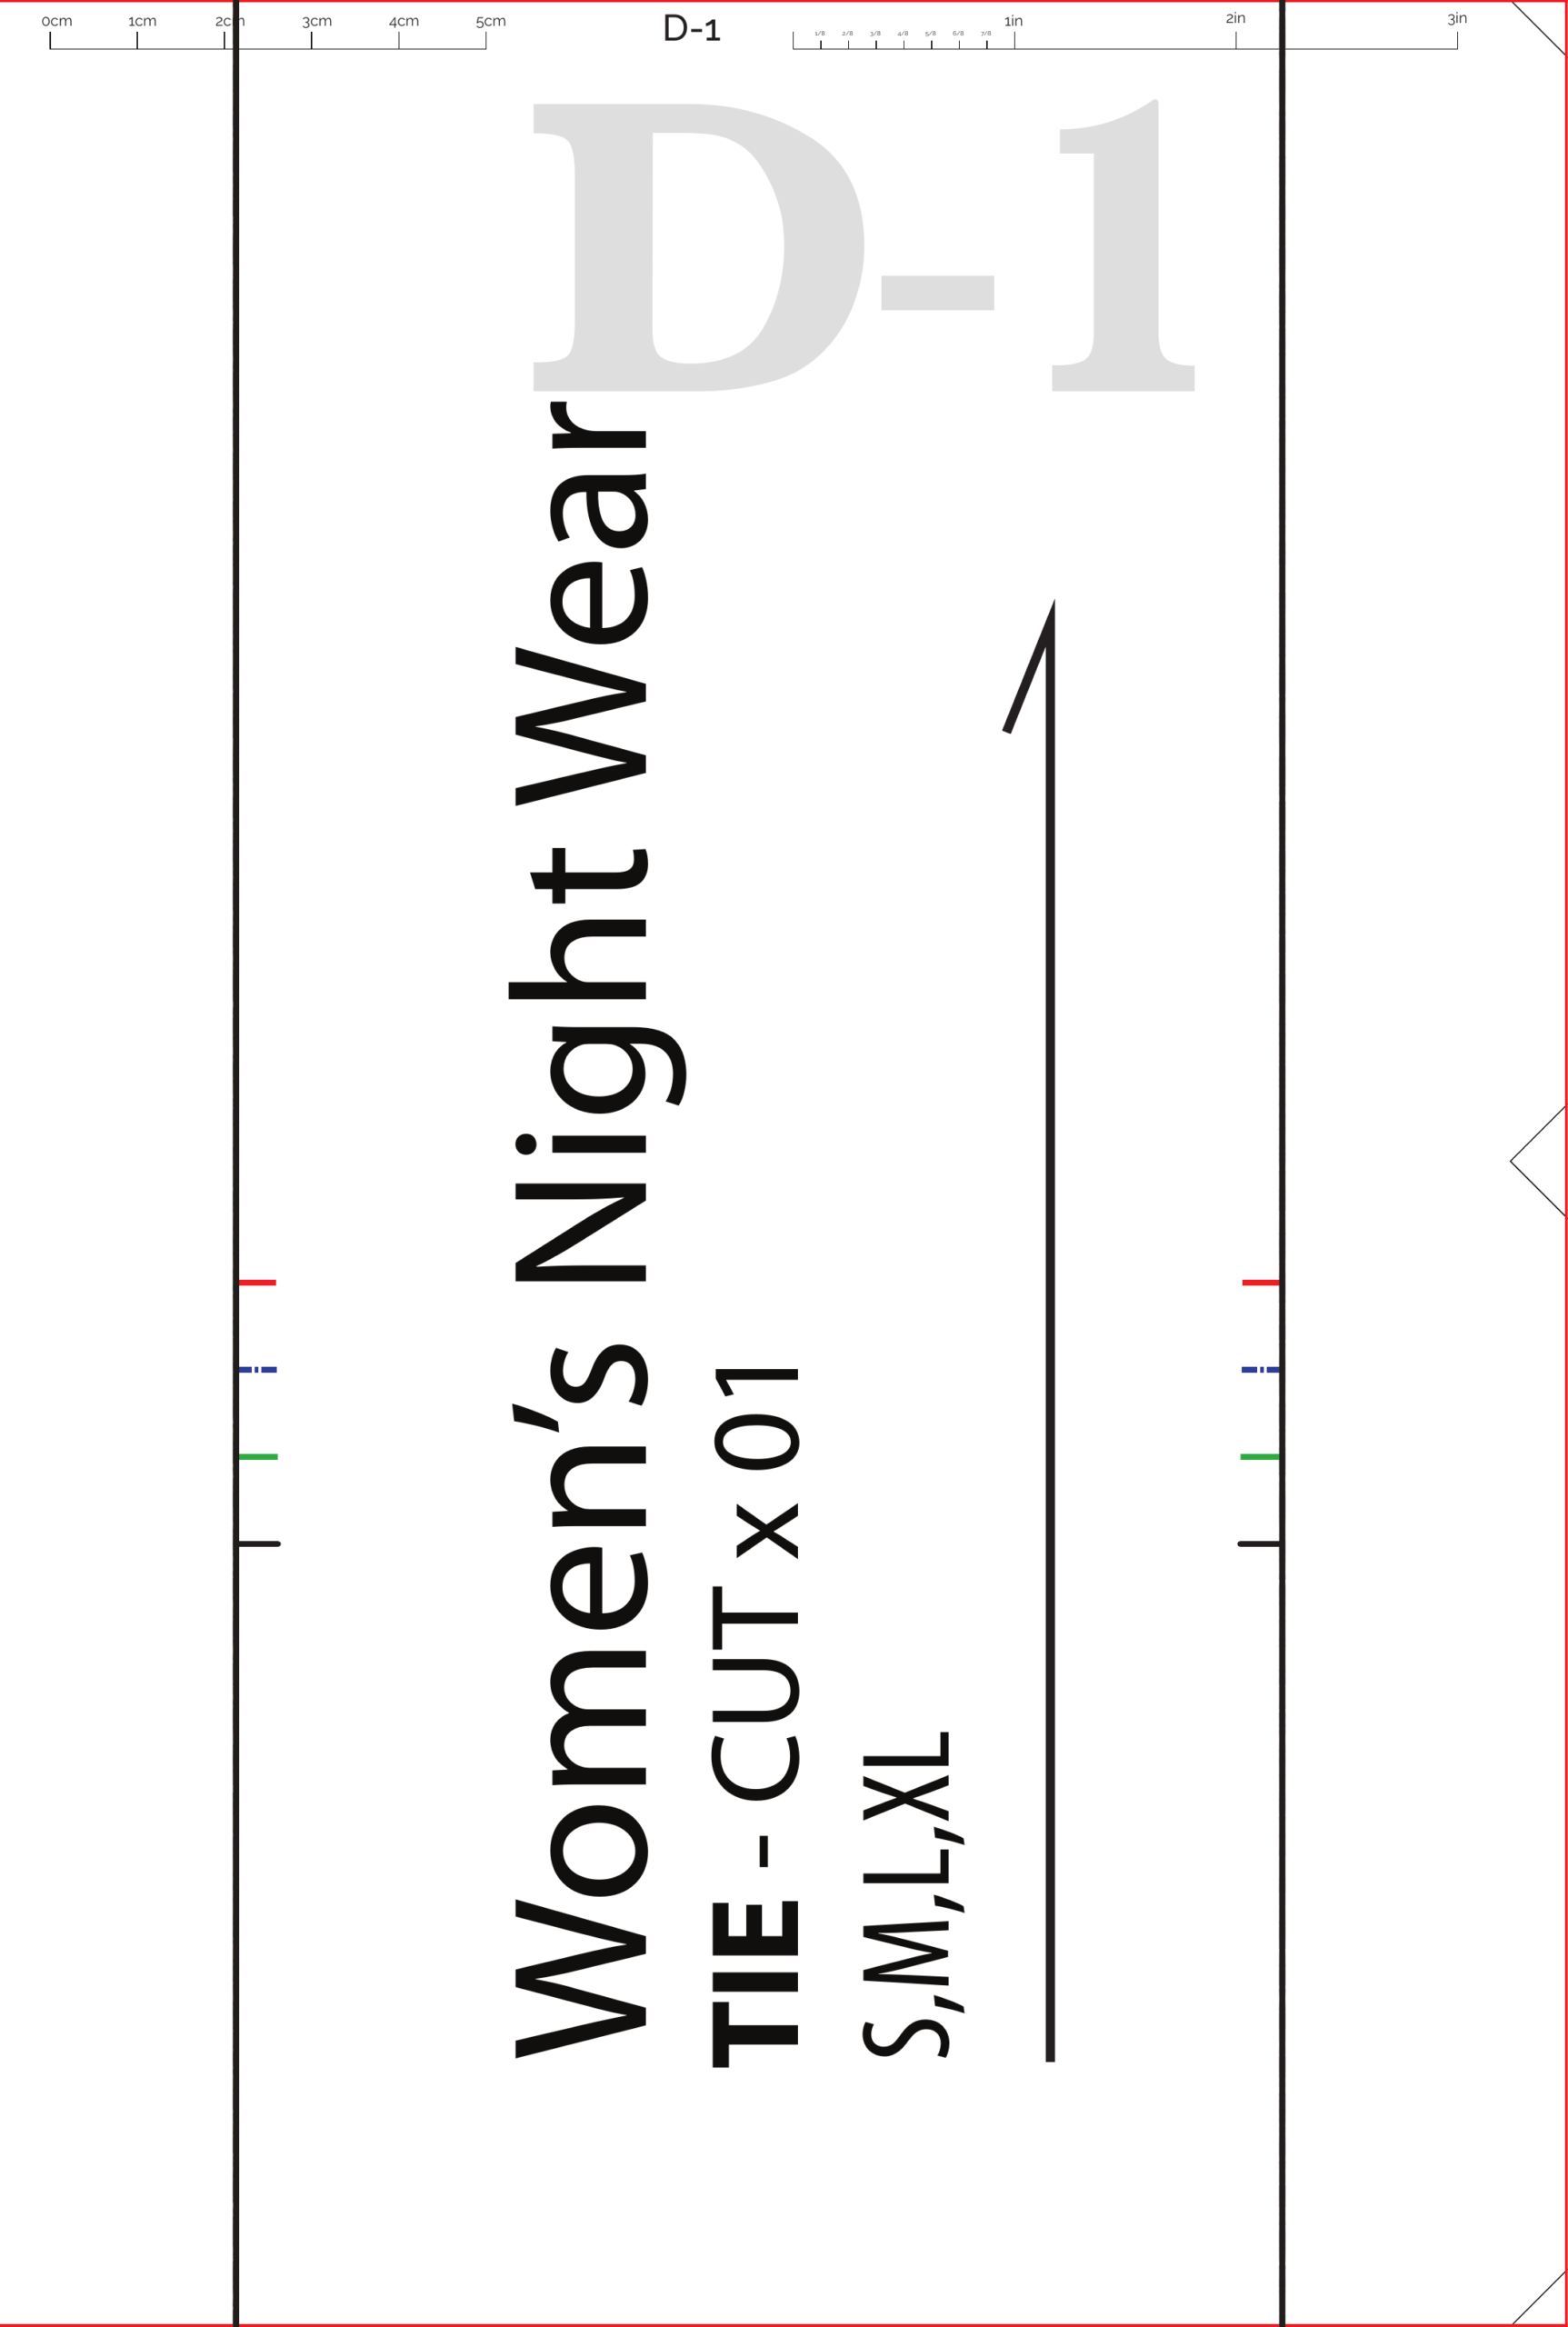
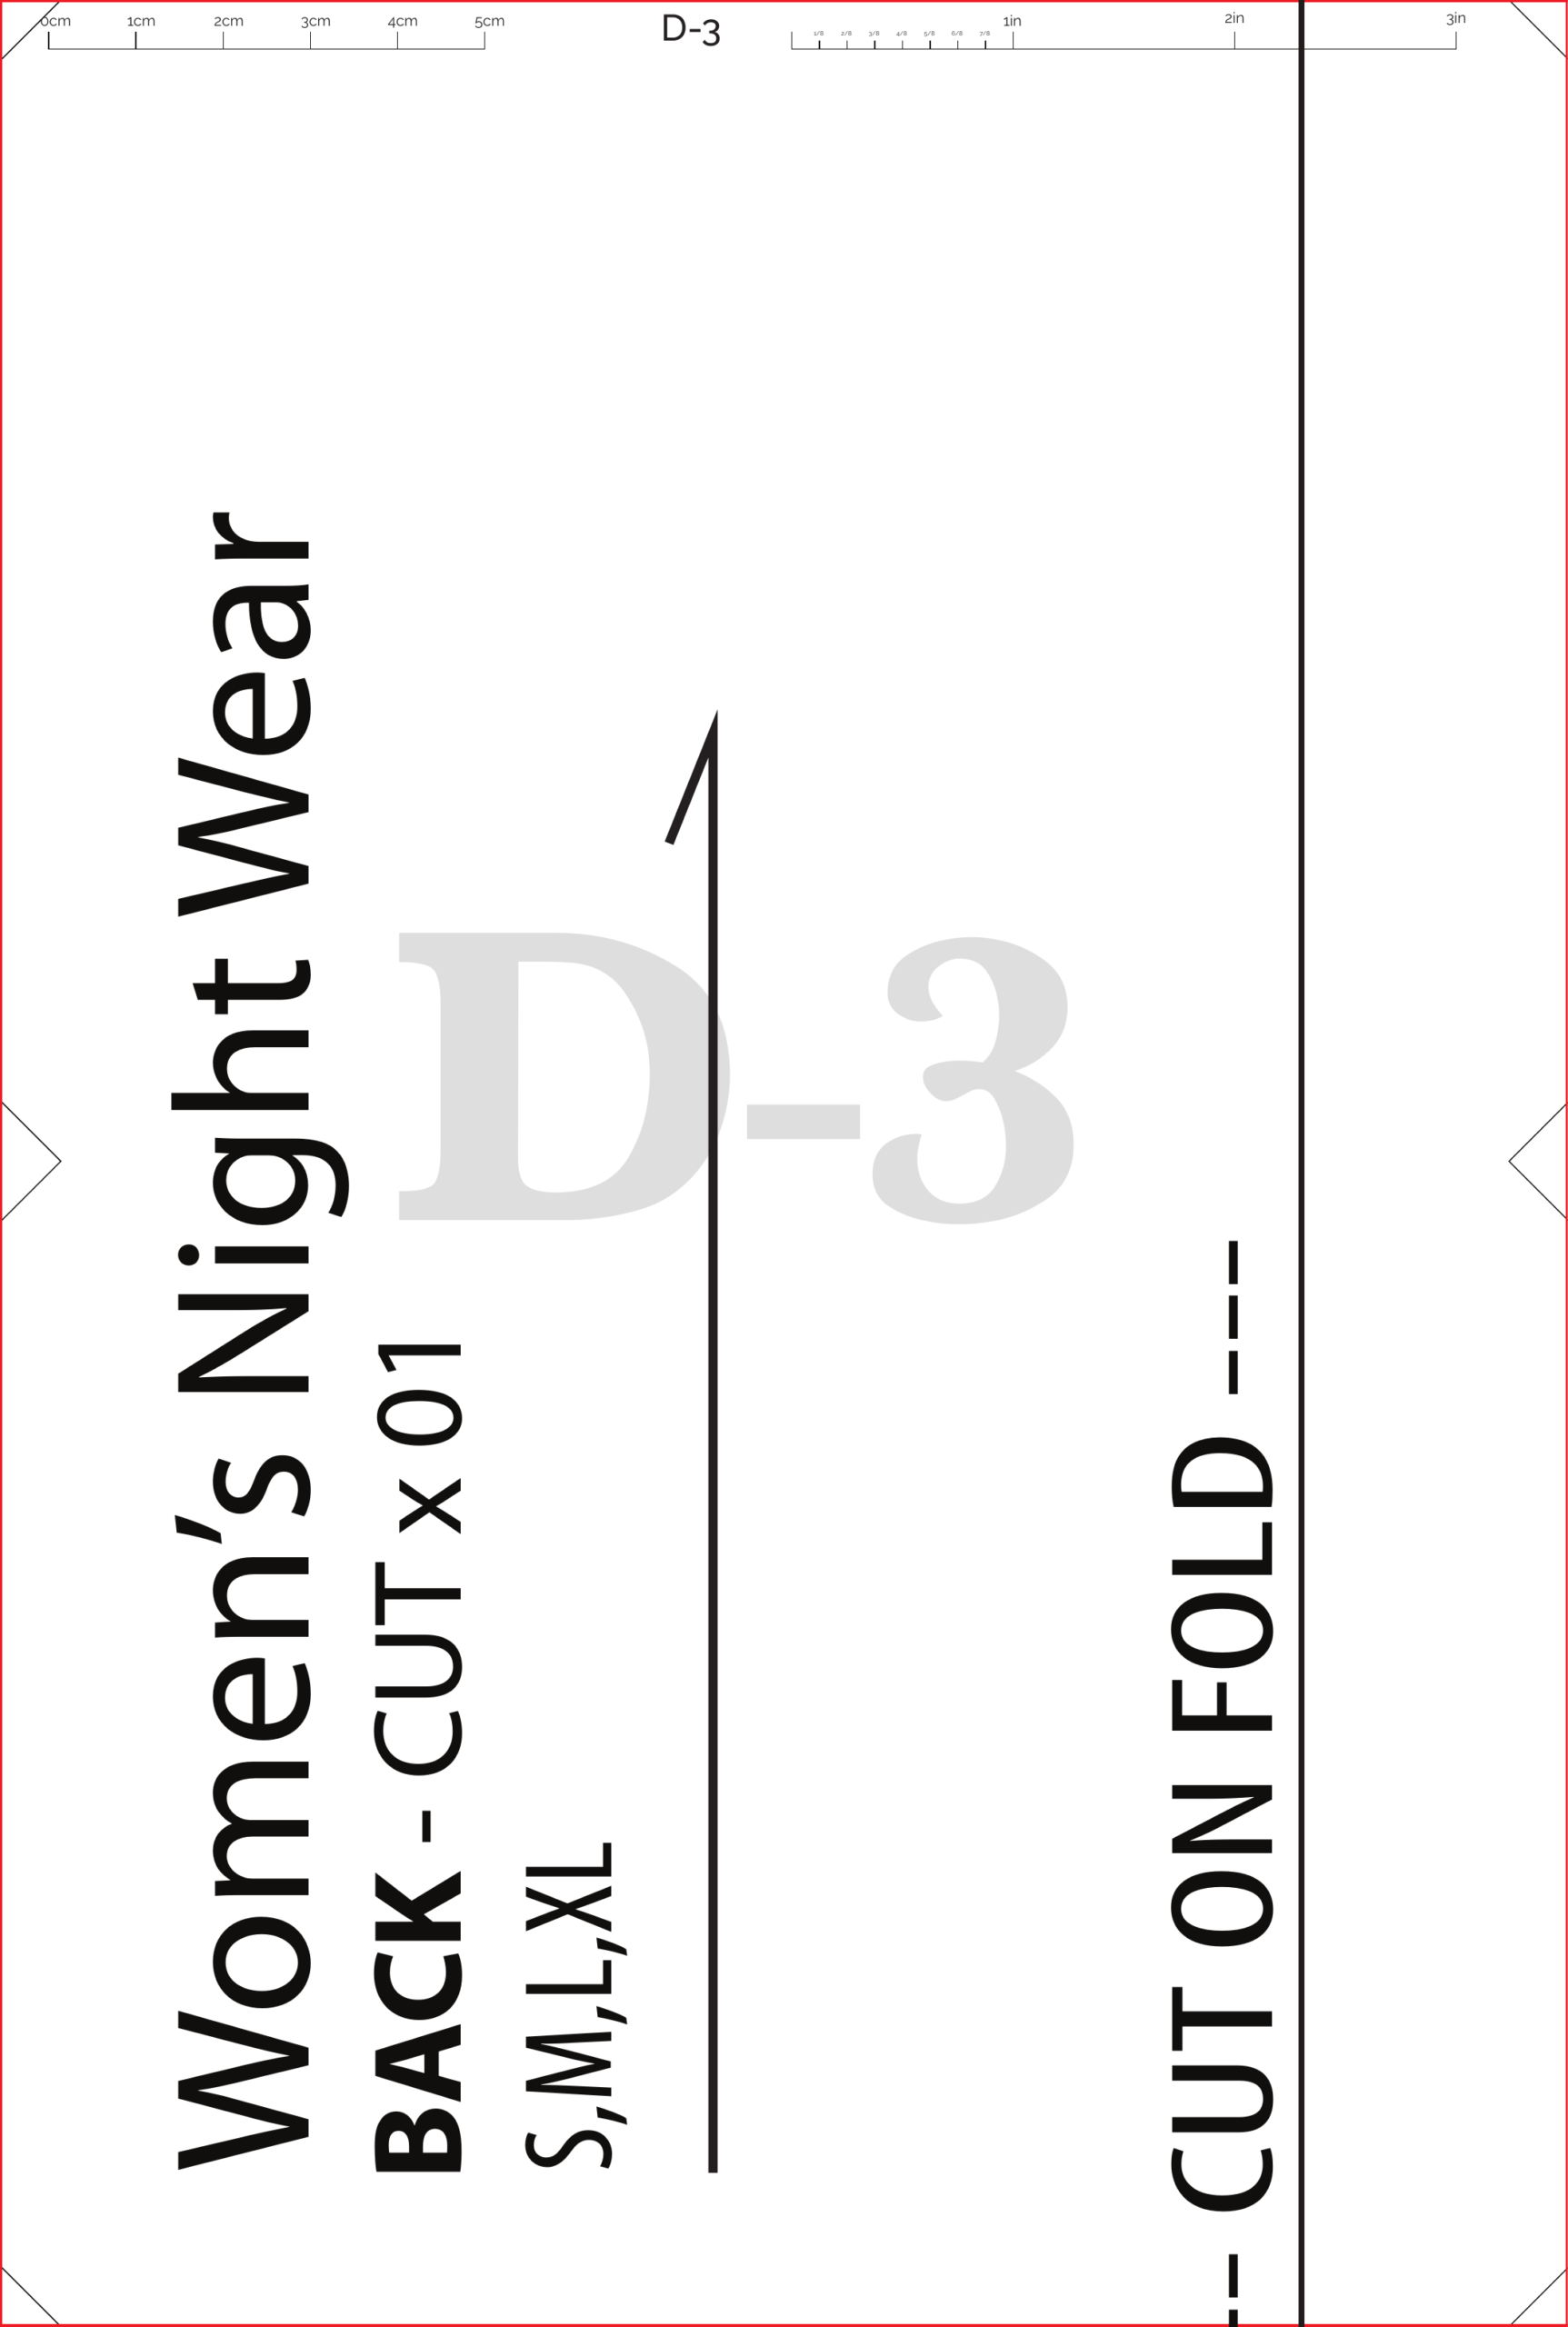
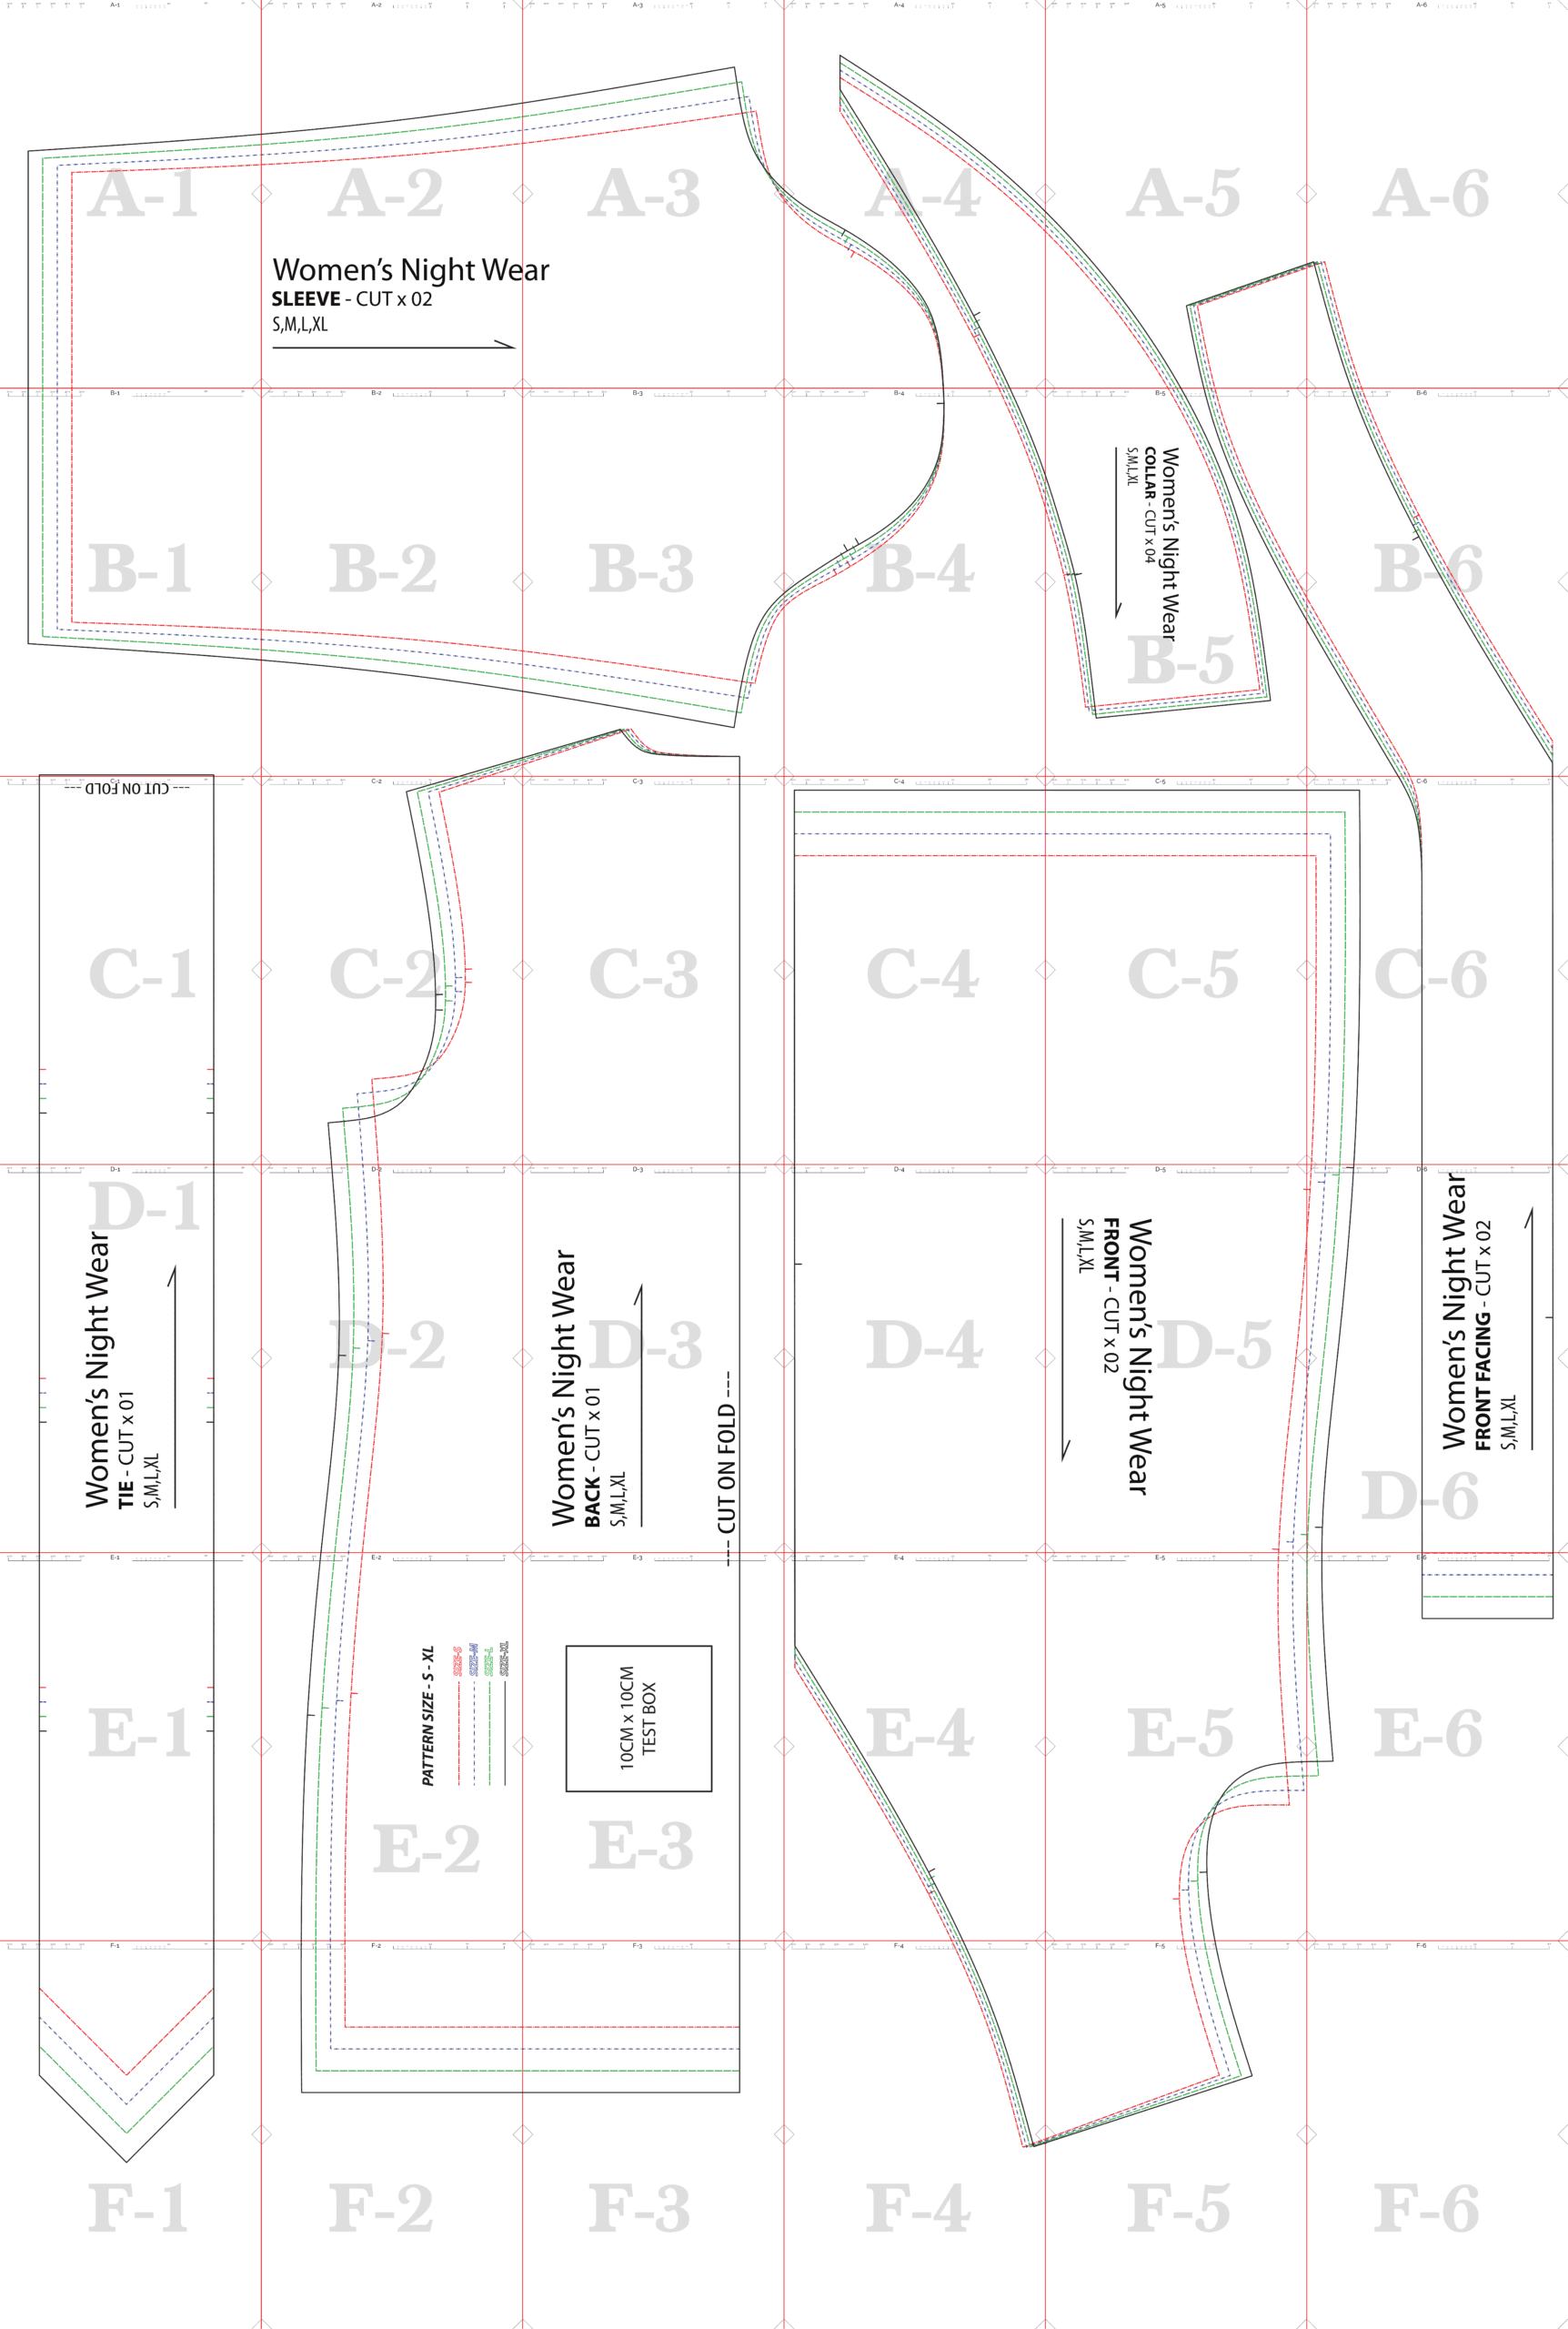
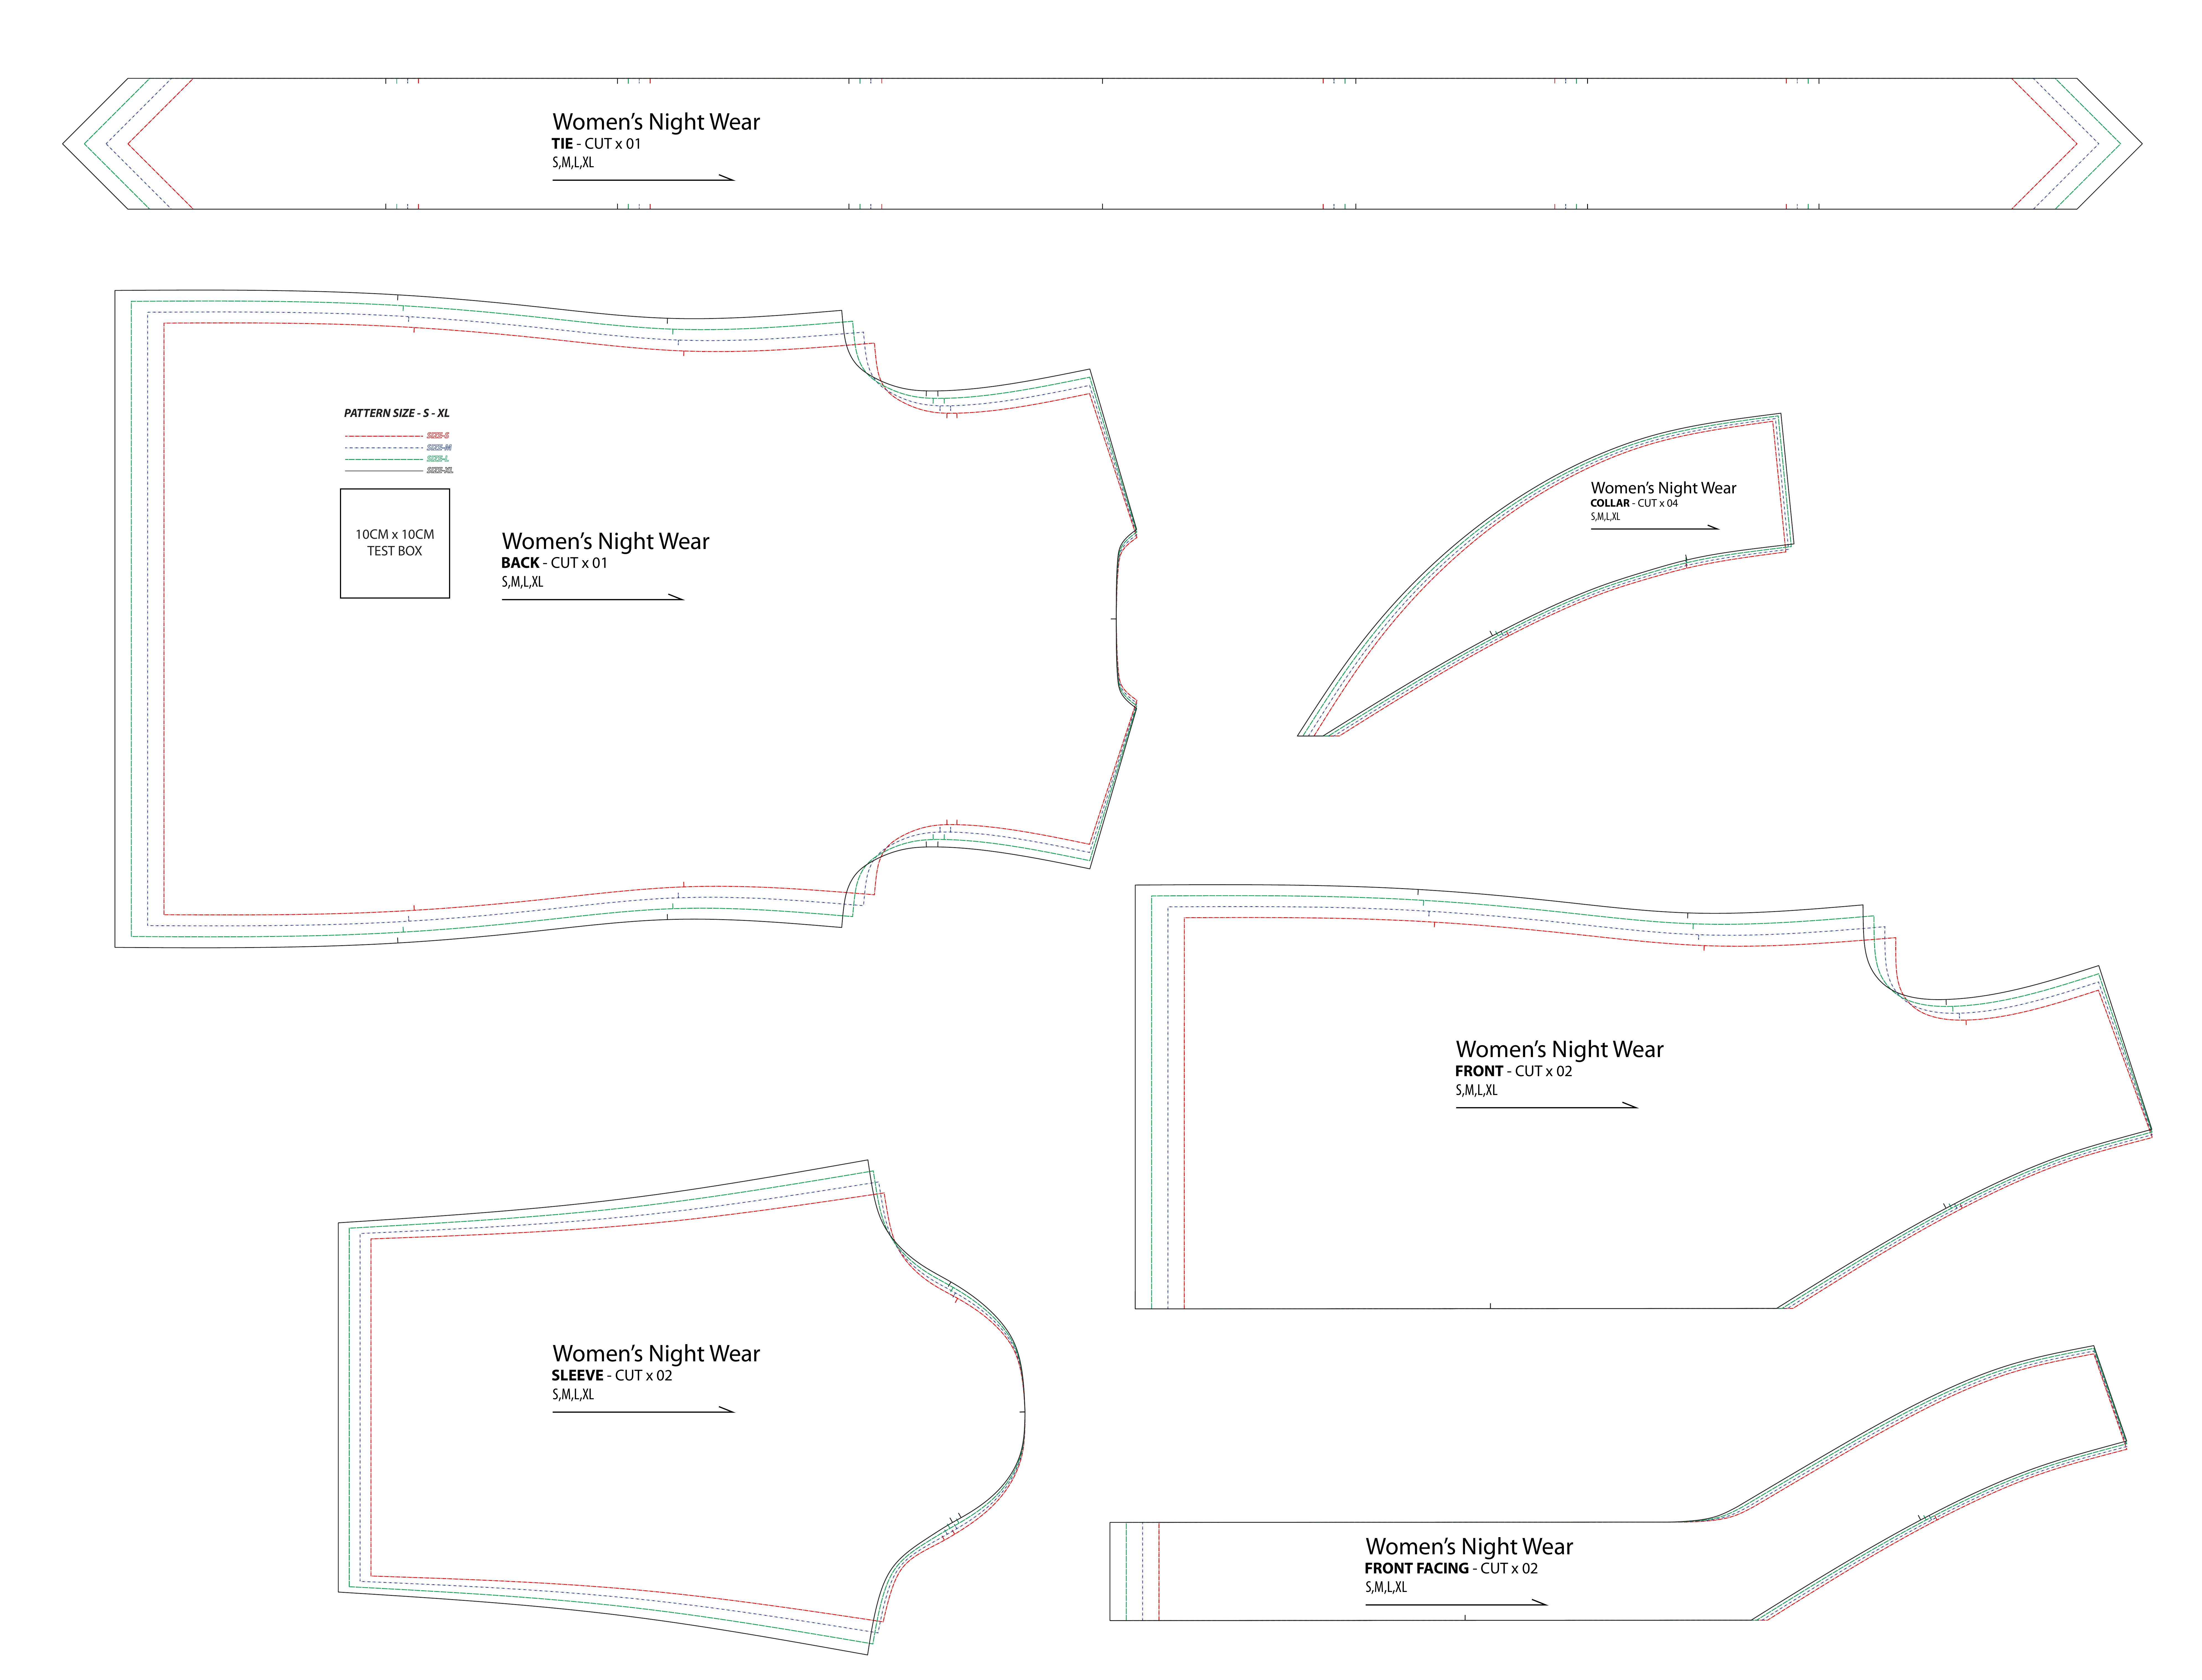
The full-size sheets show four size layers: S, M, L and XL. The large-format pages label a back, two front pieces, two sleeves, two front facings, one tie and four collar pieces. Markings include page identifiers, size outlines, a cut-on-fold indicator and a 10 cm calibration square. Follow the quantity and fold instructions printed beside each piece; do not substitute quantities from a generic tutorial.
The set has four print options: tiled US Letter pages, tiled A4 pages, two A0 large-format sheets and one projector layout. The tiled sets are alternatives, not pages to mix together. Choose one format and keep that set together from printing through assembly.
Choose a size for the nightwear sewing pattern
Use your body measurements and the pattern maker’s size chart to choose among S, M, L and XL. Do not rely on your ready-to-wear label: sizing varies by brand. Compare the measurements the chart requests, and consider how much ease you want for sleepwear. If your measurements fall across more than one size, decide where you need comfort and check whether grading between sizes is appropriate for this design.
The supplied sheets for this nightwear sewing pattern do not include a measurement chart, so they are not enough on their own to identify which size will fit you. Confirm the chart and any fit notes before cutting. If you are between sizes or using costly fabric, make a test garment in a similar-weight fabric first.
The source artwork for this nightwear sewing pattern is layered. The image versions below preserve the visible size outlines together, but images cannot switch layers on and off. Print in color if possible, then follow one size line consistently across every piece. Mark that size on the paper pieces before cutting and keep the other outlines as reference.
Print the nightwear sewing pattern at full scale
For this nightwear sewing pattern, select the matching US Letter or A4 paper-size set and print at Actual size or 100%. Turn off “Fit to page,” “Fit to printable area,” “Shrink oversized pages” and other automatic scaling. Check that paper size and orientation match the selected set. Print the page with the calibration square first, then measure it with a ruler. It must measure exactly 10 cm by 10 cm before you print or trace the rest.
Adobe explains the difference between “Actual size” and “Fit” in its PDF print-scaling guide; choose Actual size so the calibration square stays true.
- Open a sheet image below and save it to your device if you need to print it.
- In the print dialog, choose matching paper size and Actual size / 100%.
- Measure the 10 cm square in both directions. If it is not exactly 10 cm, stop and correct scaling.
- Print the remaining pages with the same settings. Do not let printer software apply a different scale later.
For A0, ask the print shop to print at its intended full size without “fit” scaling, then measure the calibration square before leaving. For projector use, square the image to the fabric grain, lock the projector position and calibrate the same square on the fabric. Recheck if the projector, zoom, focus or image size changes.
Assemble the nightwear sewing pattern sheets
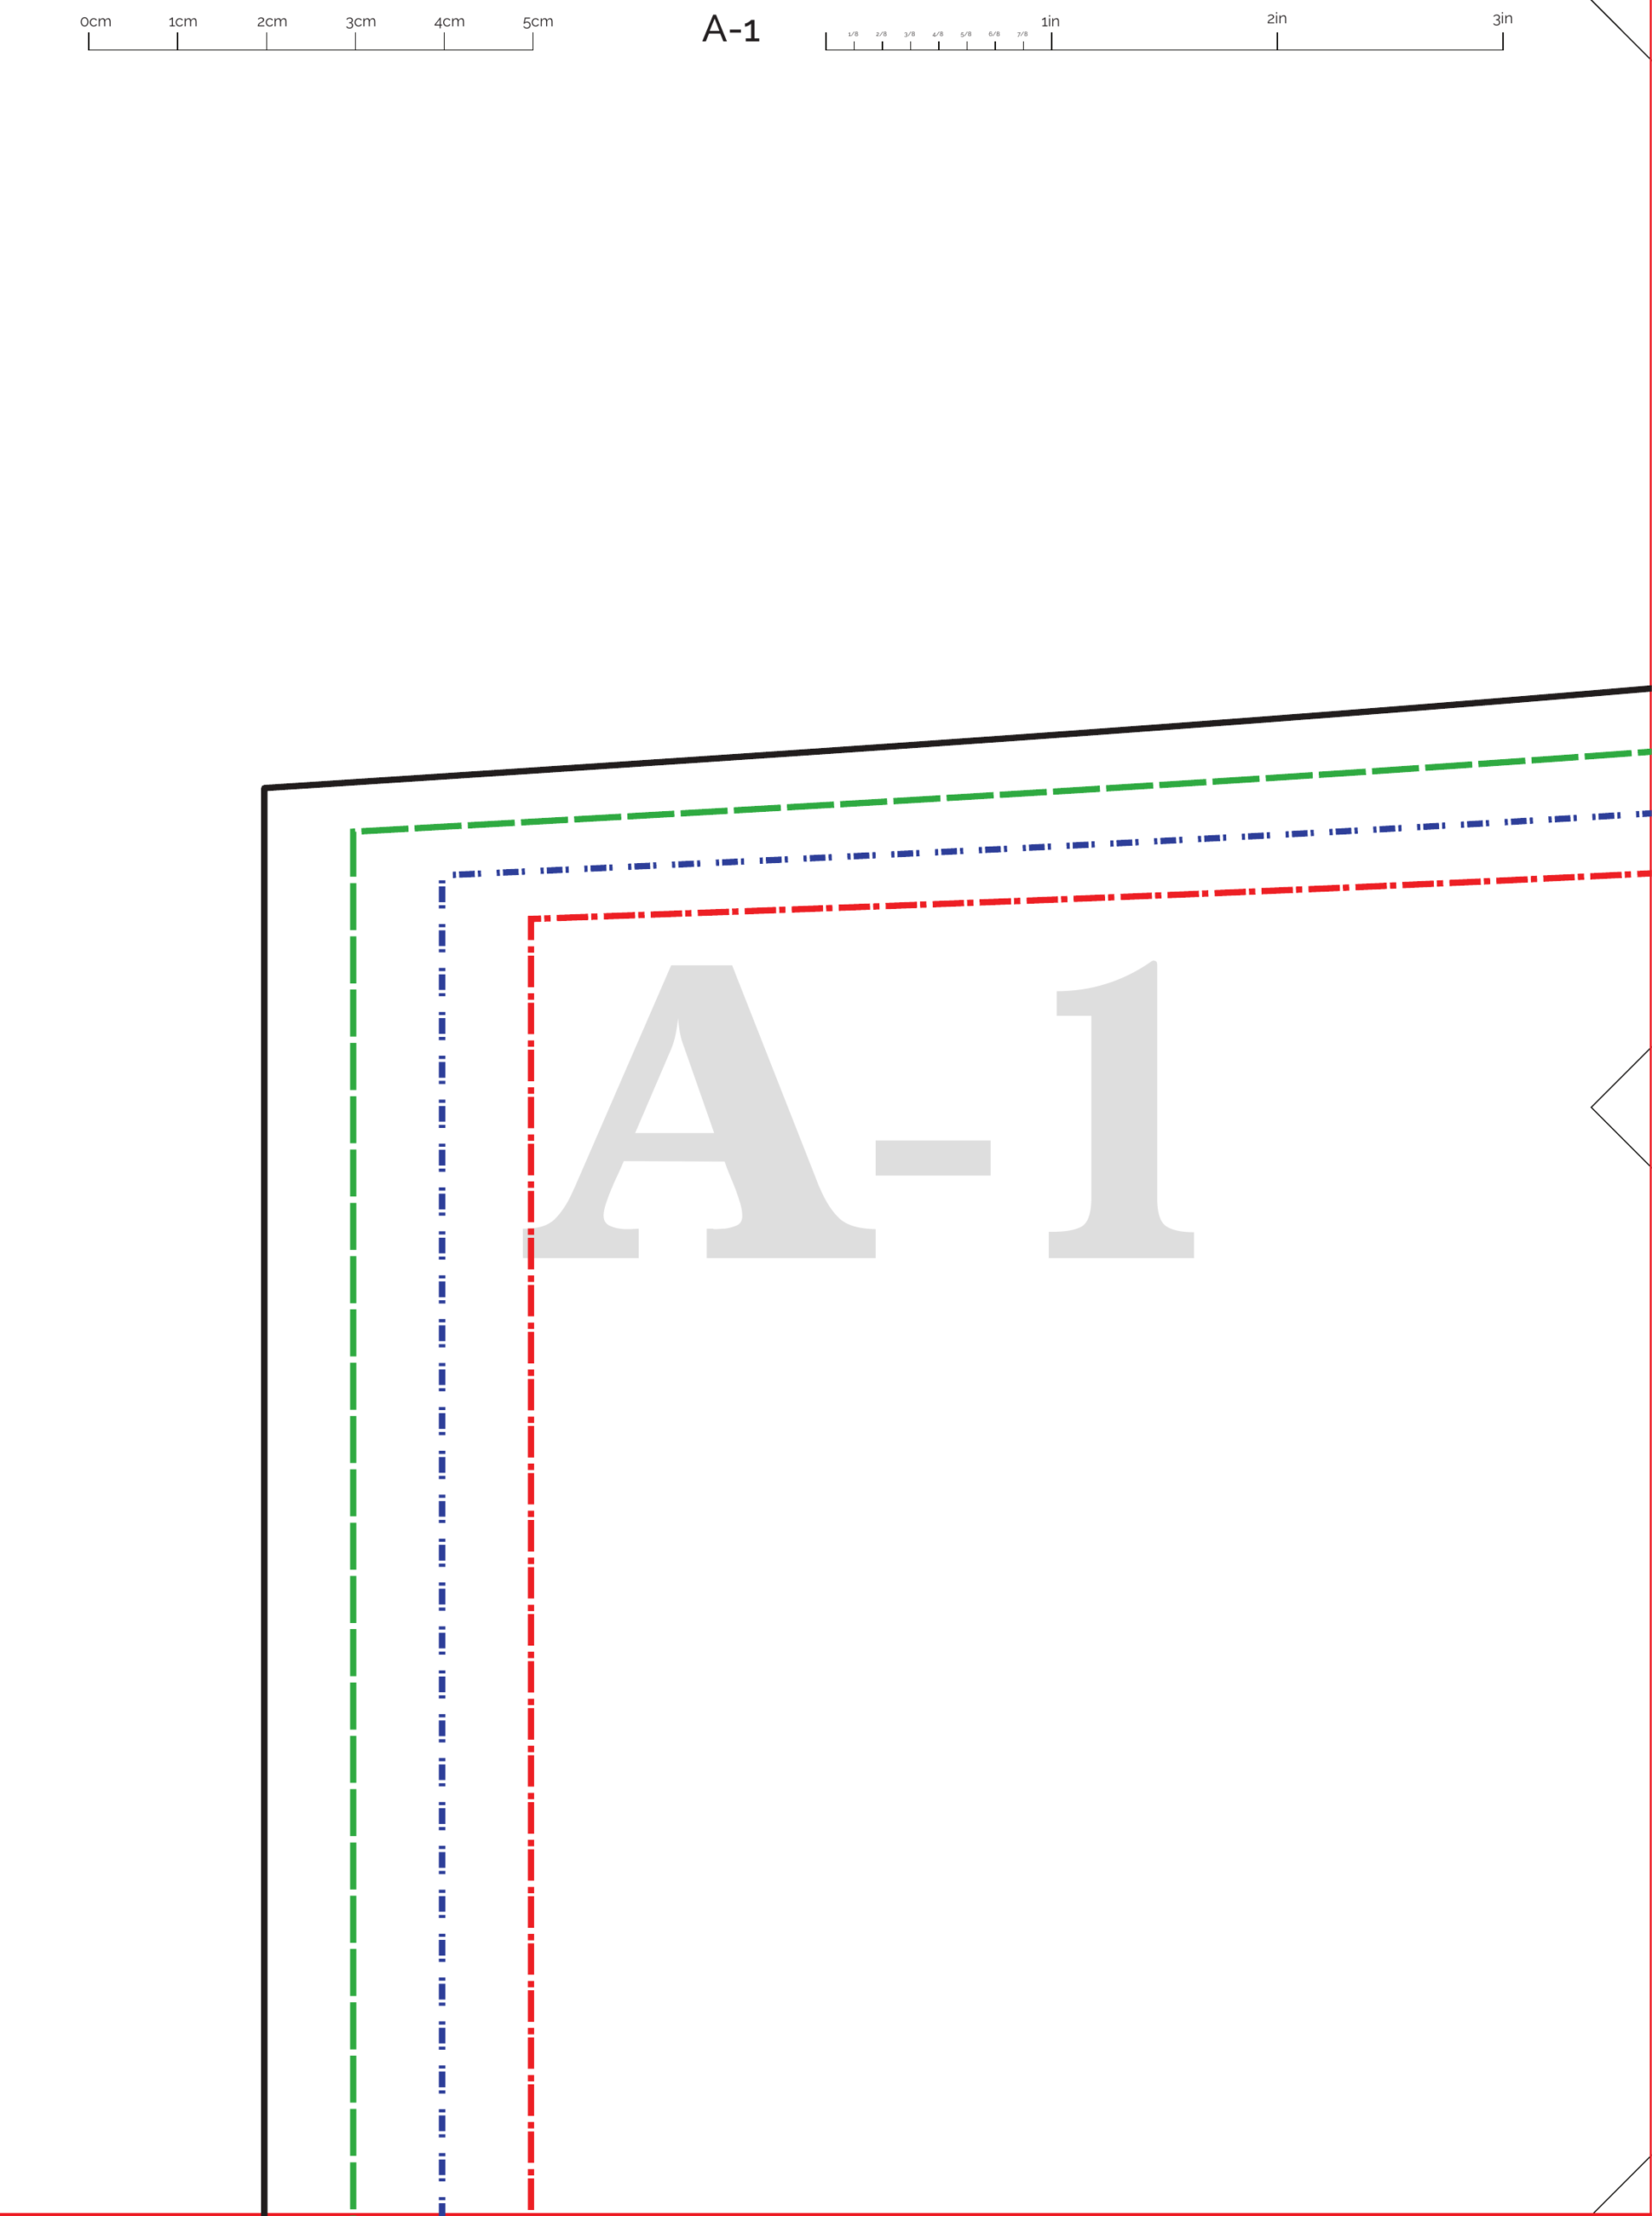
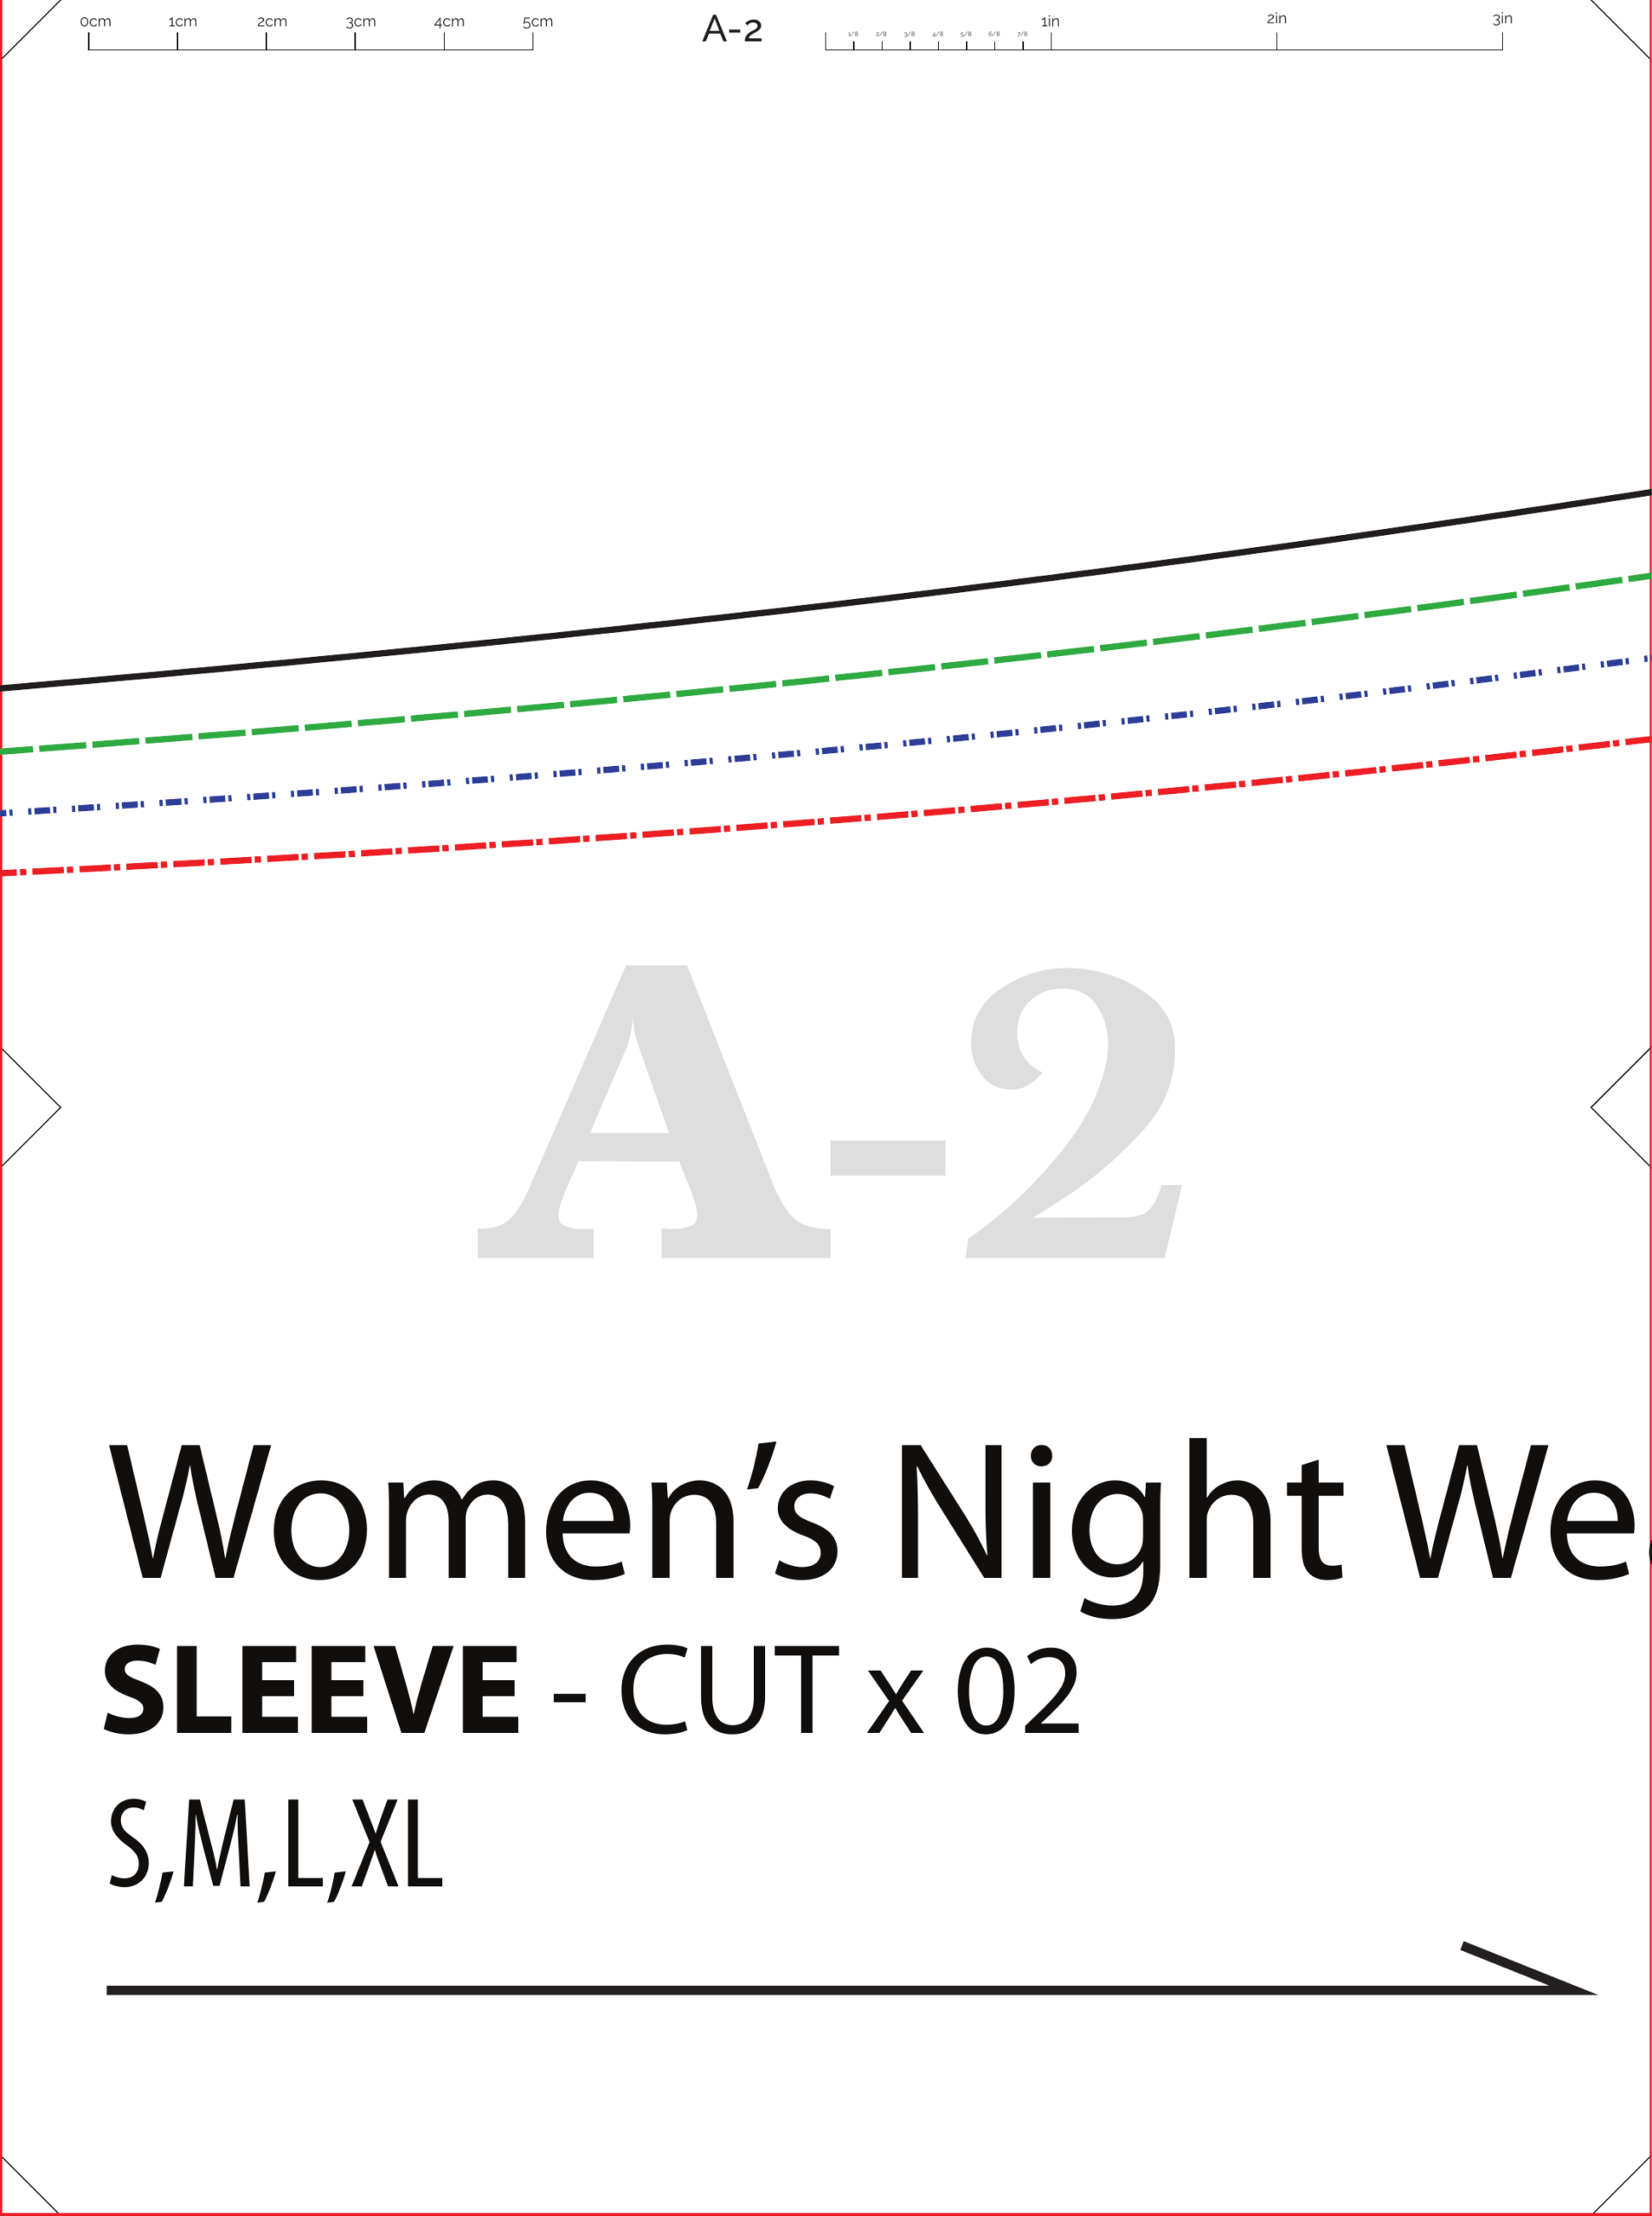
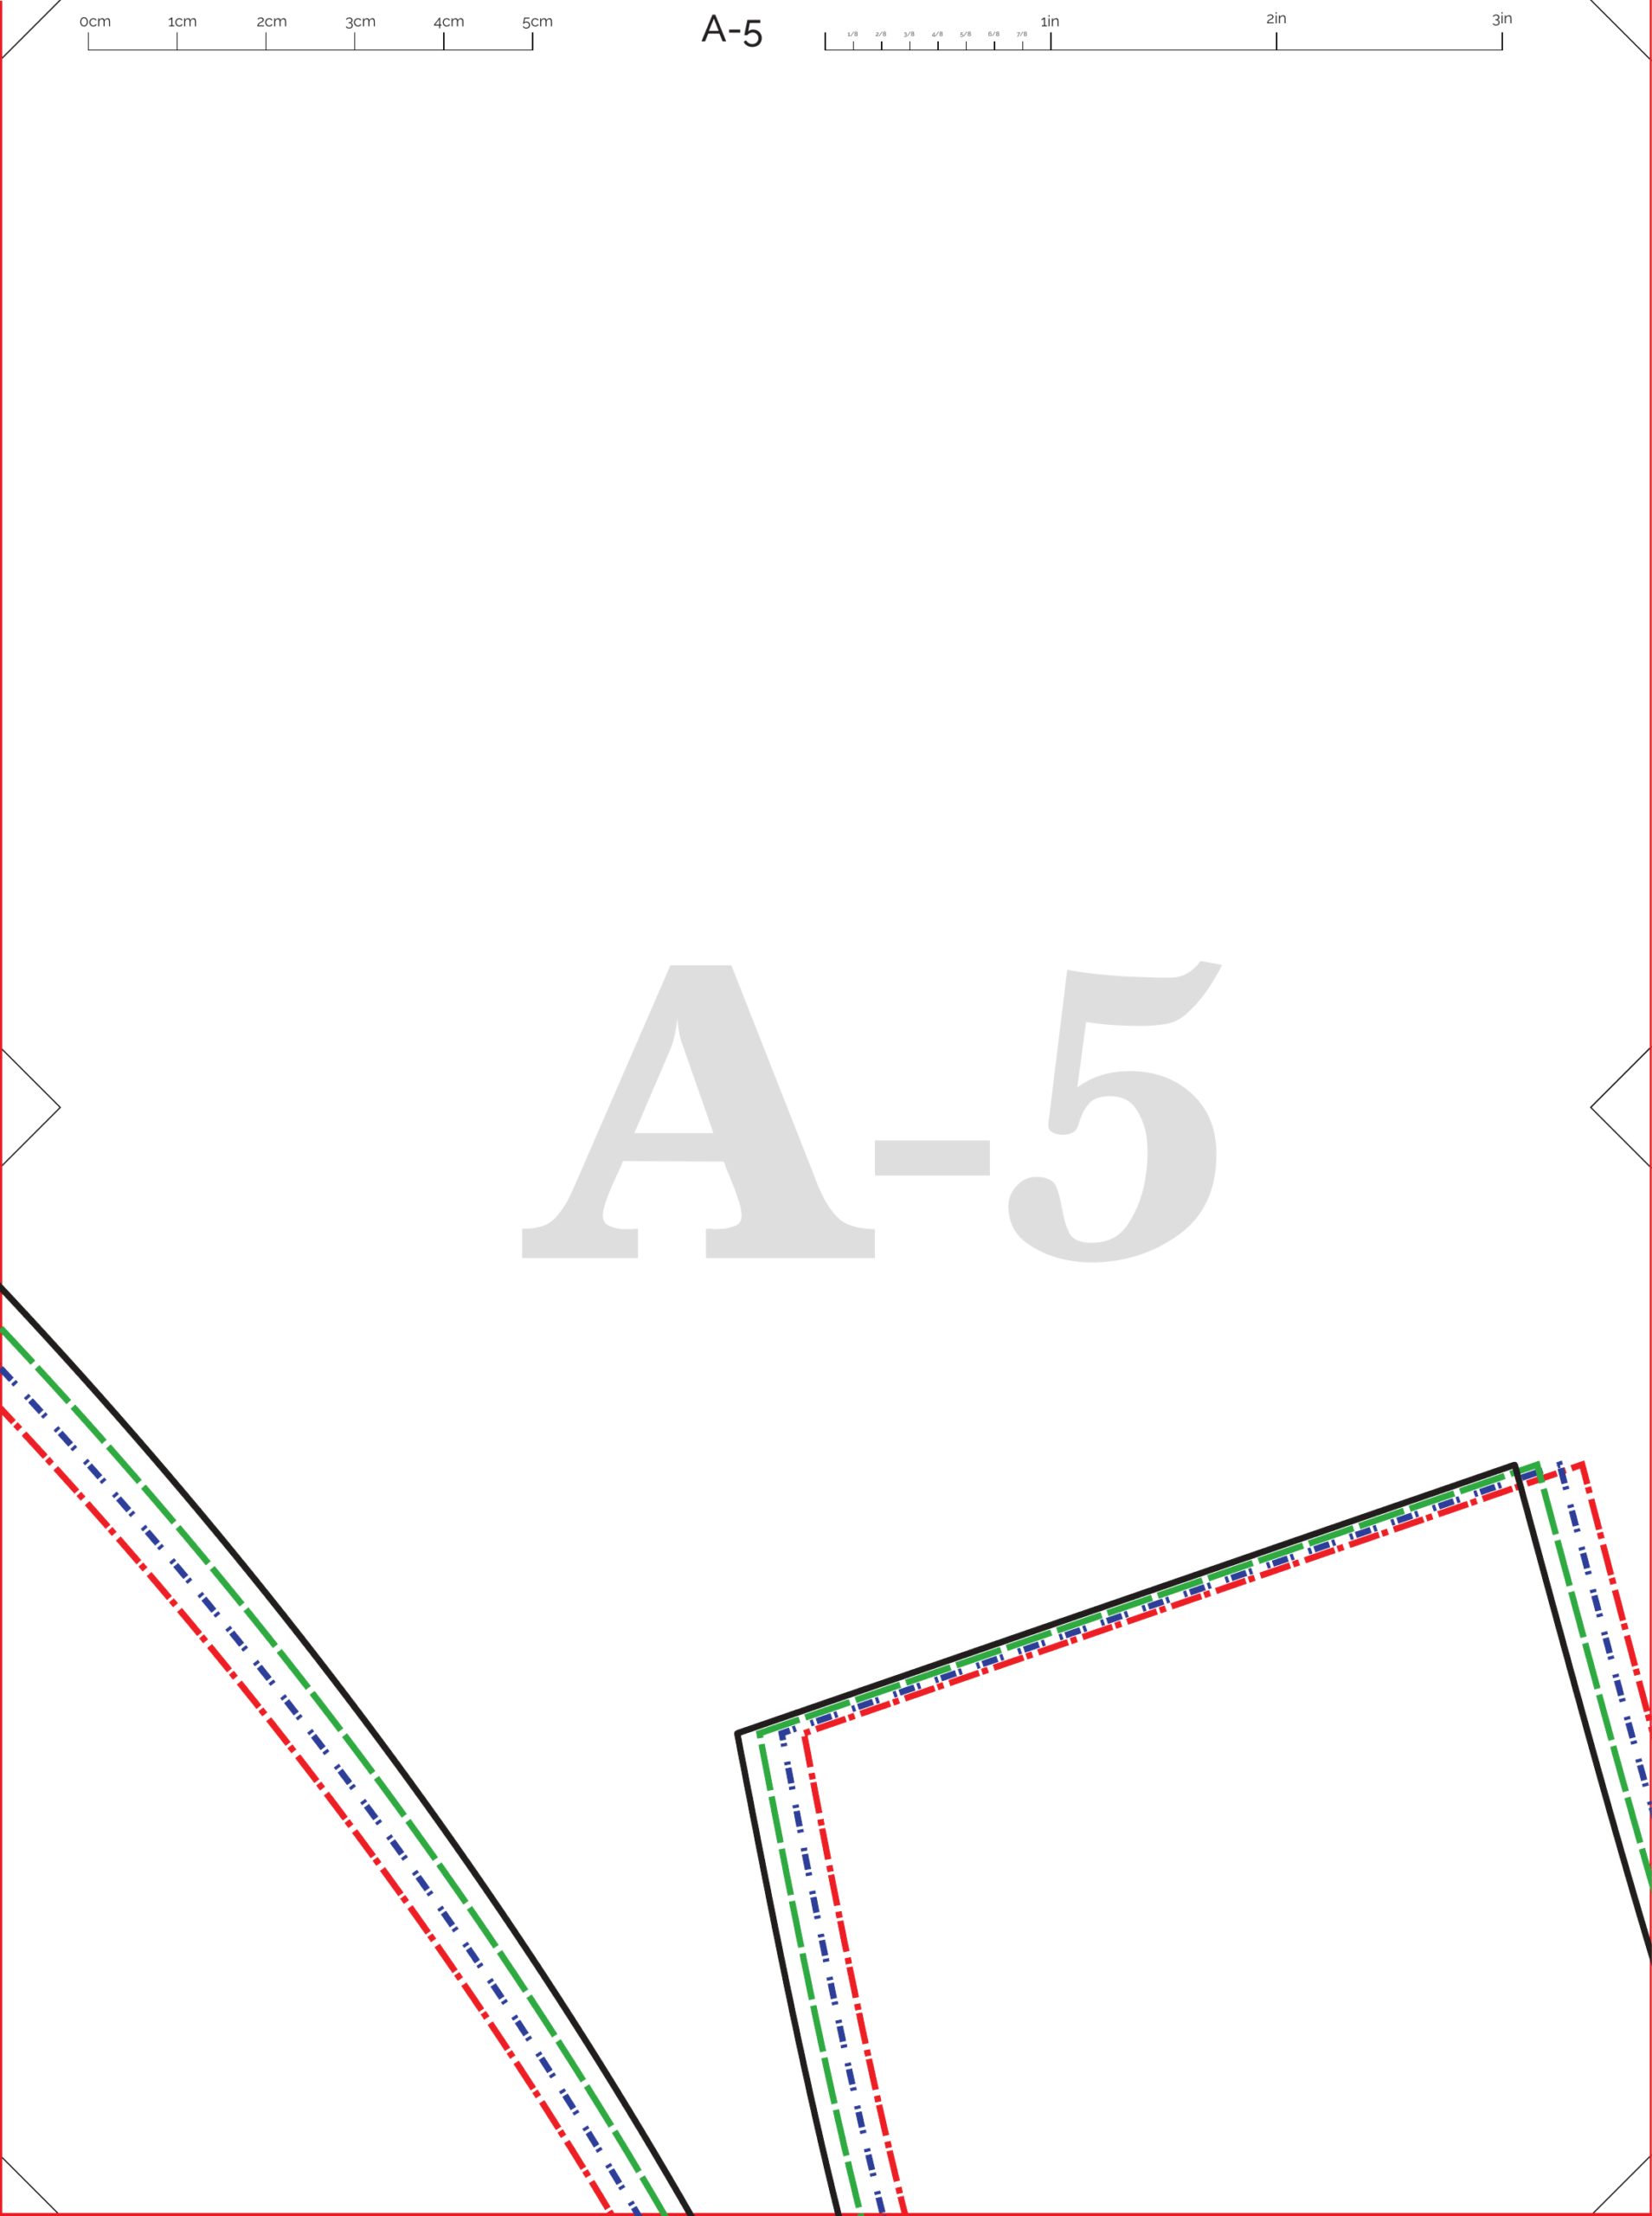
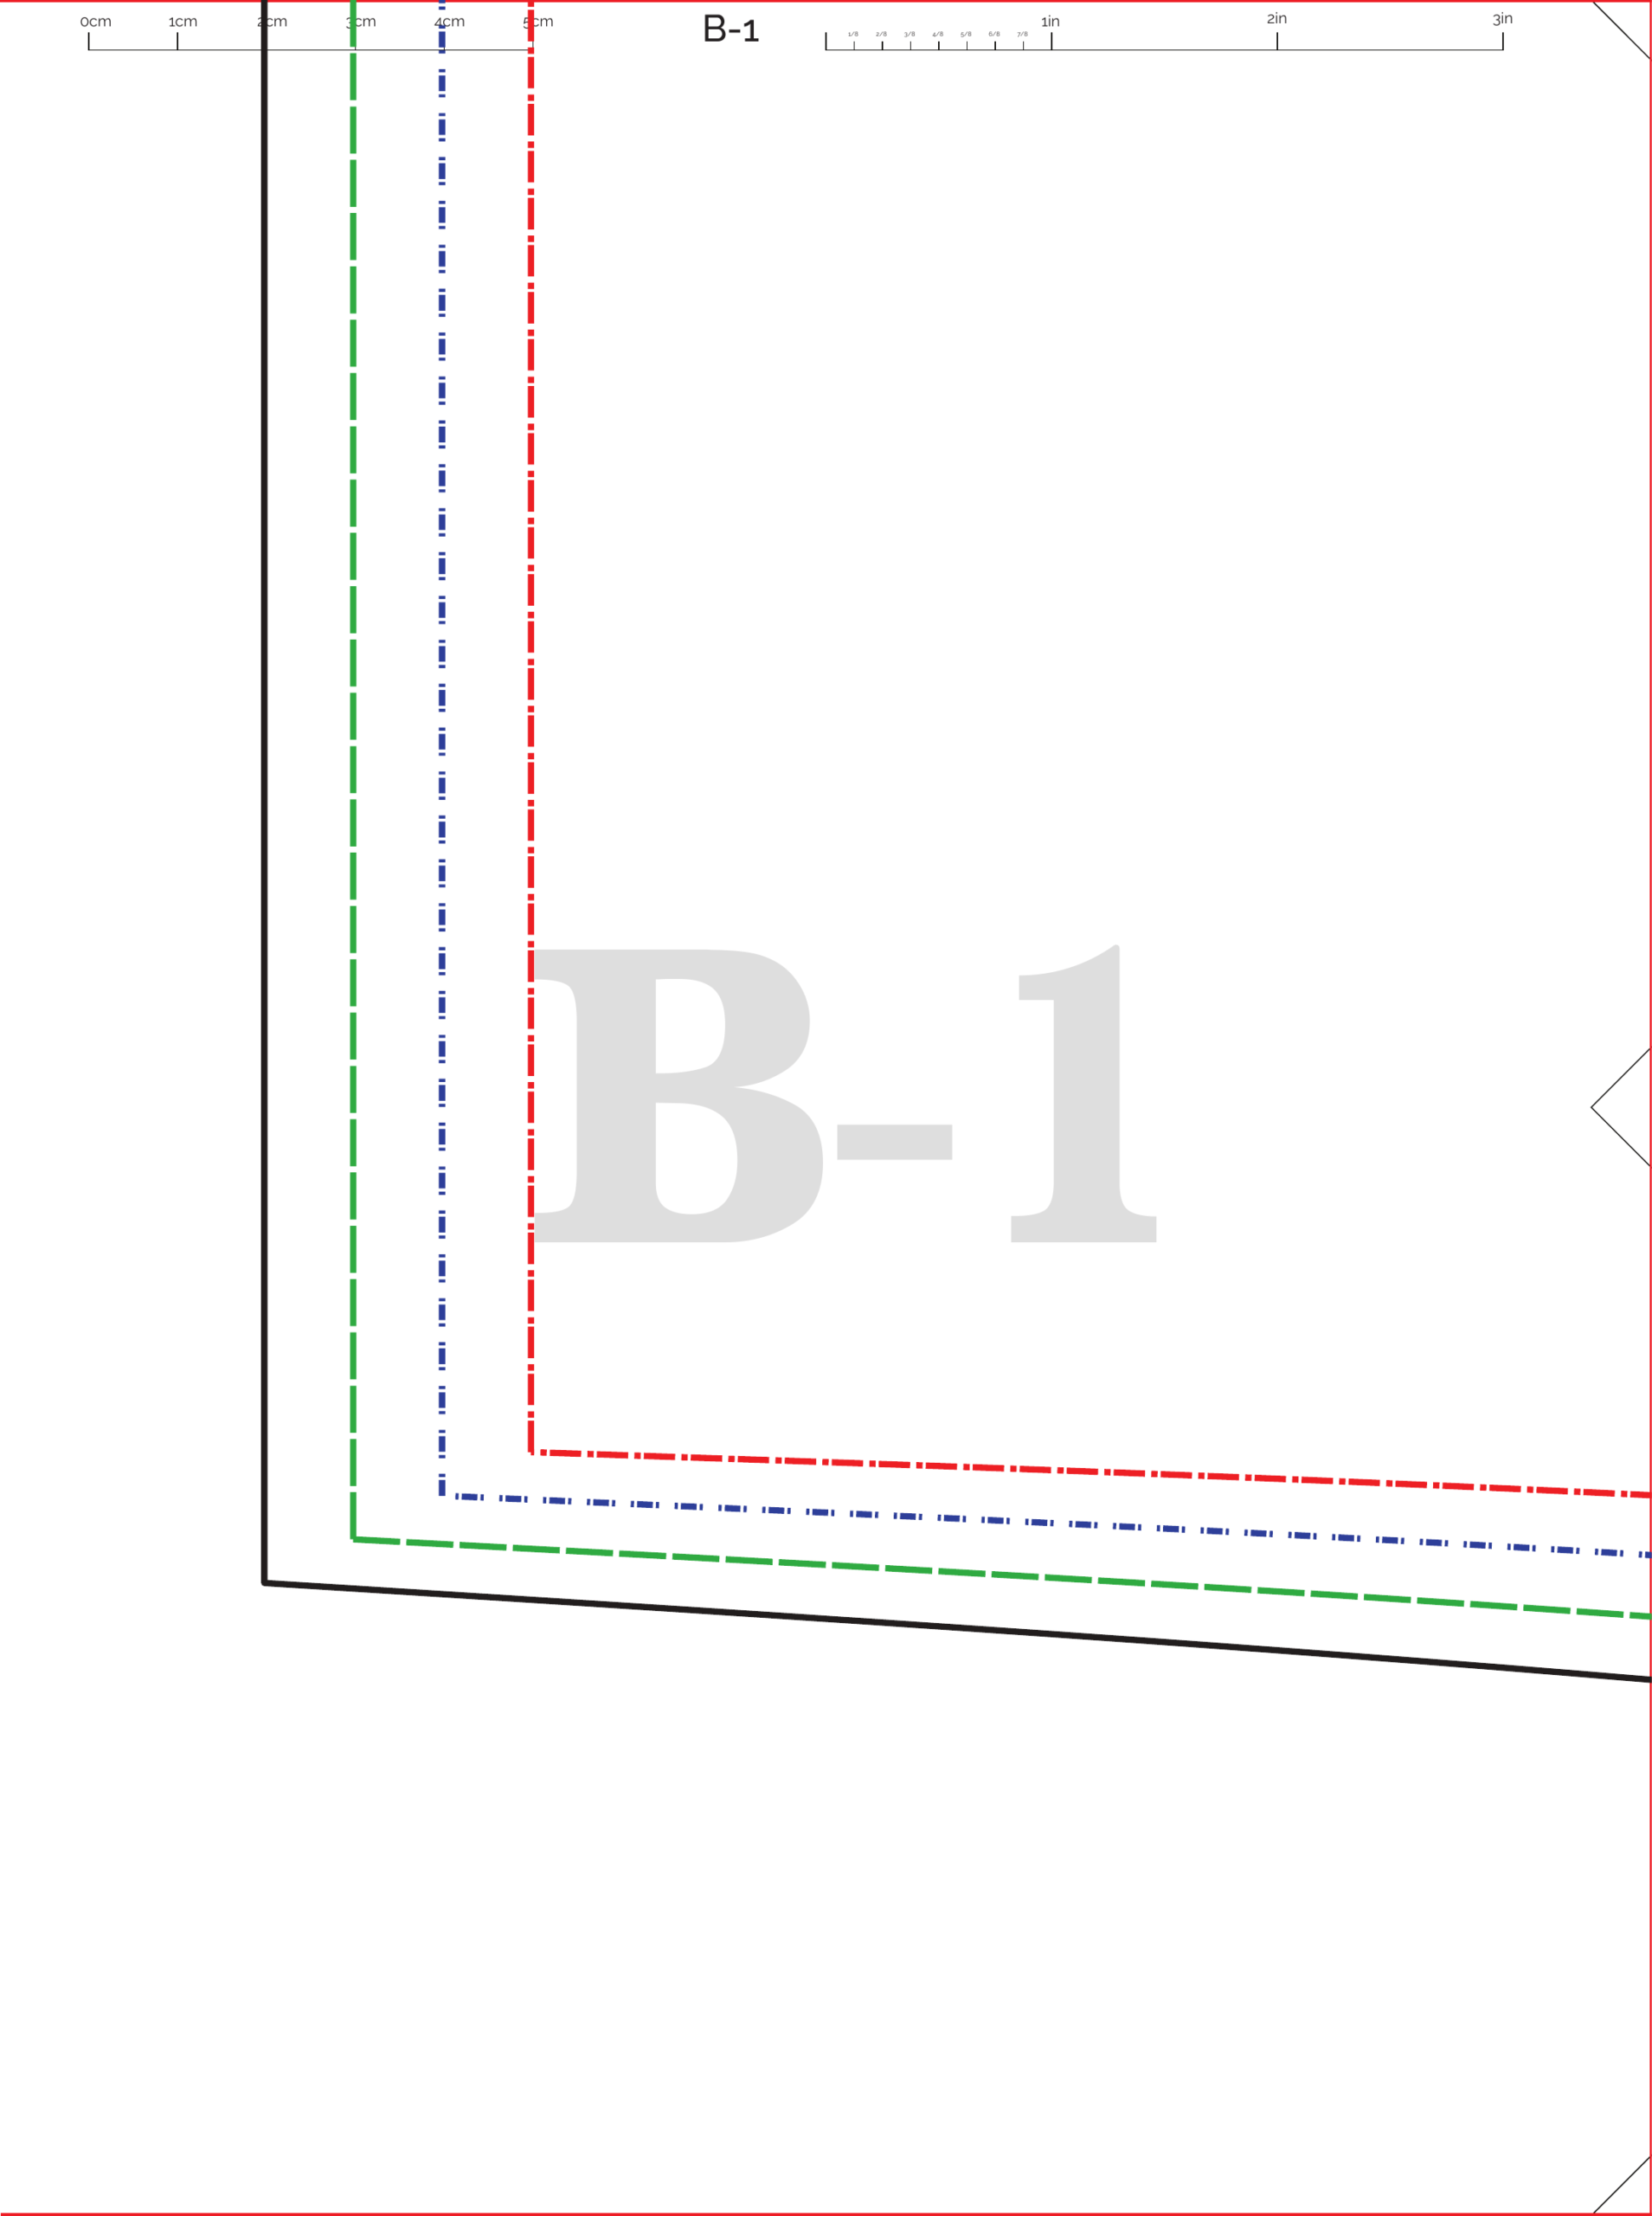
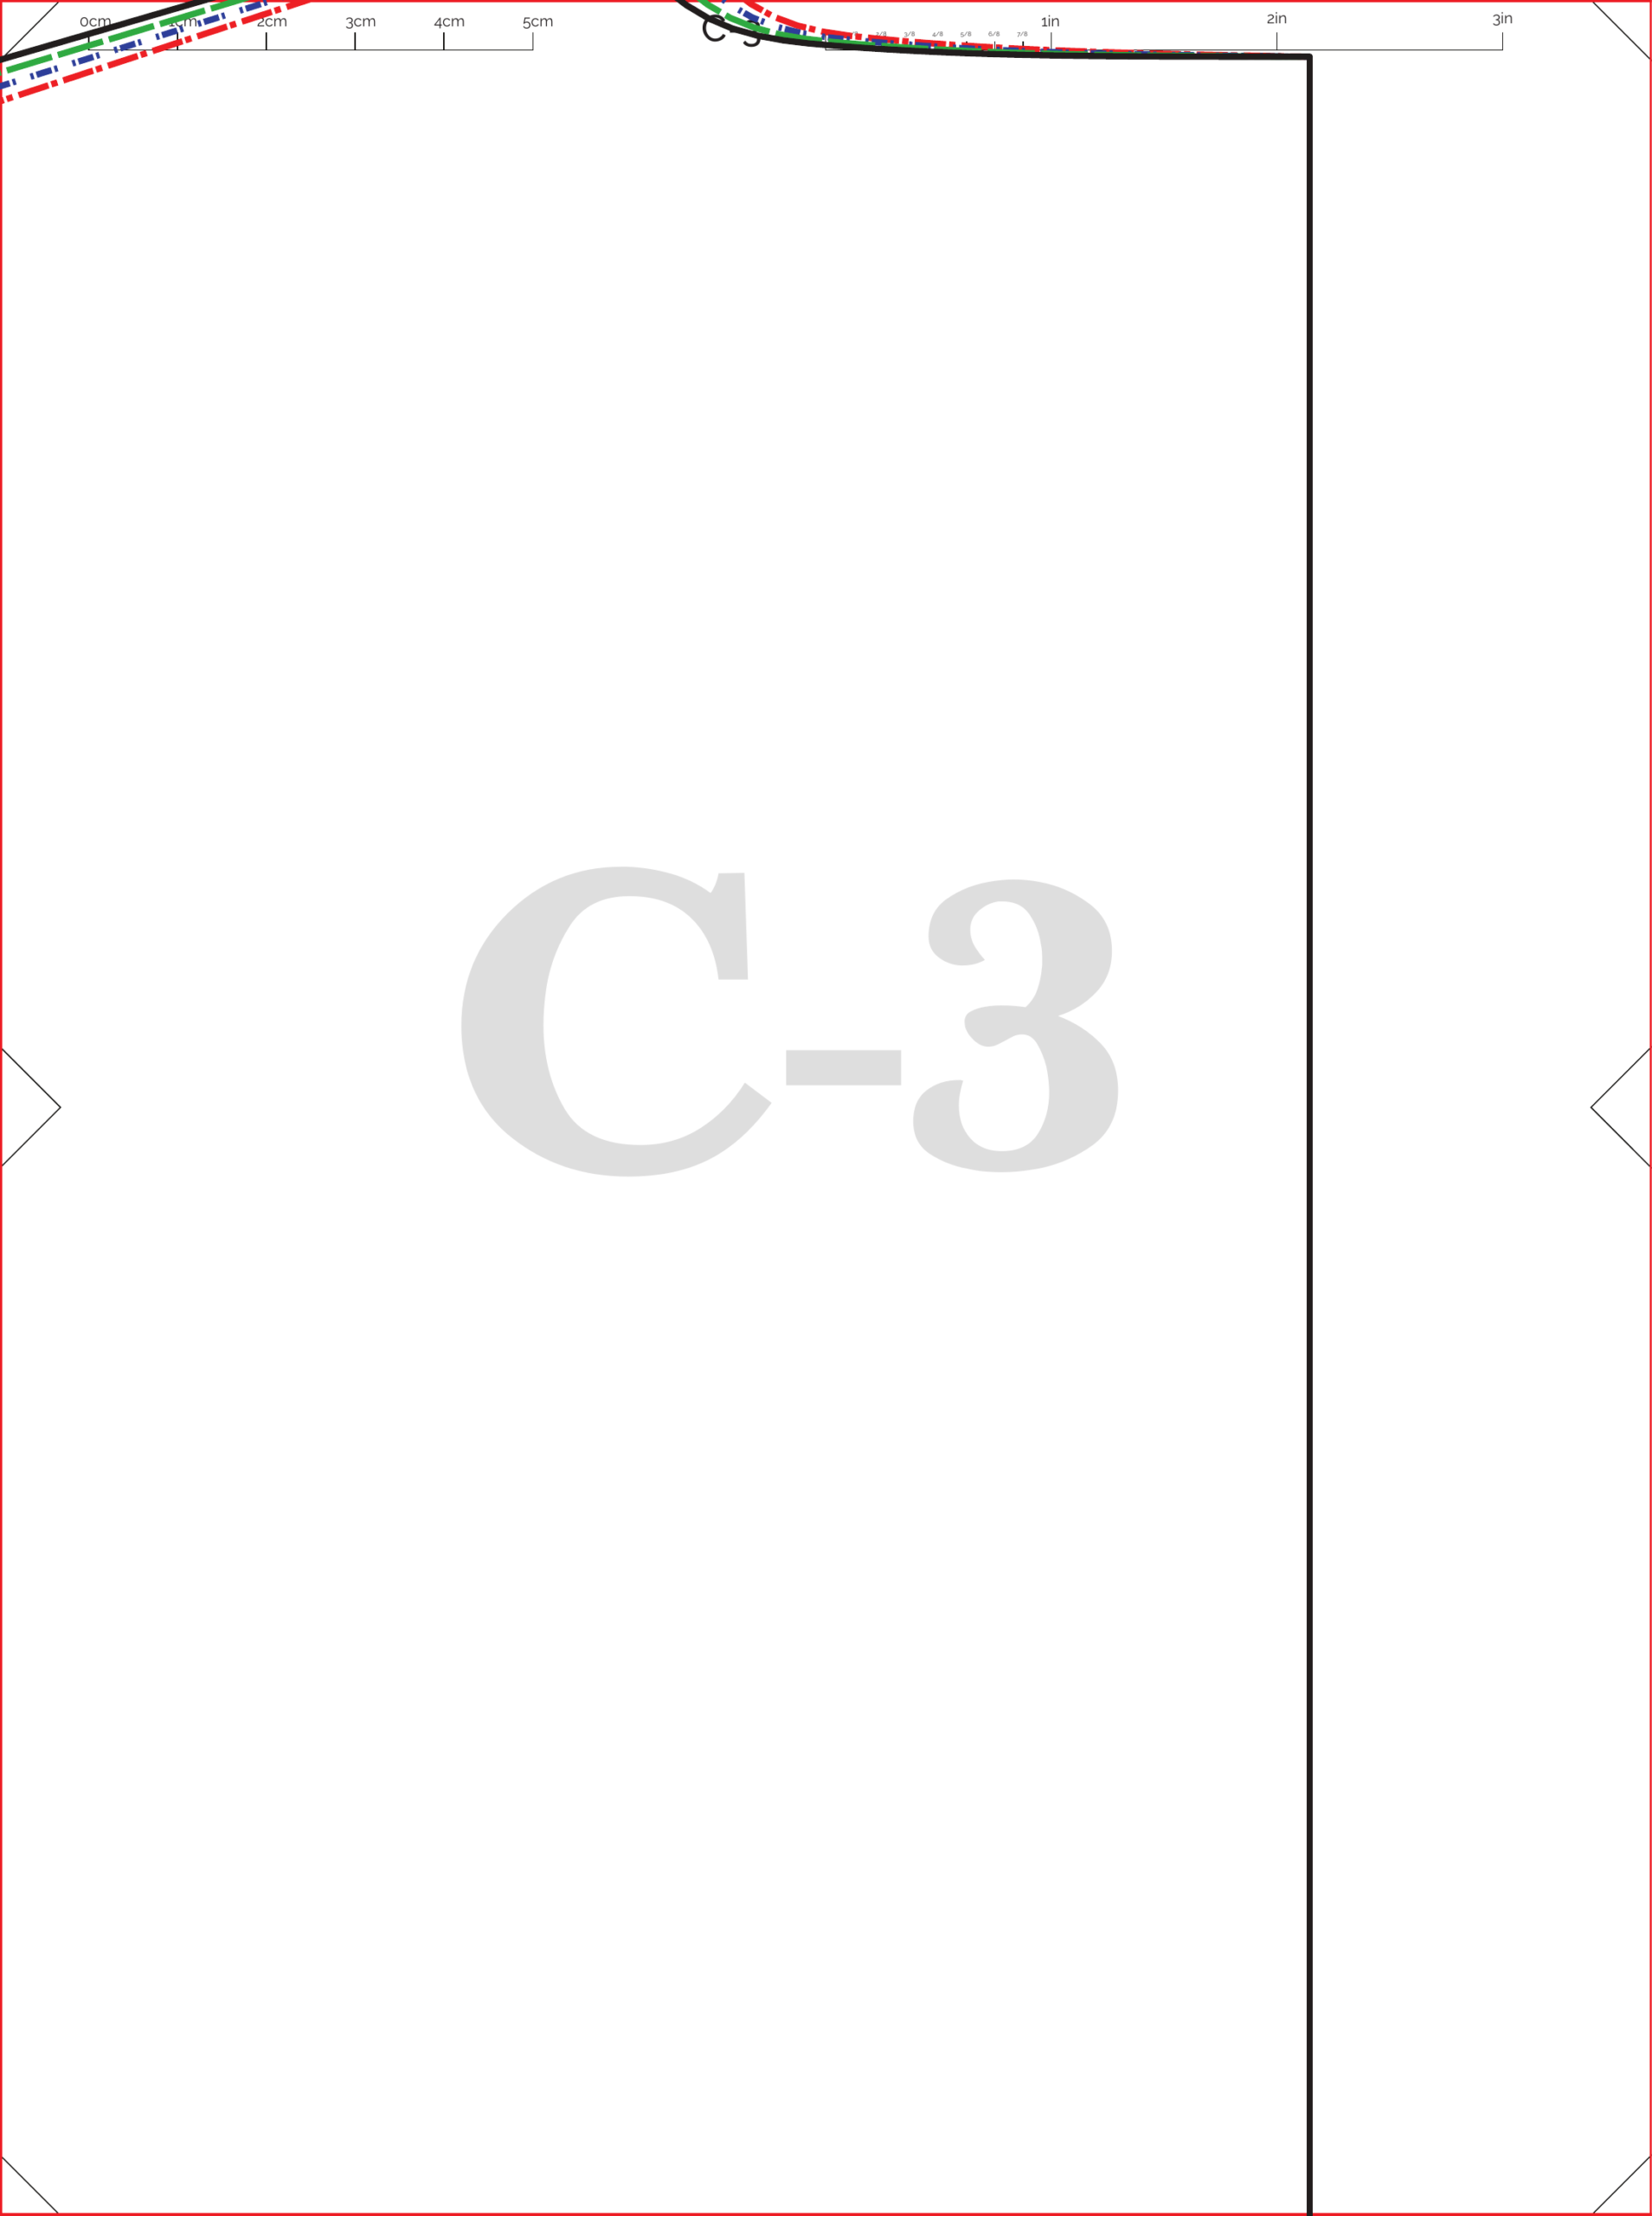
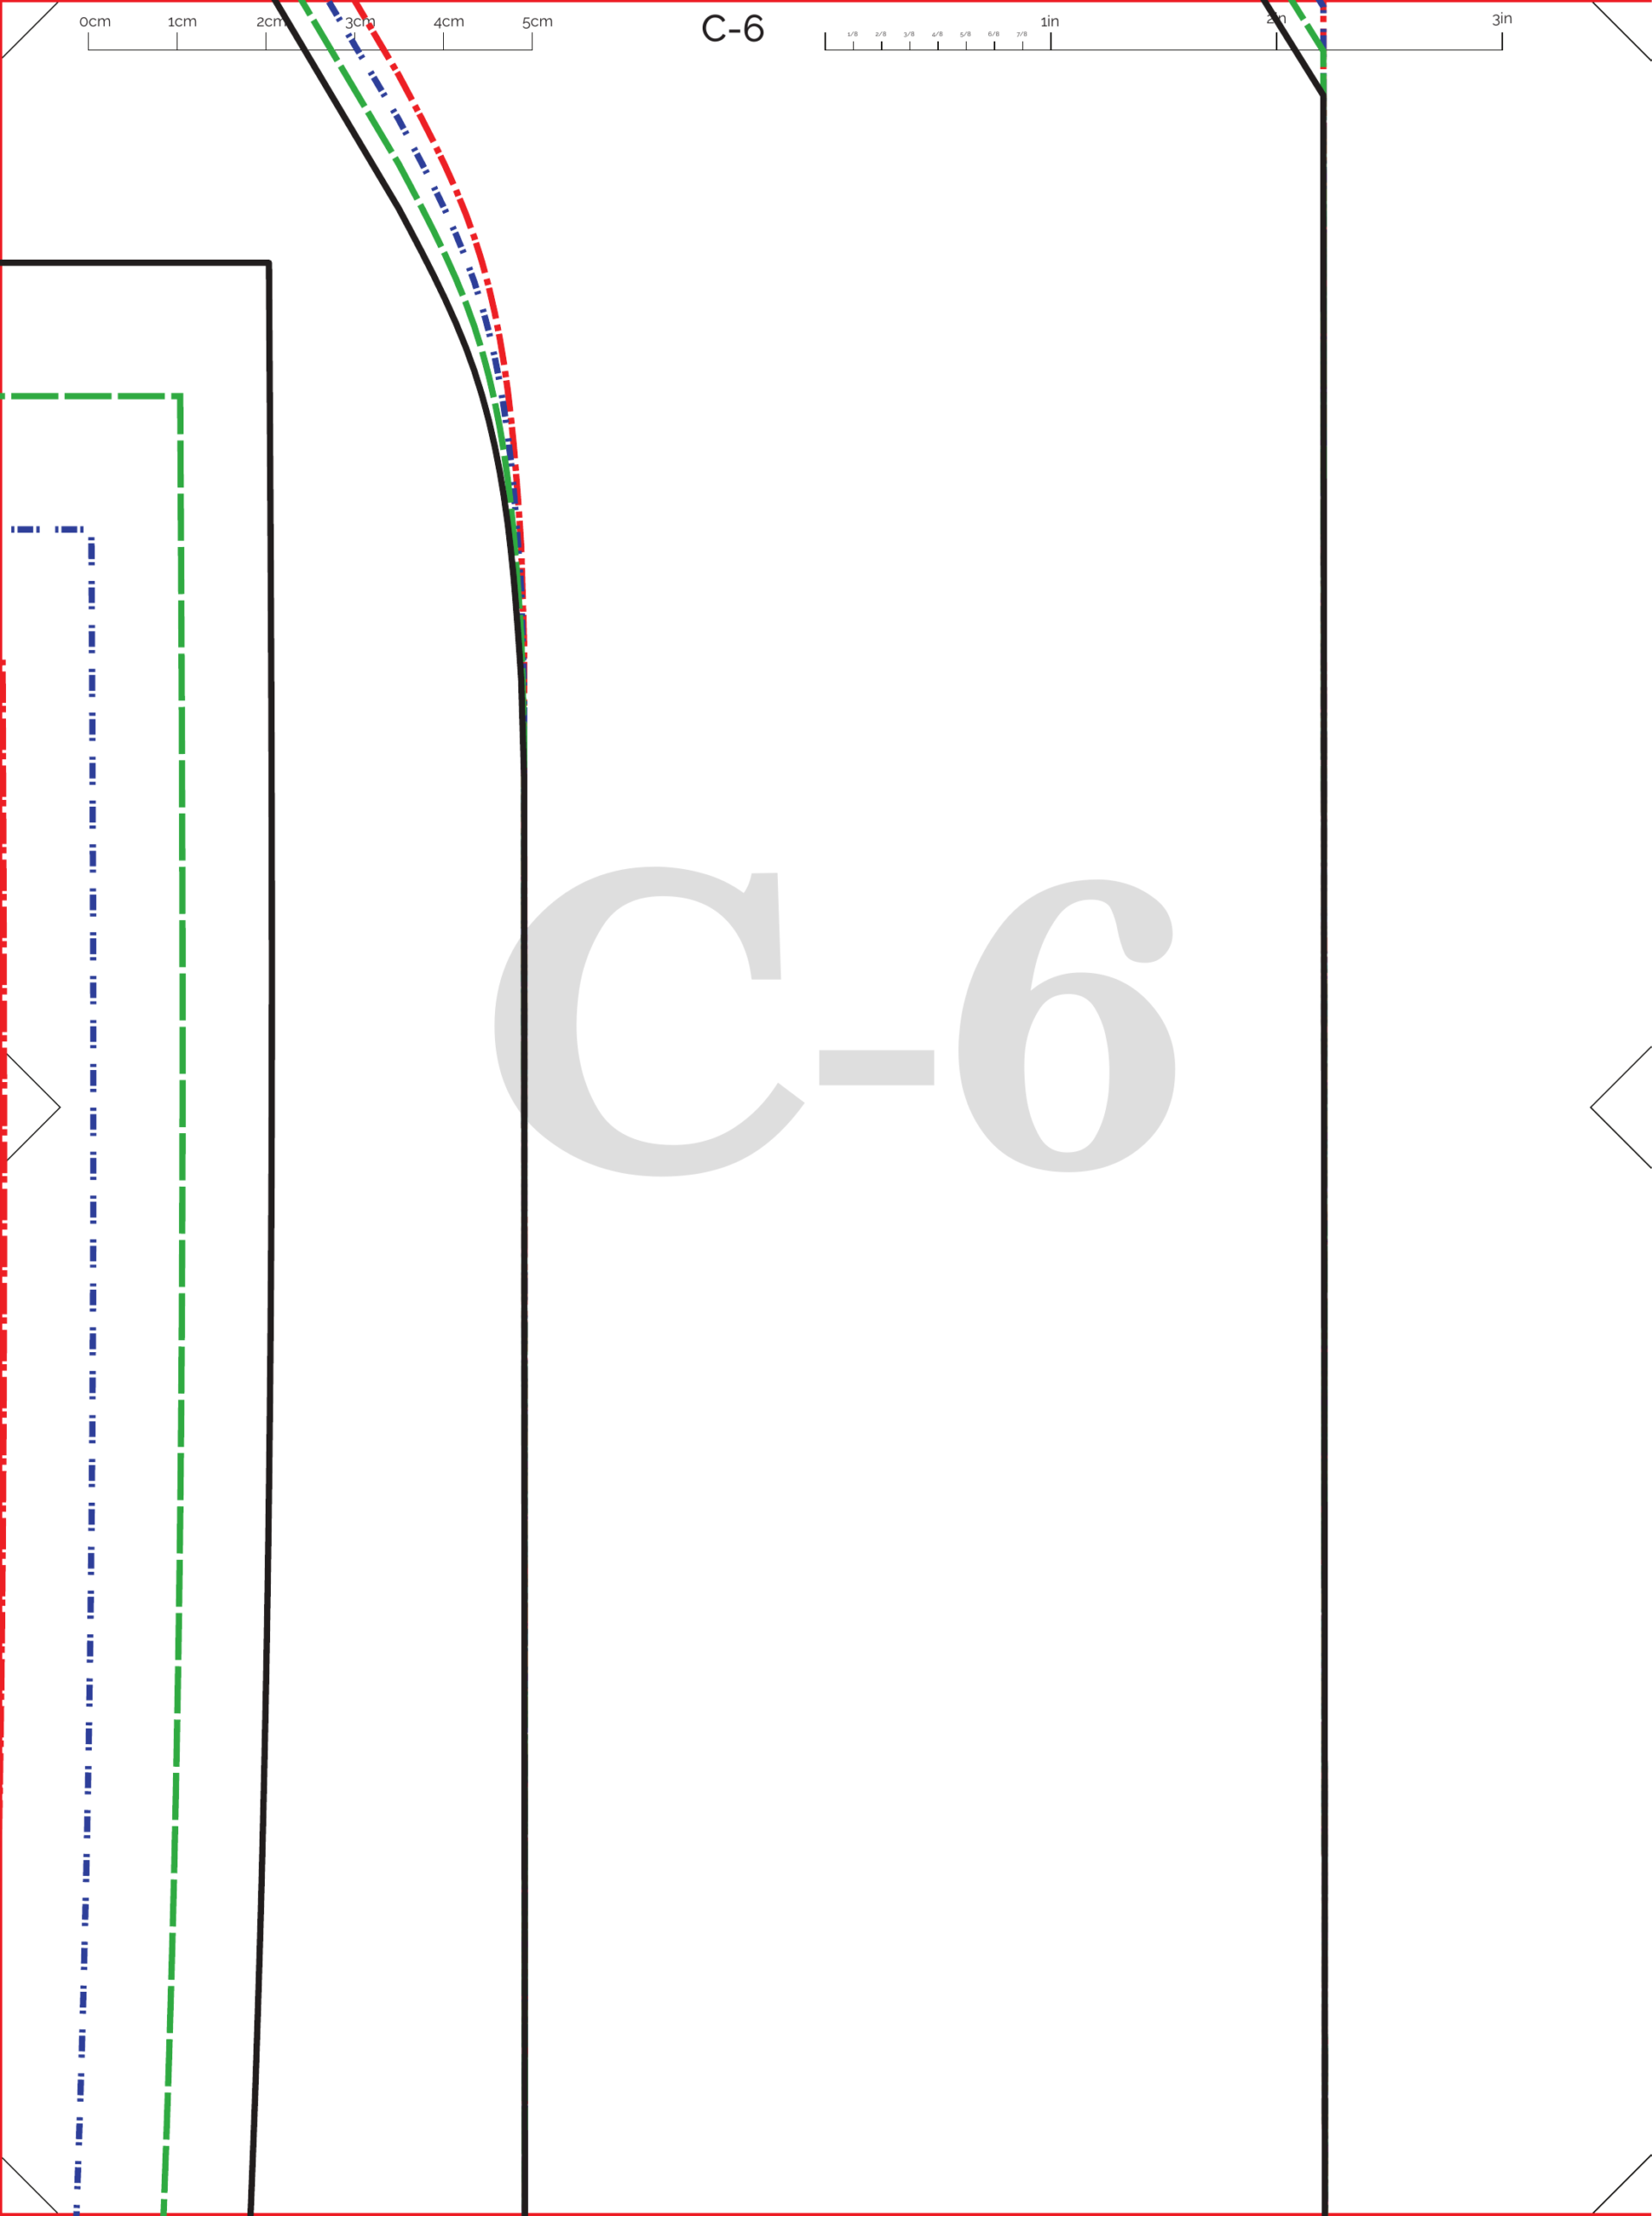
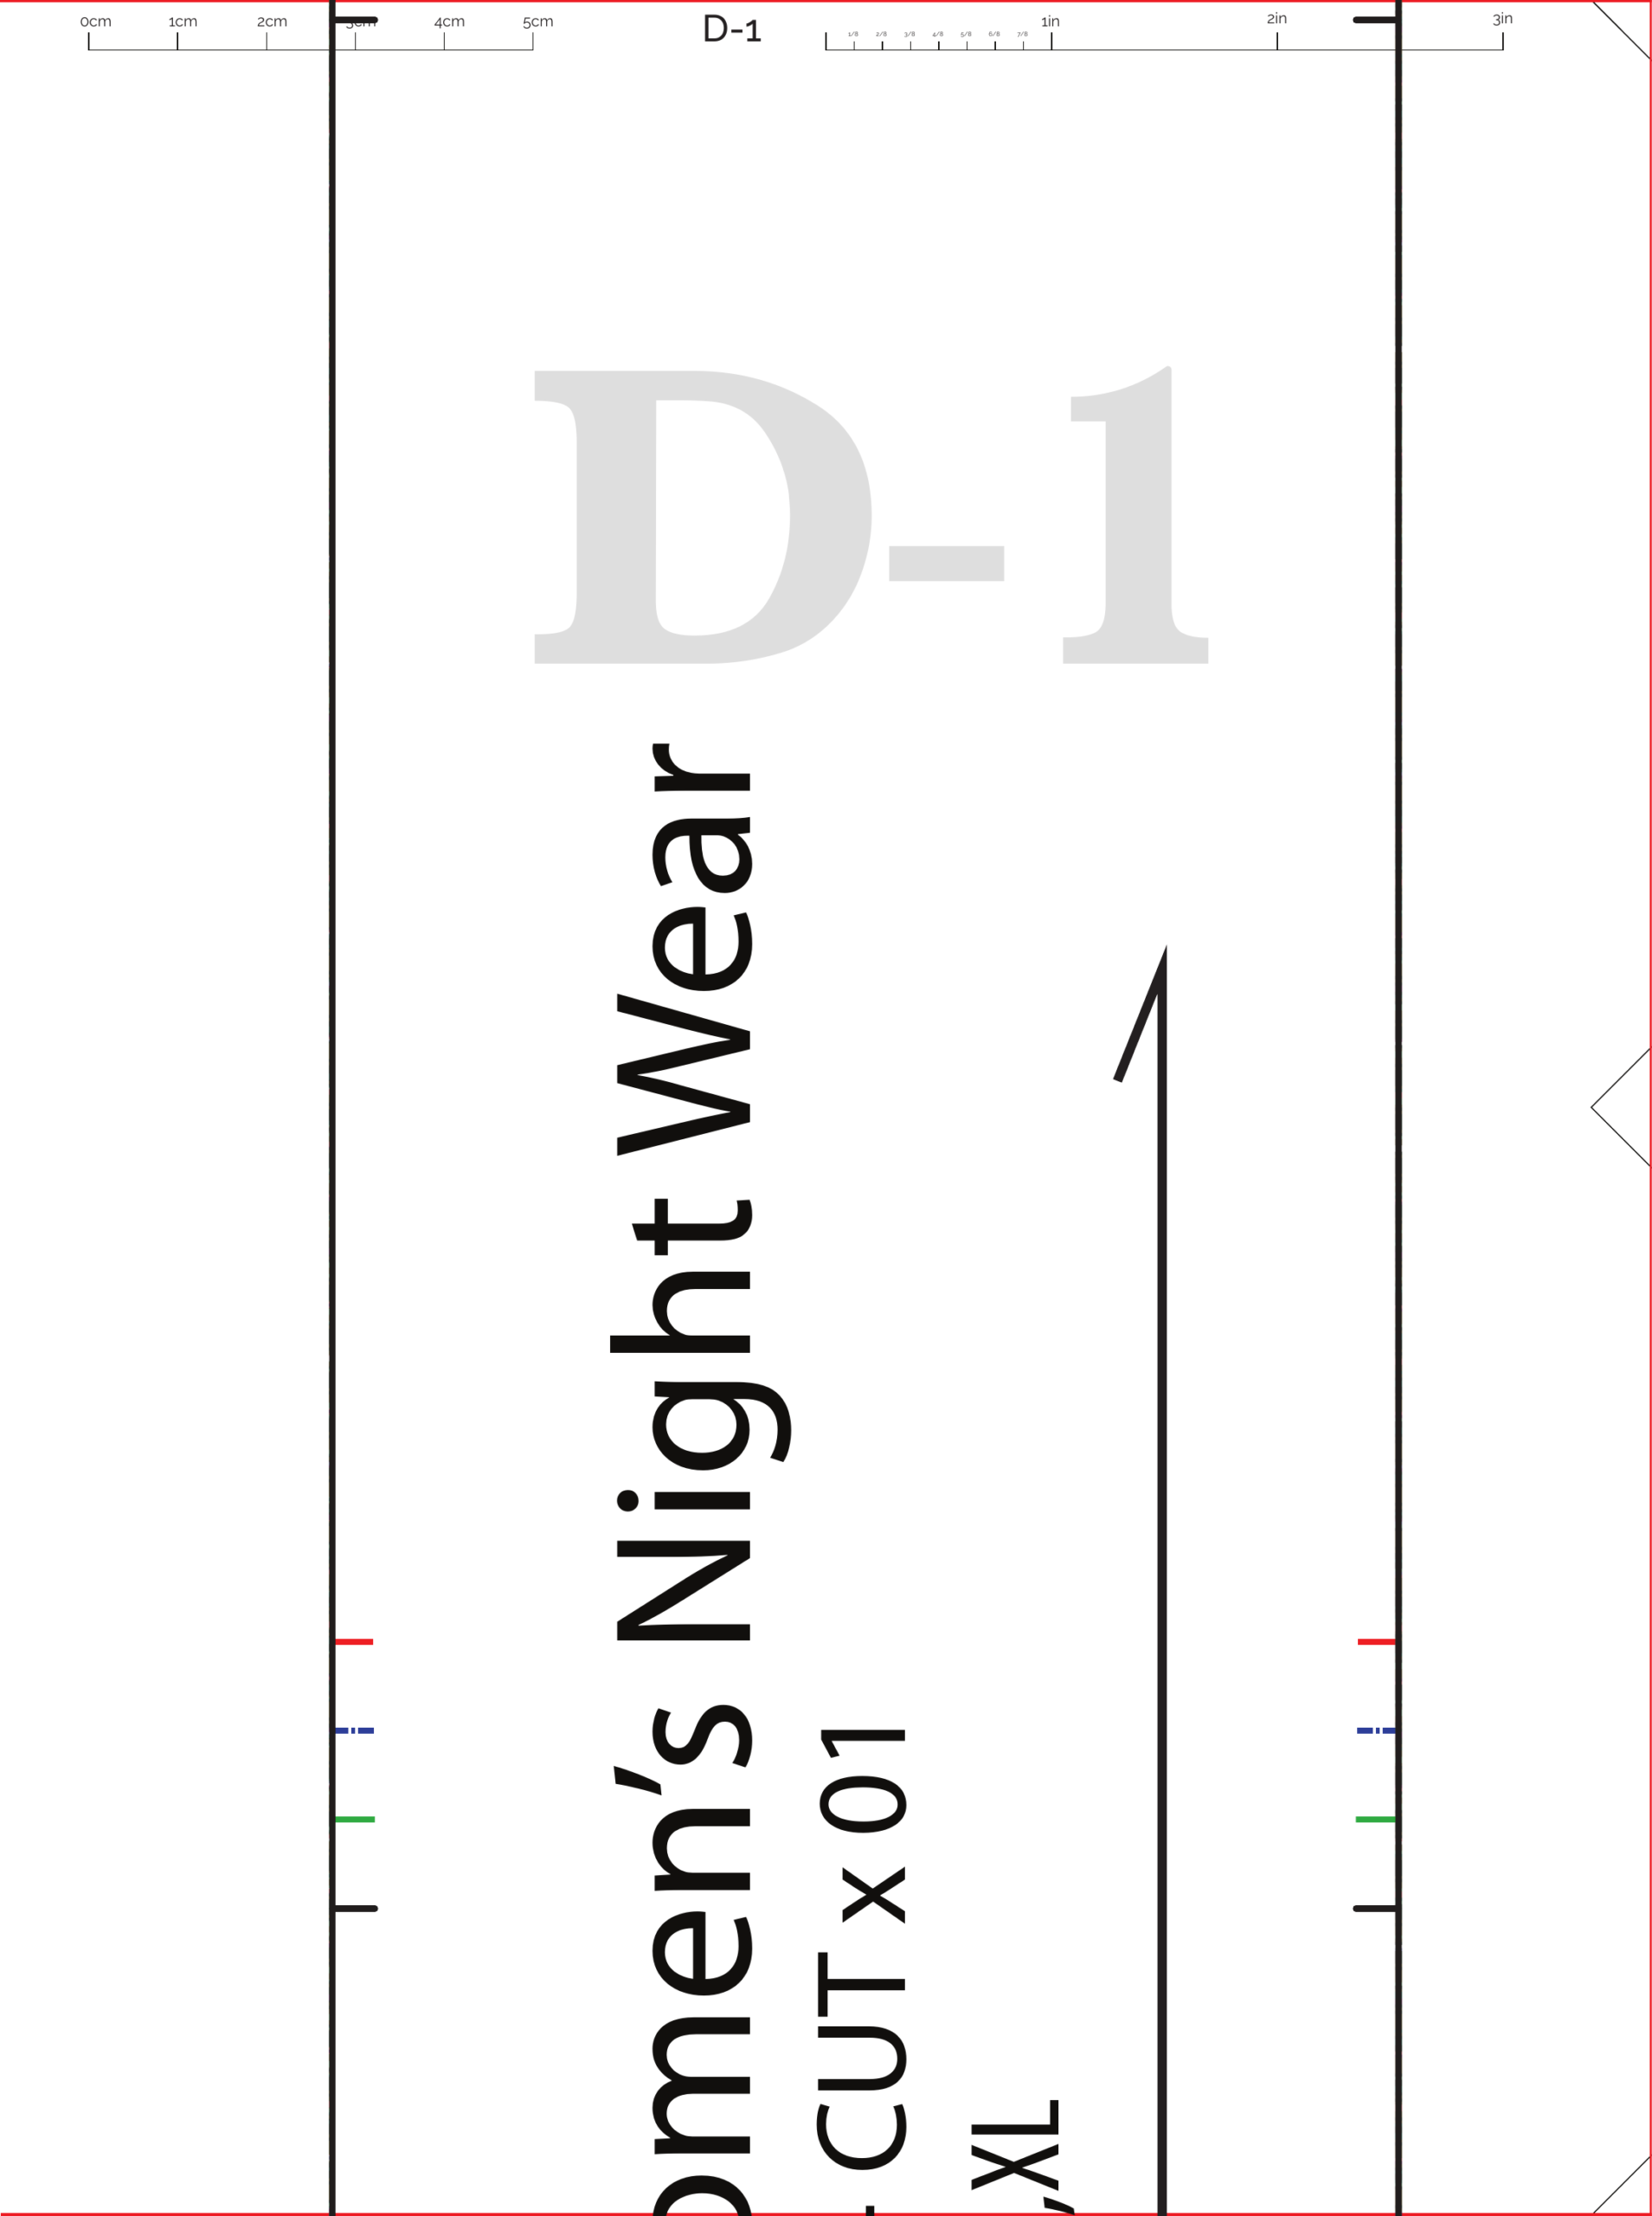
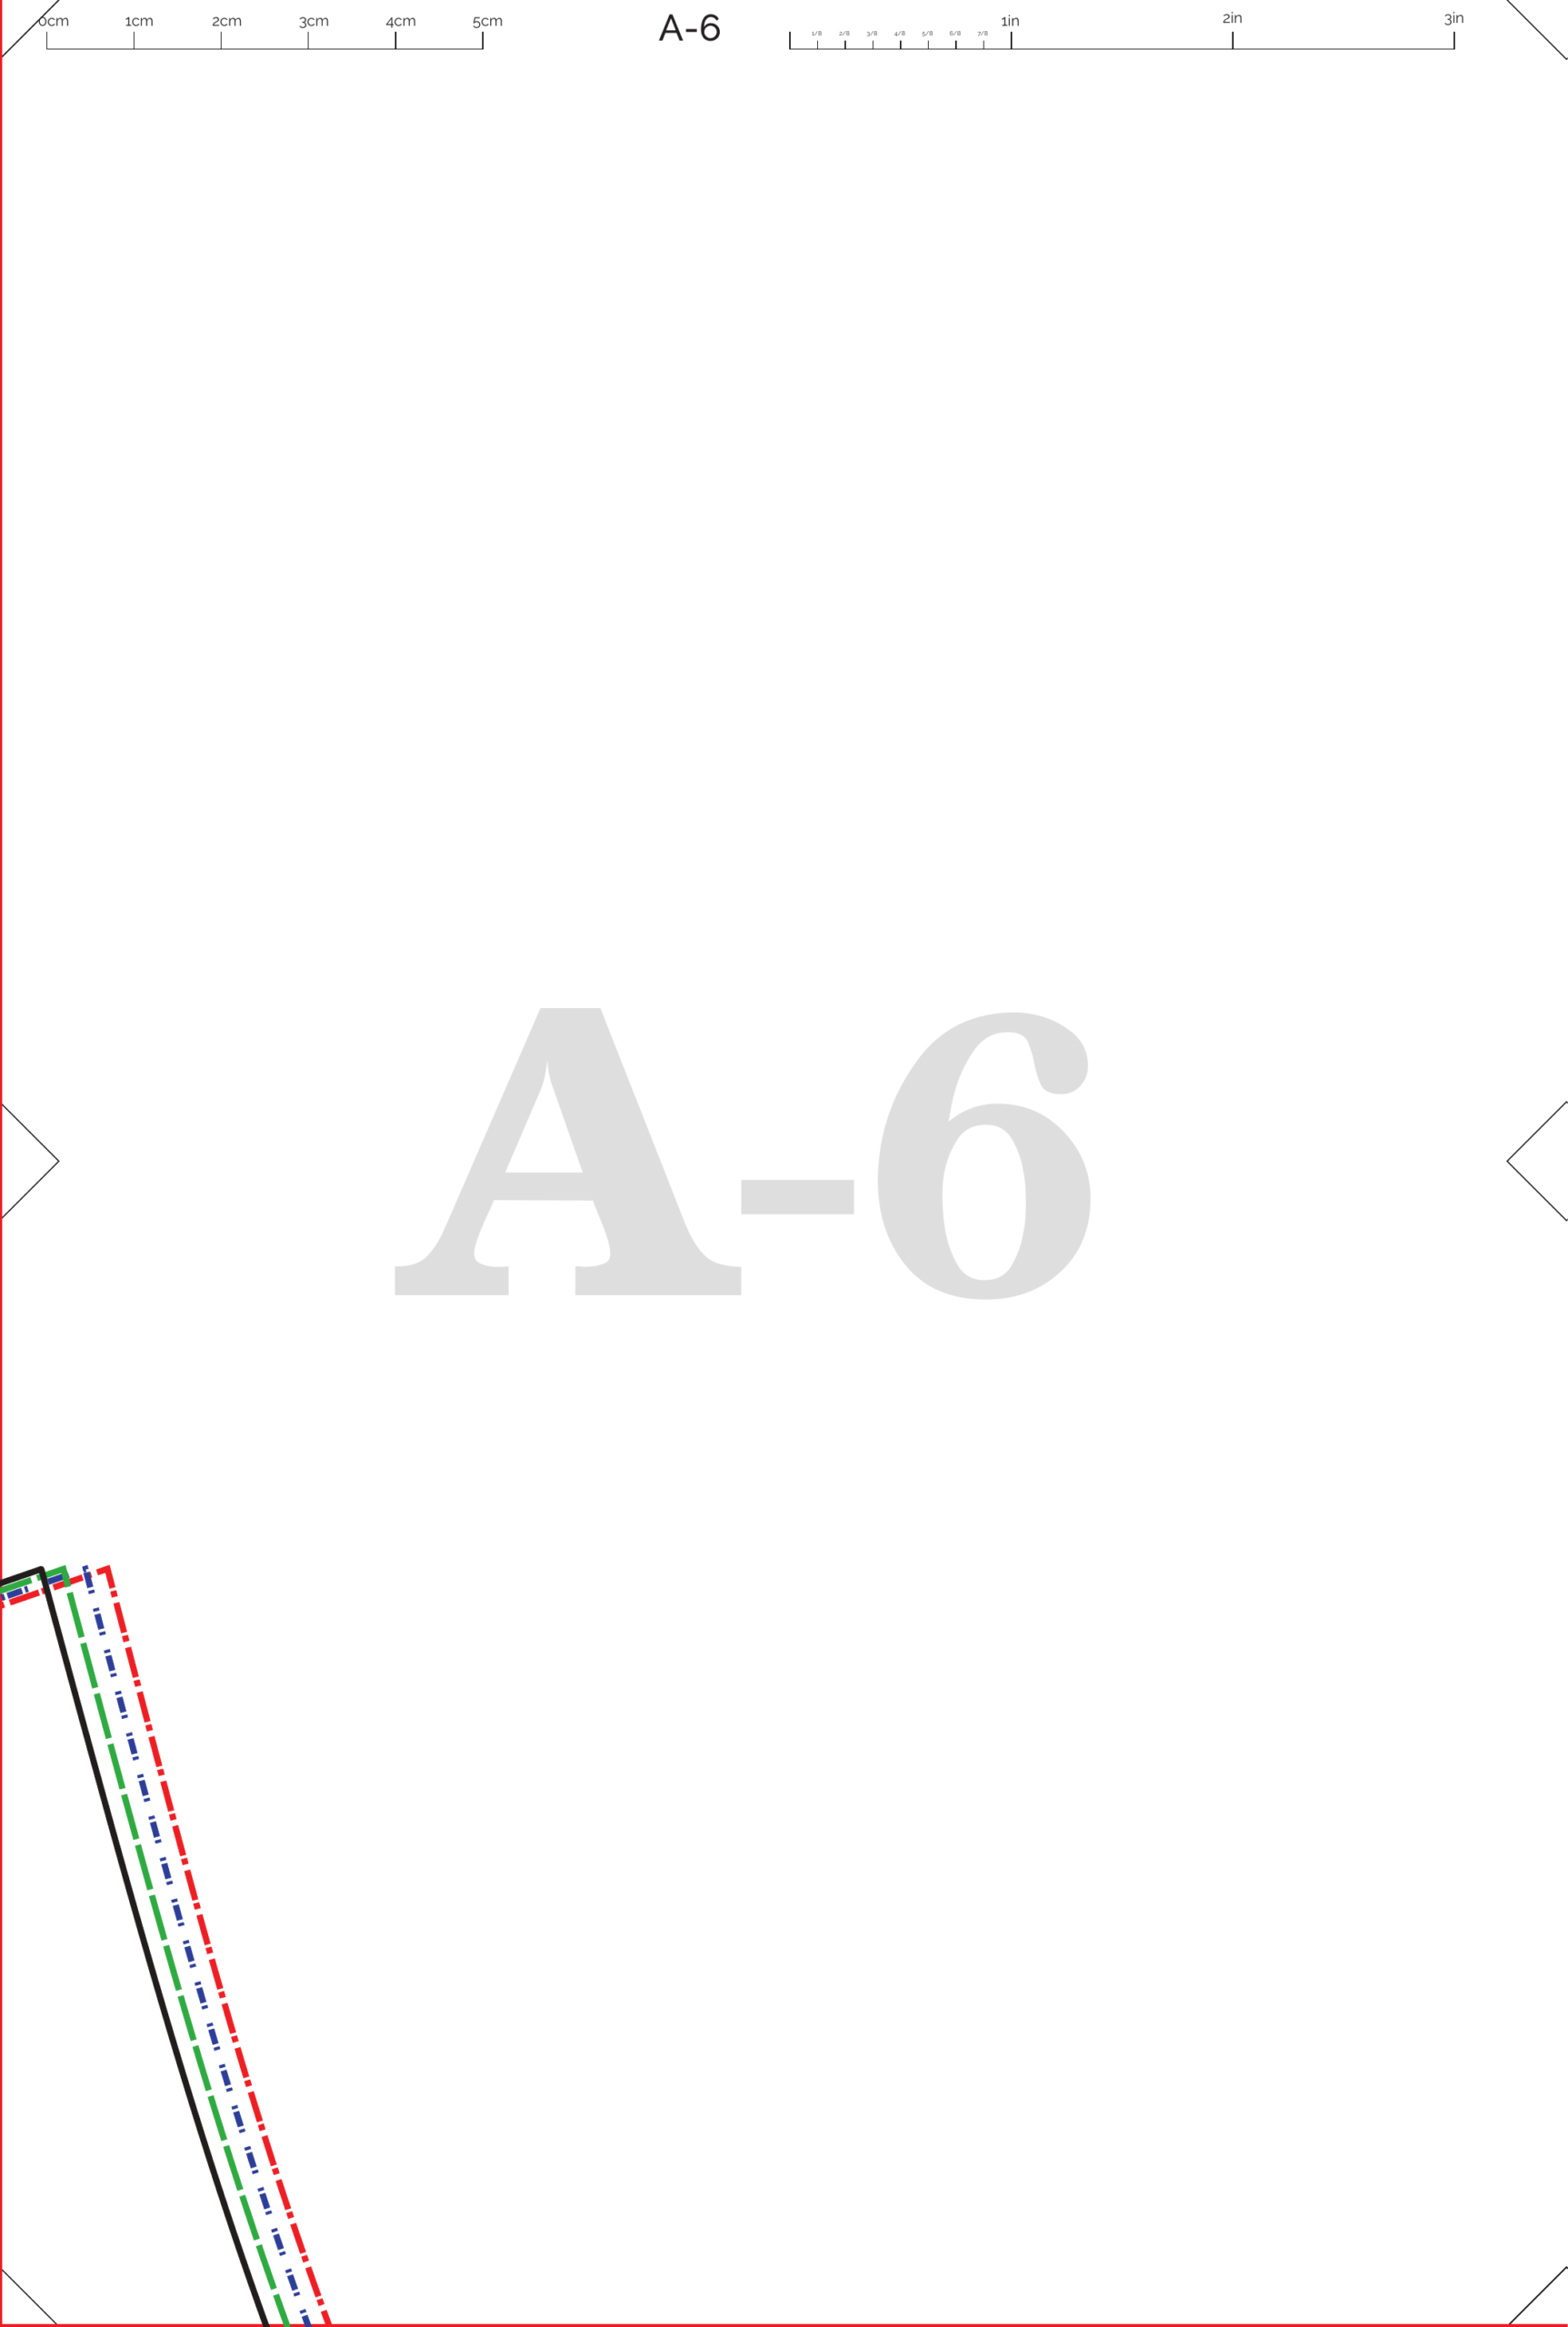
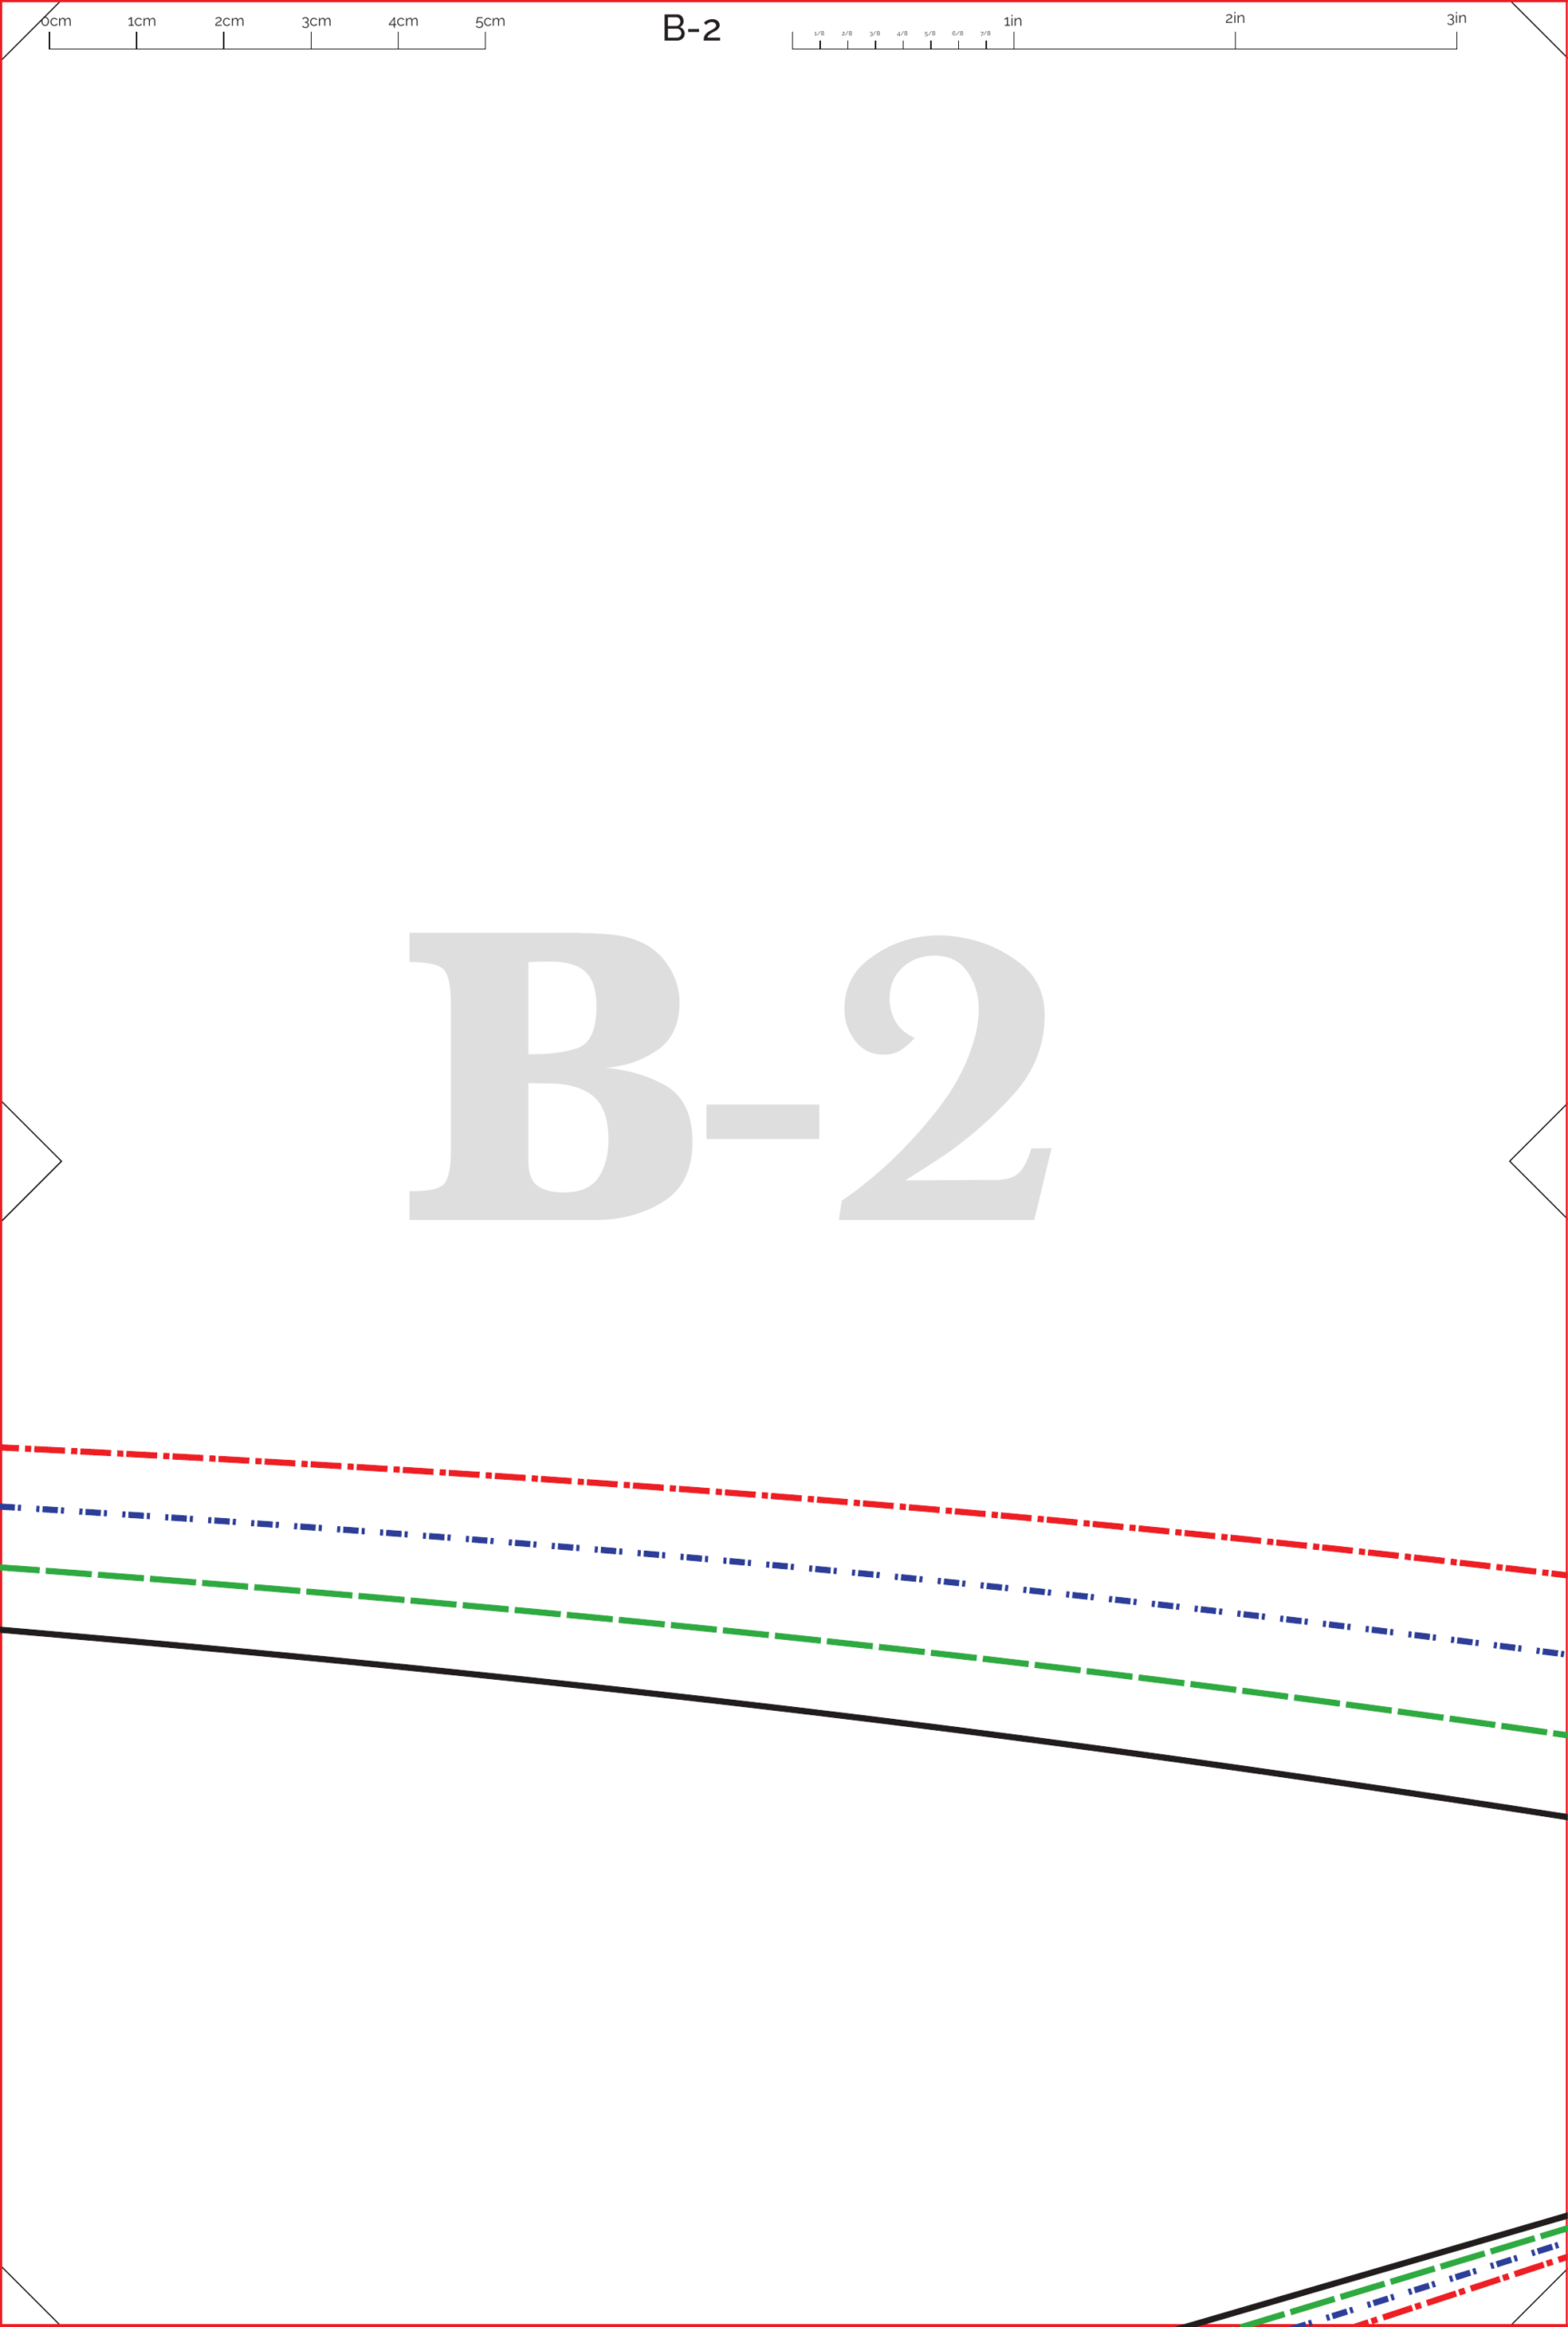
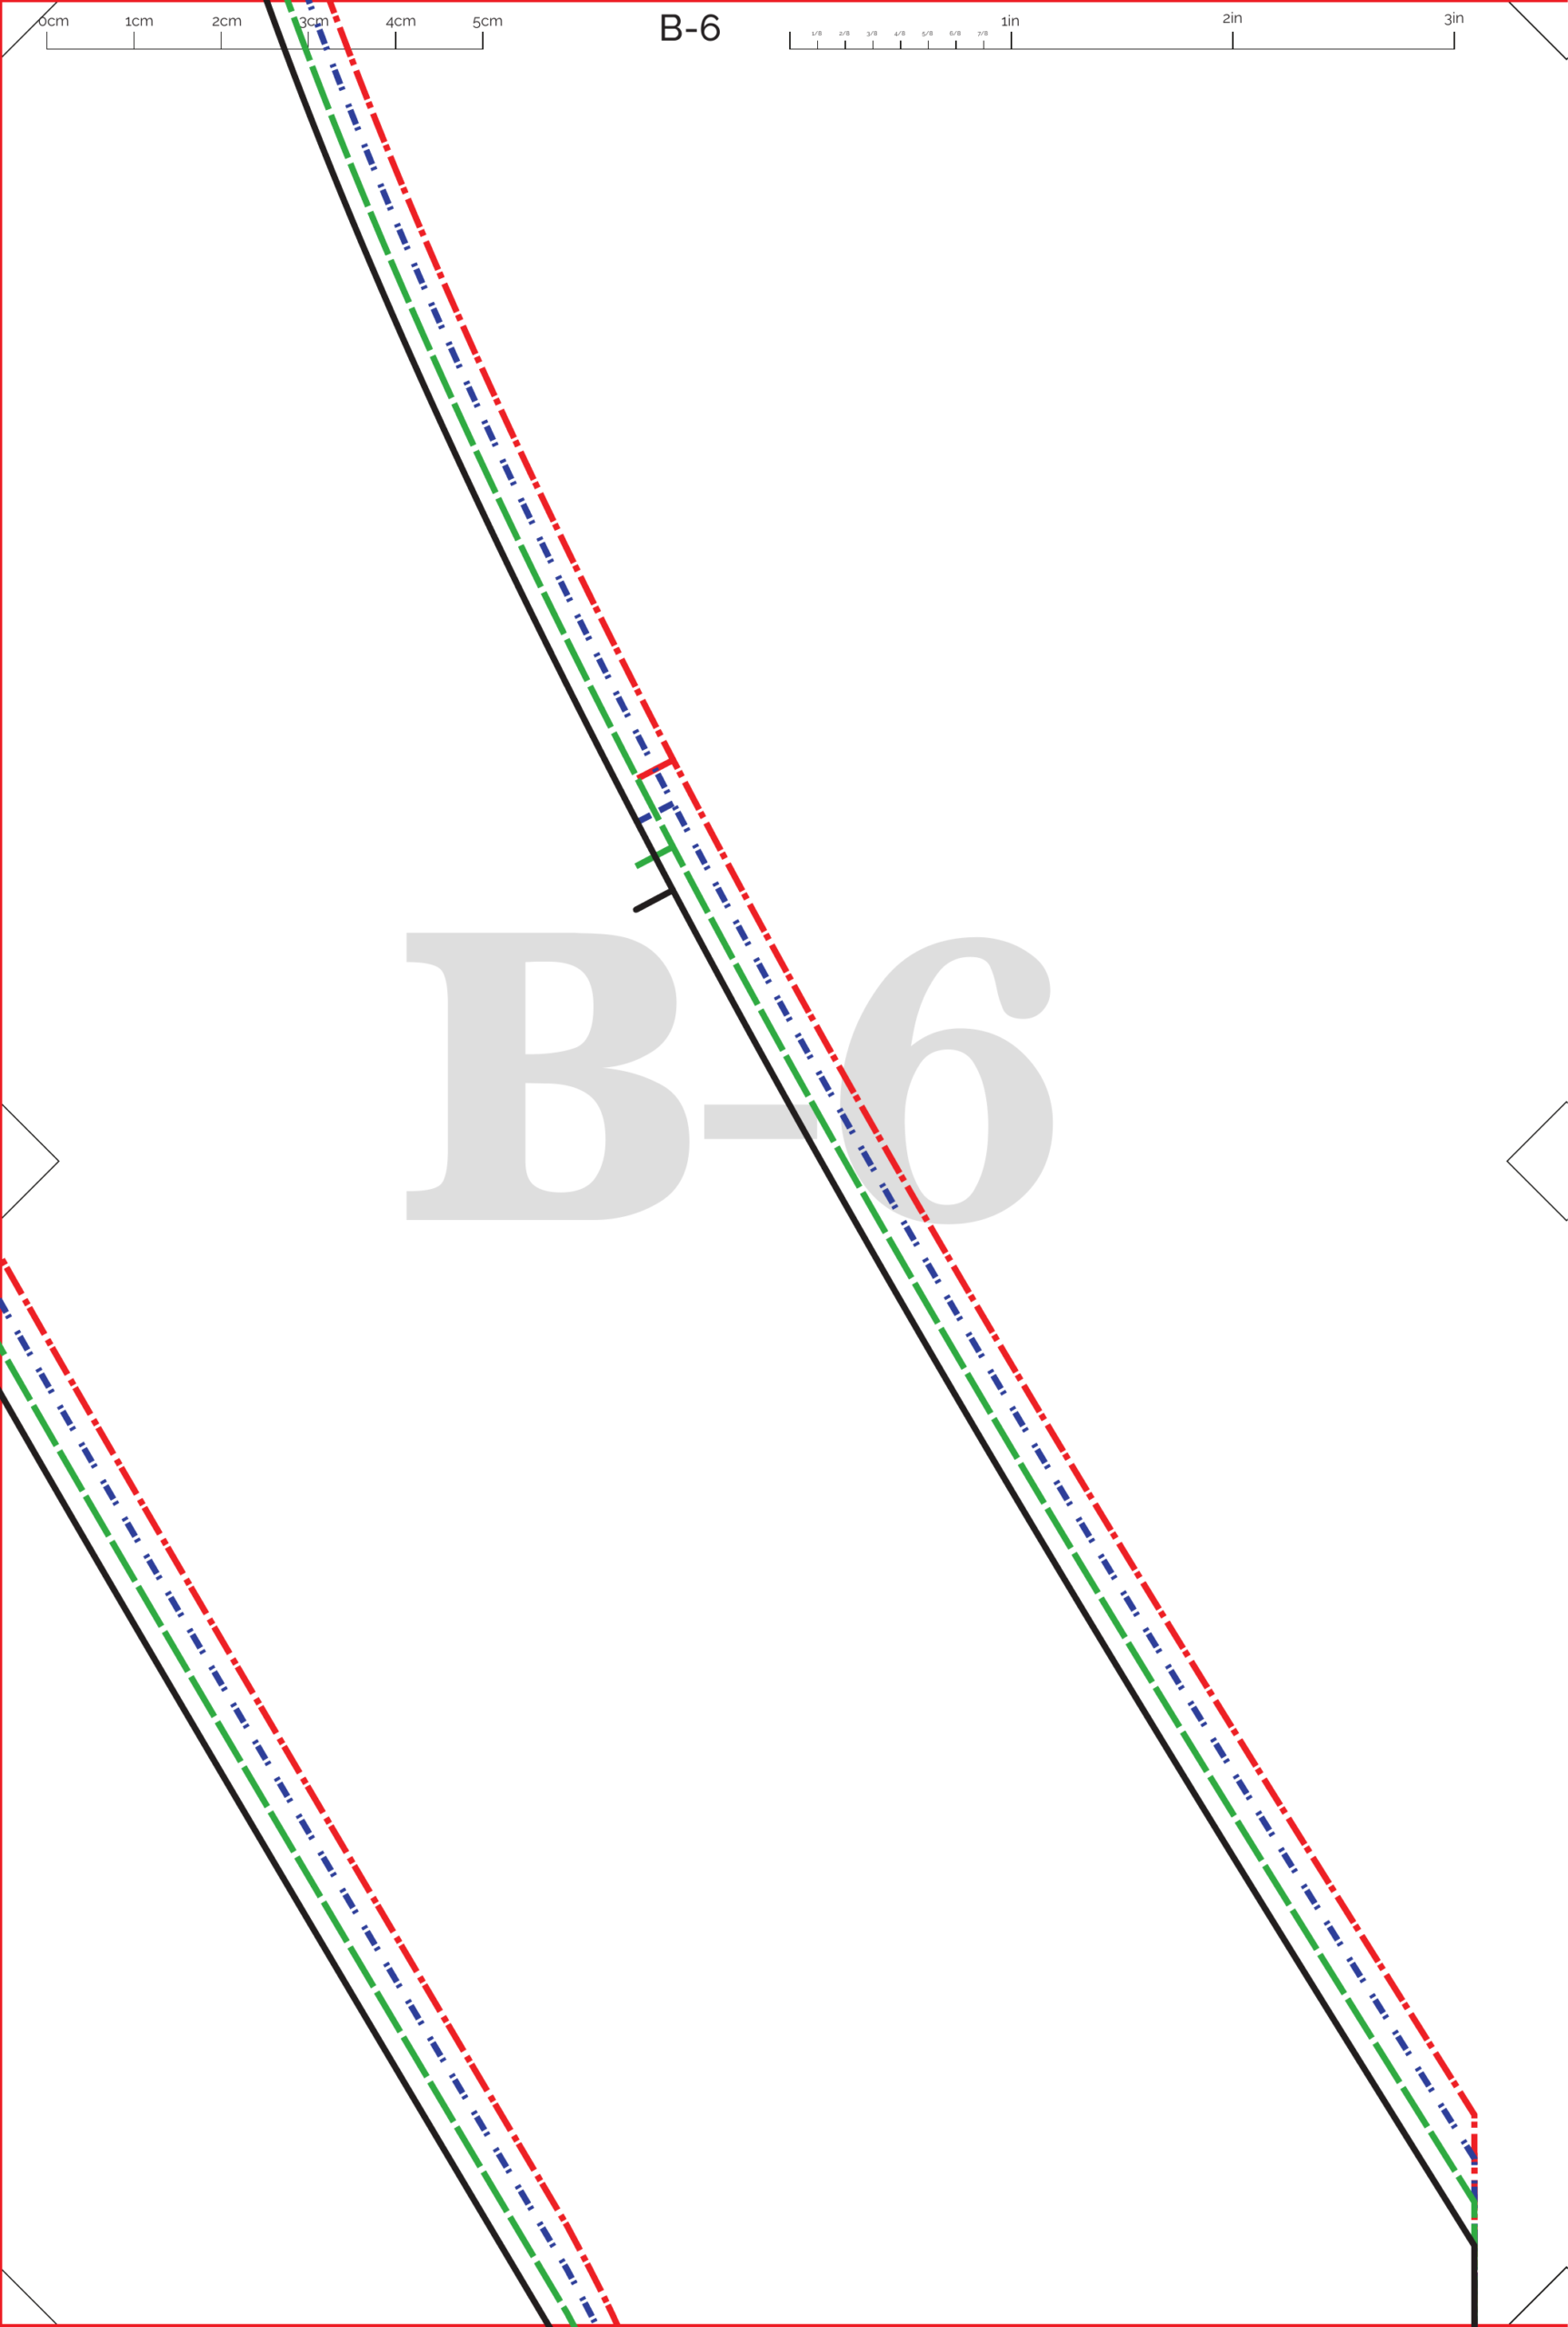
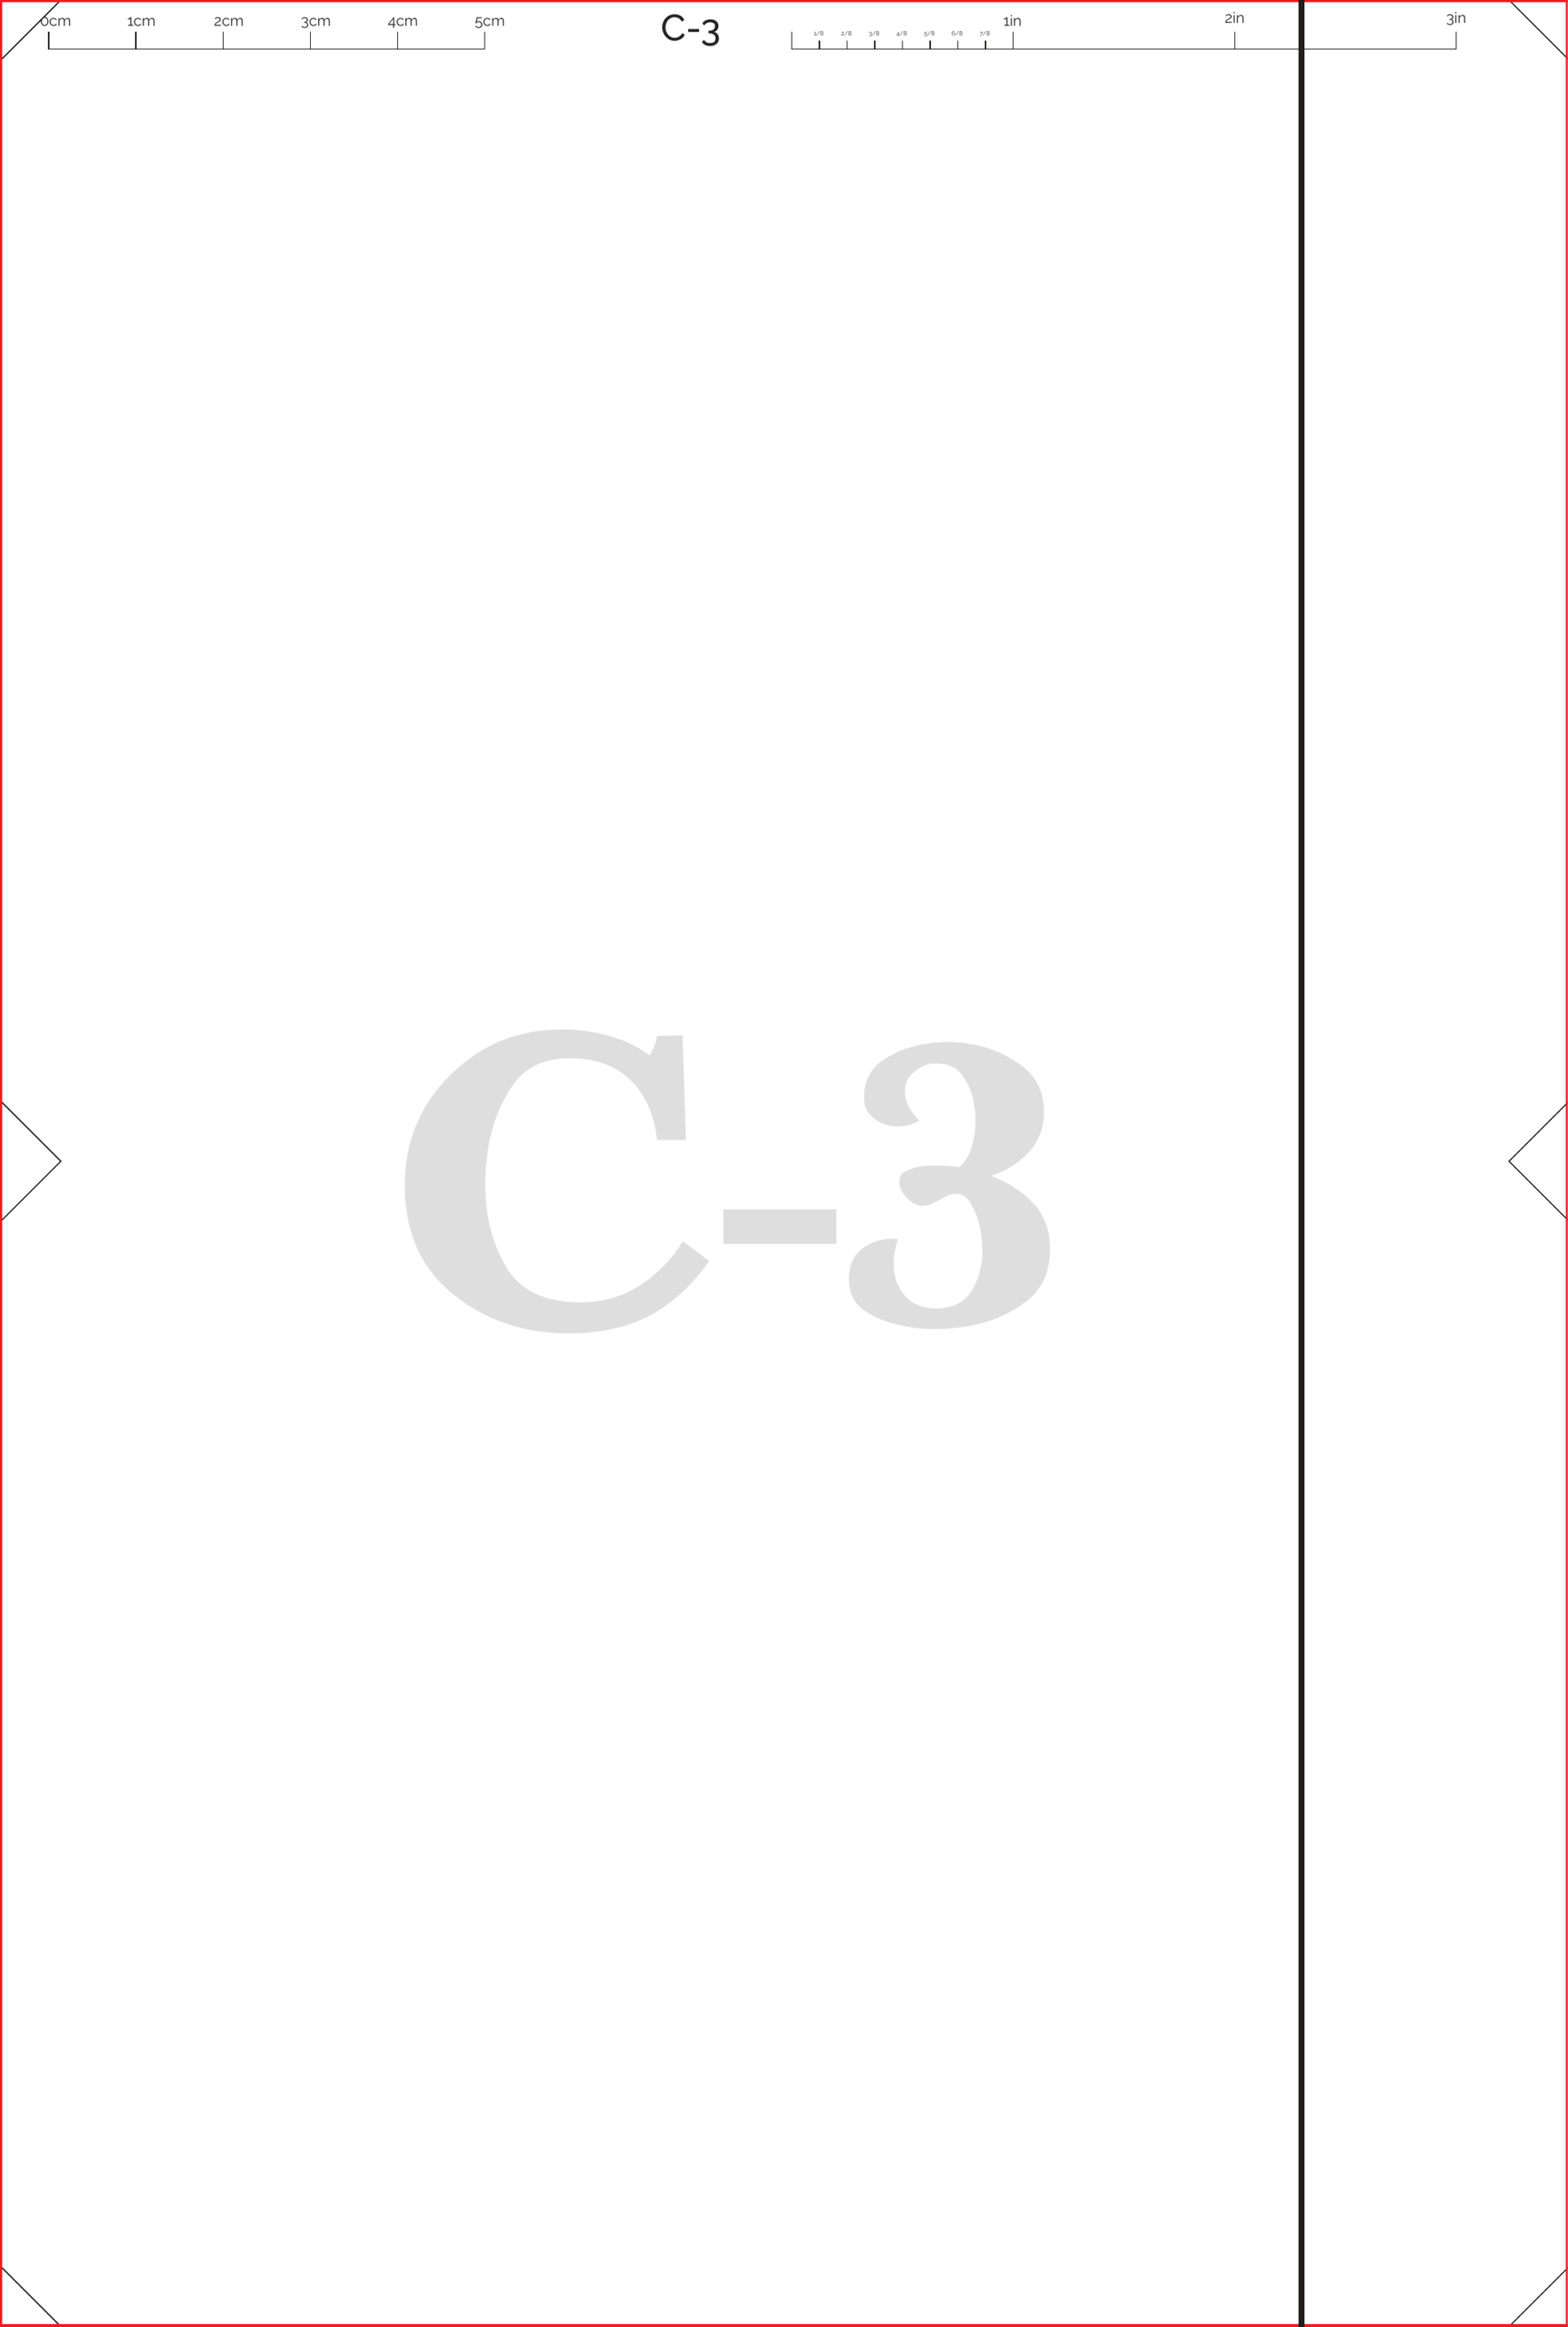
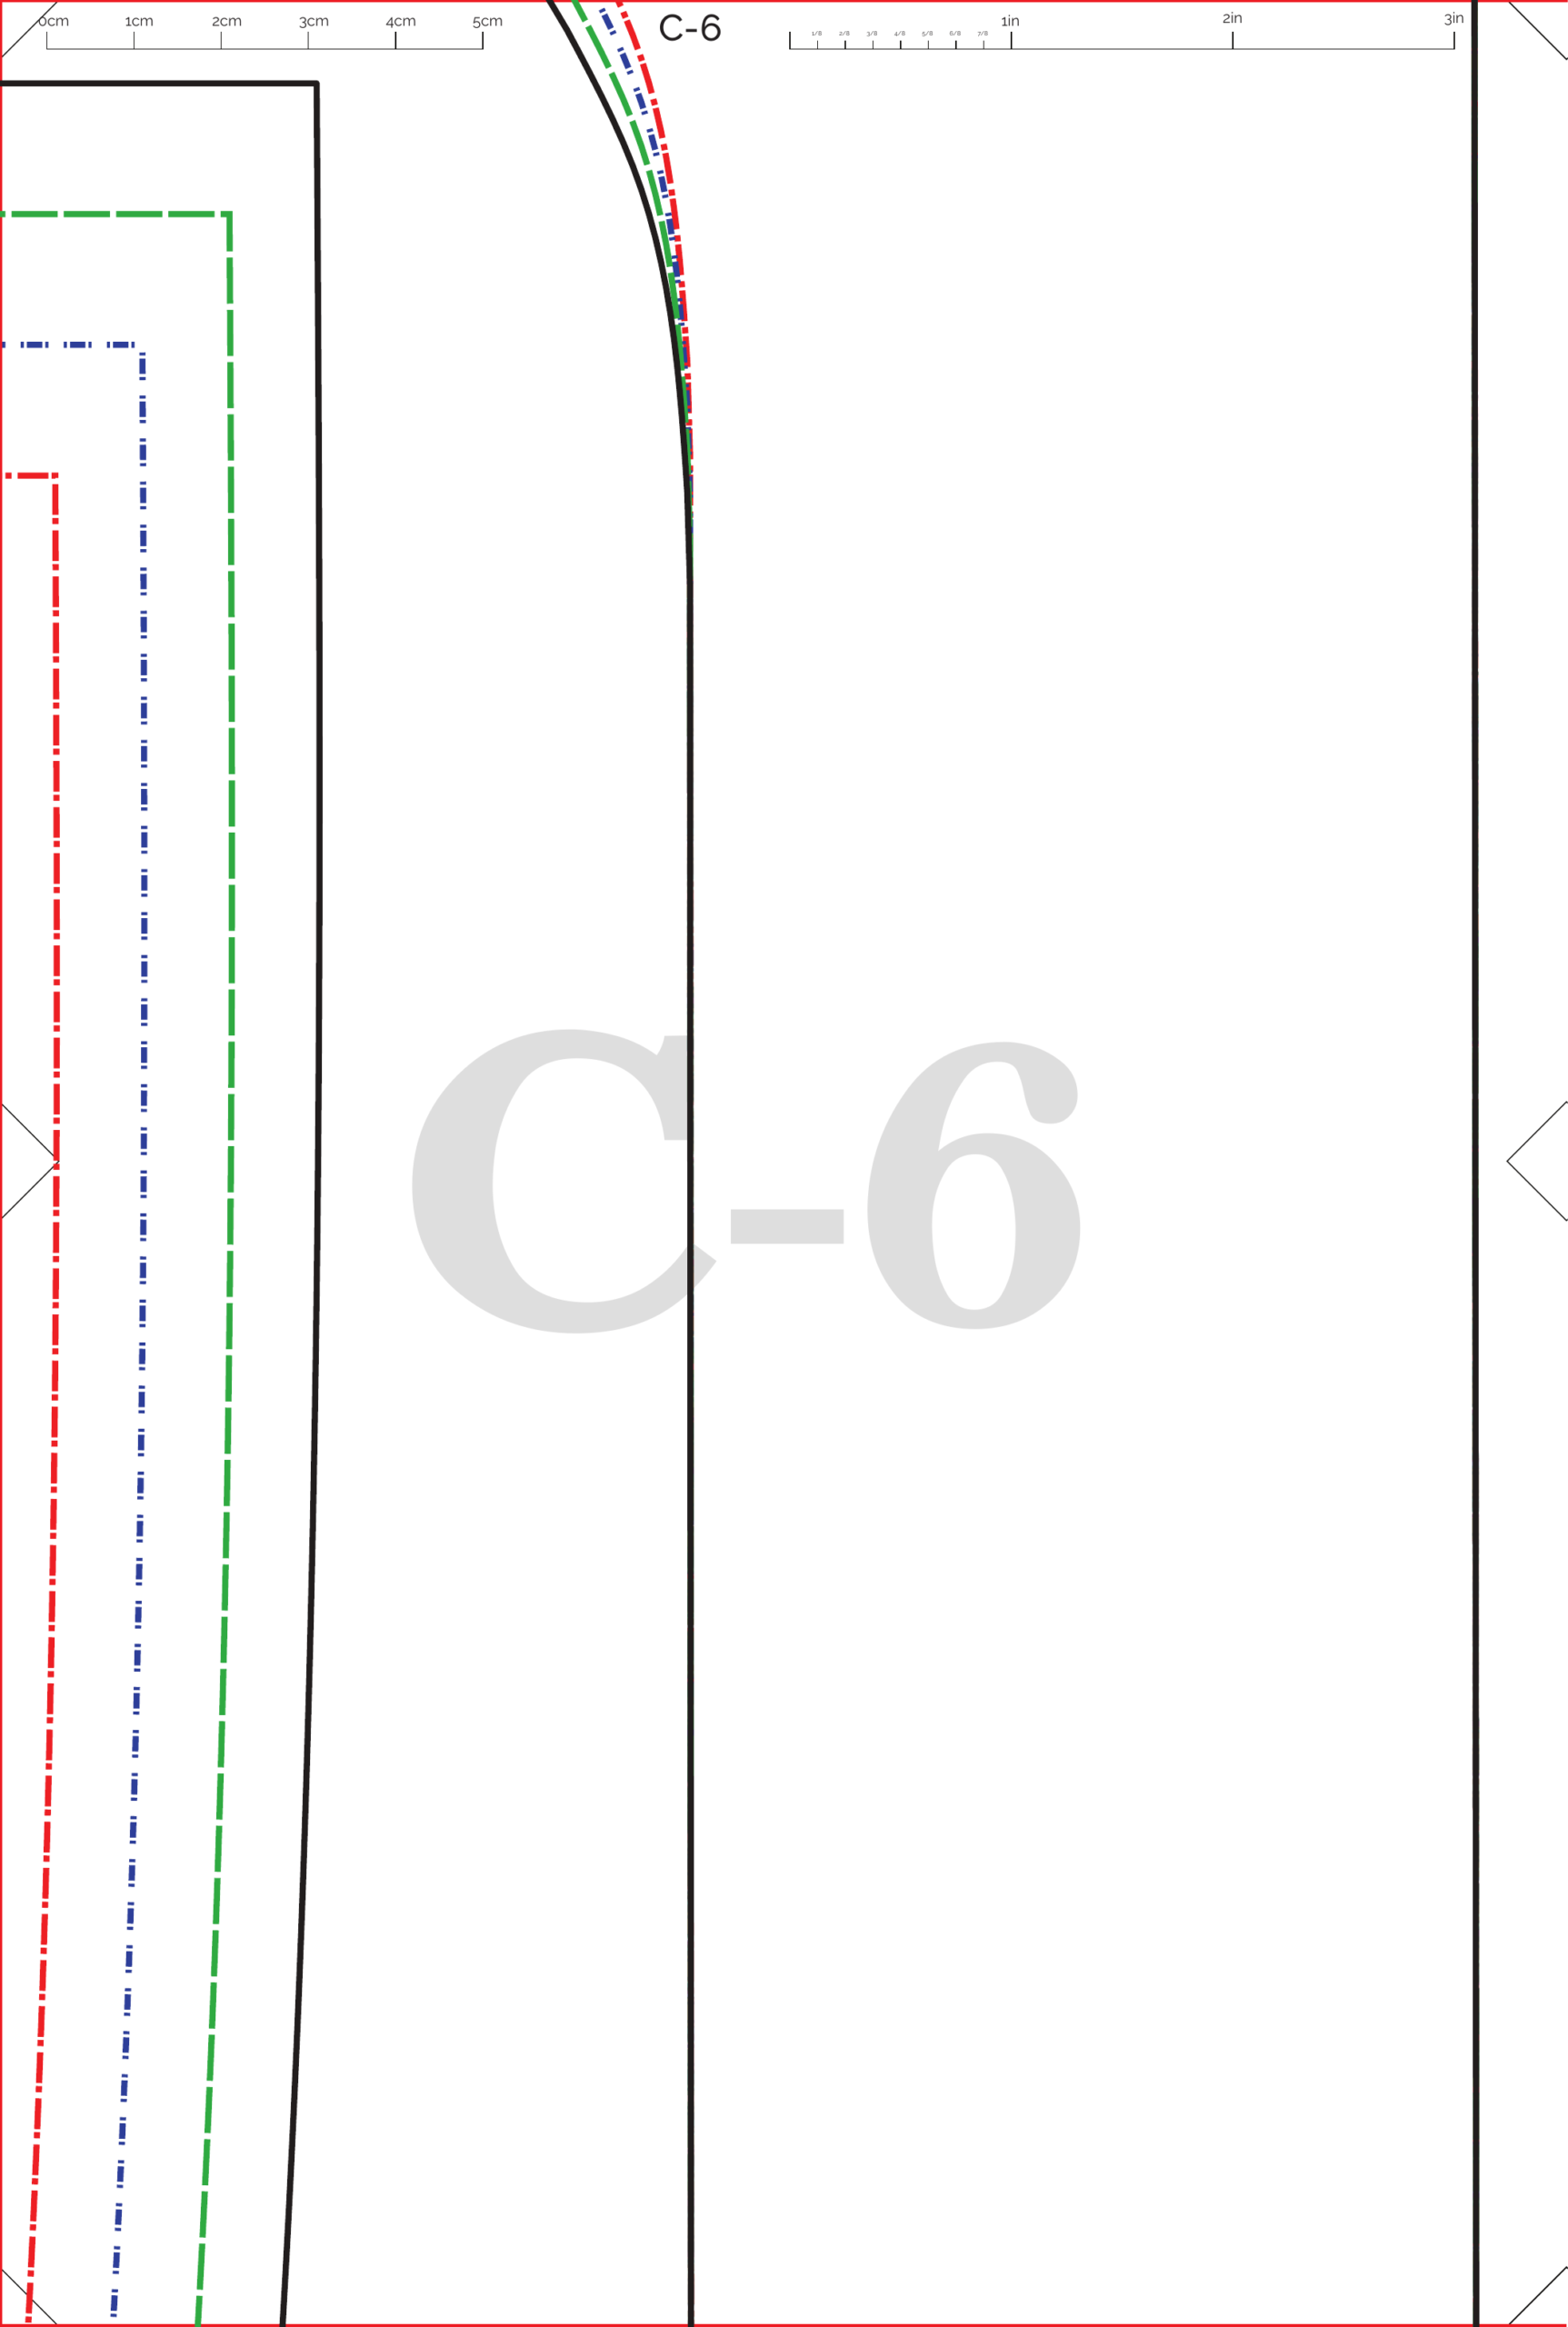
Lay out the pages in the order printed on their labels. The tiled sheets use row-and-column identifiers such as A-1 and A-2; keep the letters, numbers and orientation aligned. Start with a flat table or clean floor large enough for the full layout. Keep page labels visible until the joins have been checked.
- Sort one print format into page order before trimming or taping.
- Match border marks and pattern lines that cross neighboring edges.
- Trim only the margin needed to bring registration marks together. Do not trim through a pattern line or cut mark.
- Tape each join from the back so the paper stays flat. Avoid pulling the pages, which can distort outlines.
- Check every intersection and the full outer edge before cutting a piece. If lines do not meet, realign the pages rather than drawing across the gap.
After assembling the nightwear sewing pattern, write the size letter on every piece, transfer notches and other markings, and label each piece. This prevents pieces from being confused after the sheet is cut apart.
Prepare fabric and tools carefully
The sheets do not specify fabric type or yardage. Use the fabric guidance supplied for this design, considering drape, weight, stretch and care instructions. Yardage depends on size, fabric width, layout and whether the print has a direction. Do not estimate it from the pattern image alone.
Gather fabric scissors or a rotary cutter and mat, paper scissors, pins or clips, tape measure, clear ruler, marking tool, thread, sewing machine, seam ripper and iron. Choose a needle and stitch suitable for the fabric; test both on a scrap. Prewash washable fabric according to its care label, dry it as you plan to care for the finished garment, then press it smooth. Keep the grain straight while folding or laying fabric flat.
Cut and mark your nightwear sewing pattern pieces
Before cutting fabric for your nightwear sewing pattern, verify the size line, piece name, grainline, notches, cut quantity and any fold mark on each paper piece. Place each piece as directed by its grainline and fold instructions. Weigh or pin the paper so neither layer shifts. Cut smoothly without lifting the fabric, and transfer notches with chalk or tailor’s tacks rather than cutting deep into the seam area.
Make a complete inventory after cutting: front pieces, back, sleeves, front facings, tie and collar pieces. Check each quantity against the printed labels. Keep pairs together and mark the wrong side when the fabric print makes it difficult to tell. Do not add or remove seam allowance based on guesswork; the sheet images do not state its width.
A careful sewing order for the nightwear pieces
The nightwear sewing pattern artwork names the pieces but does not provide a written sewing order. The sequence below is a practical garment-making workflow based on those piece names. Match the notches and construction markings, and follow the pattern maker’s seam-allowance and assembly specifications if supplied.
- Prepare the collar and facings. Pair the collar pieces as indicated by their markings, keep right sides together where a seam is being joined and press as you go. Stabilize a facing or collar only if the fabric and design require it; test interfacing on a scrap so the sleepwear stays comfortable.
- Join the body at the shoulders. Place front and back pieces right sides together, match shoulder edges and notches, and baste first if the fabric is slippery. Sew using the confirmed seam allowance and press the seams appropriately for the fabric.
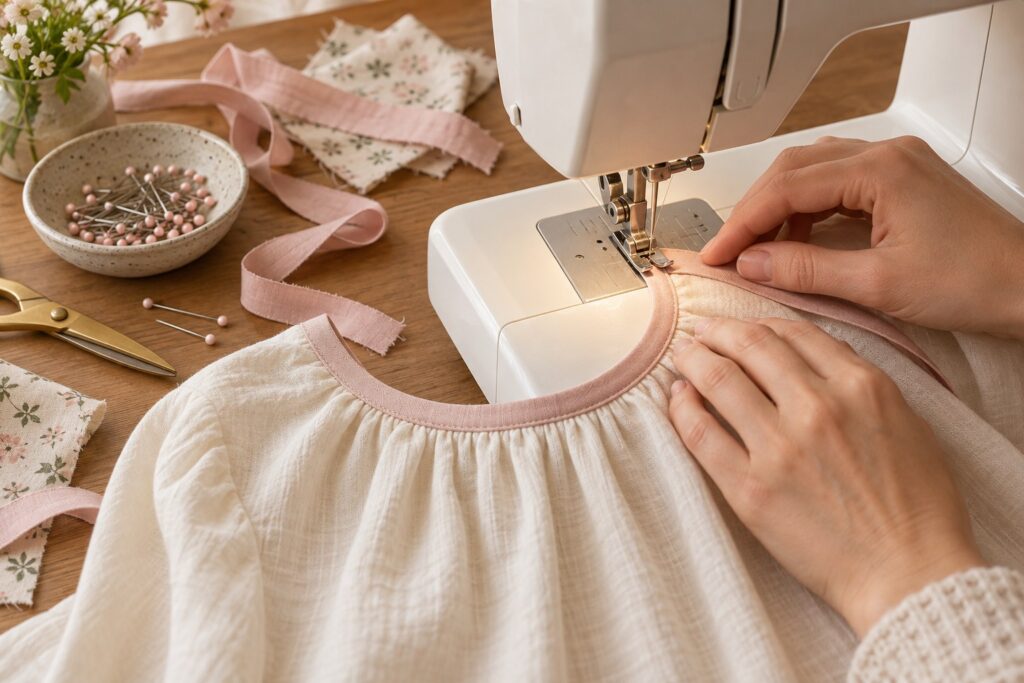
- Finish the neckline and front opening. Match collar and front-facing pieces to their corresponding edges and markings. Pin from the center outward, checking that both sides remain even. Sew, clip or grade enclosed curves only where needed, turn the facing cleanly and press without stretching the neckline.
- Attach the sleeves. Match sleeve and armhole notches before sewing. Check whether the pattern markings permit sewing the sleeve while the side seams are open. Ease only where the pattern shape calls for it; do not pull one layer longer than the other.
- Close the side and sleeve seams. Align underarm and side edges, match seam intersections and sew where the layout allows. Check that both sides are symmetrical and the sleeve is not twisted before finishing raw edges.
- Make and attach the tie. Follow the tie piece markings and placement points on the garment. Press the tie lengthwise as appropriate, finish its edges neatly and secure it at the marked position. Check that it lies flat and does not pull the front out of shape.
- Finish hems and openings. Confirm the intended hem depth from the design instructions, press the fold evenly and stitch with a finish suited to the fabric. Trim loose threads and press with the correct heat setting.
For stable woven fabric, test a straight stitch on a scrap. For stretch fabric, test a stretch stitch or narrow zigzag and gently stretch the sample seam to check that stitches do not pop. Needle, stitch length and seam finish depend on fabric, so test before sewing the garment.
Fit checks for comfortable nightwear
Try the garment on or make a test version before final hems and enclosed finishes. Check that you can sit, reach forward, raise your arms and turn comfortably. Look for pulling across the back or chest, restricted arm movement, twisted sleeves, uneven front edges and a neckline that gapes. Pin or baste changes symmetrically and recheck while moving.
Keep a note of the size, fabric, alterations and final fit. That record helps you refine a future version without changing the two sides differently. For more fitting background, read our dress pattern drafting guide.
Printable nightwear pattern sheets
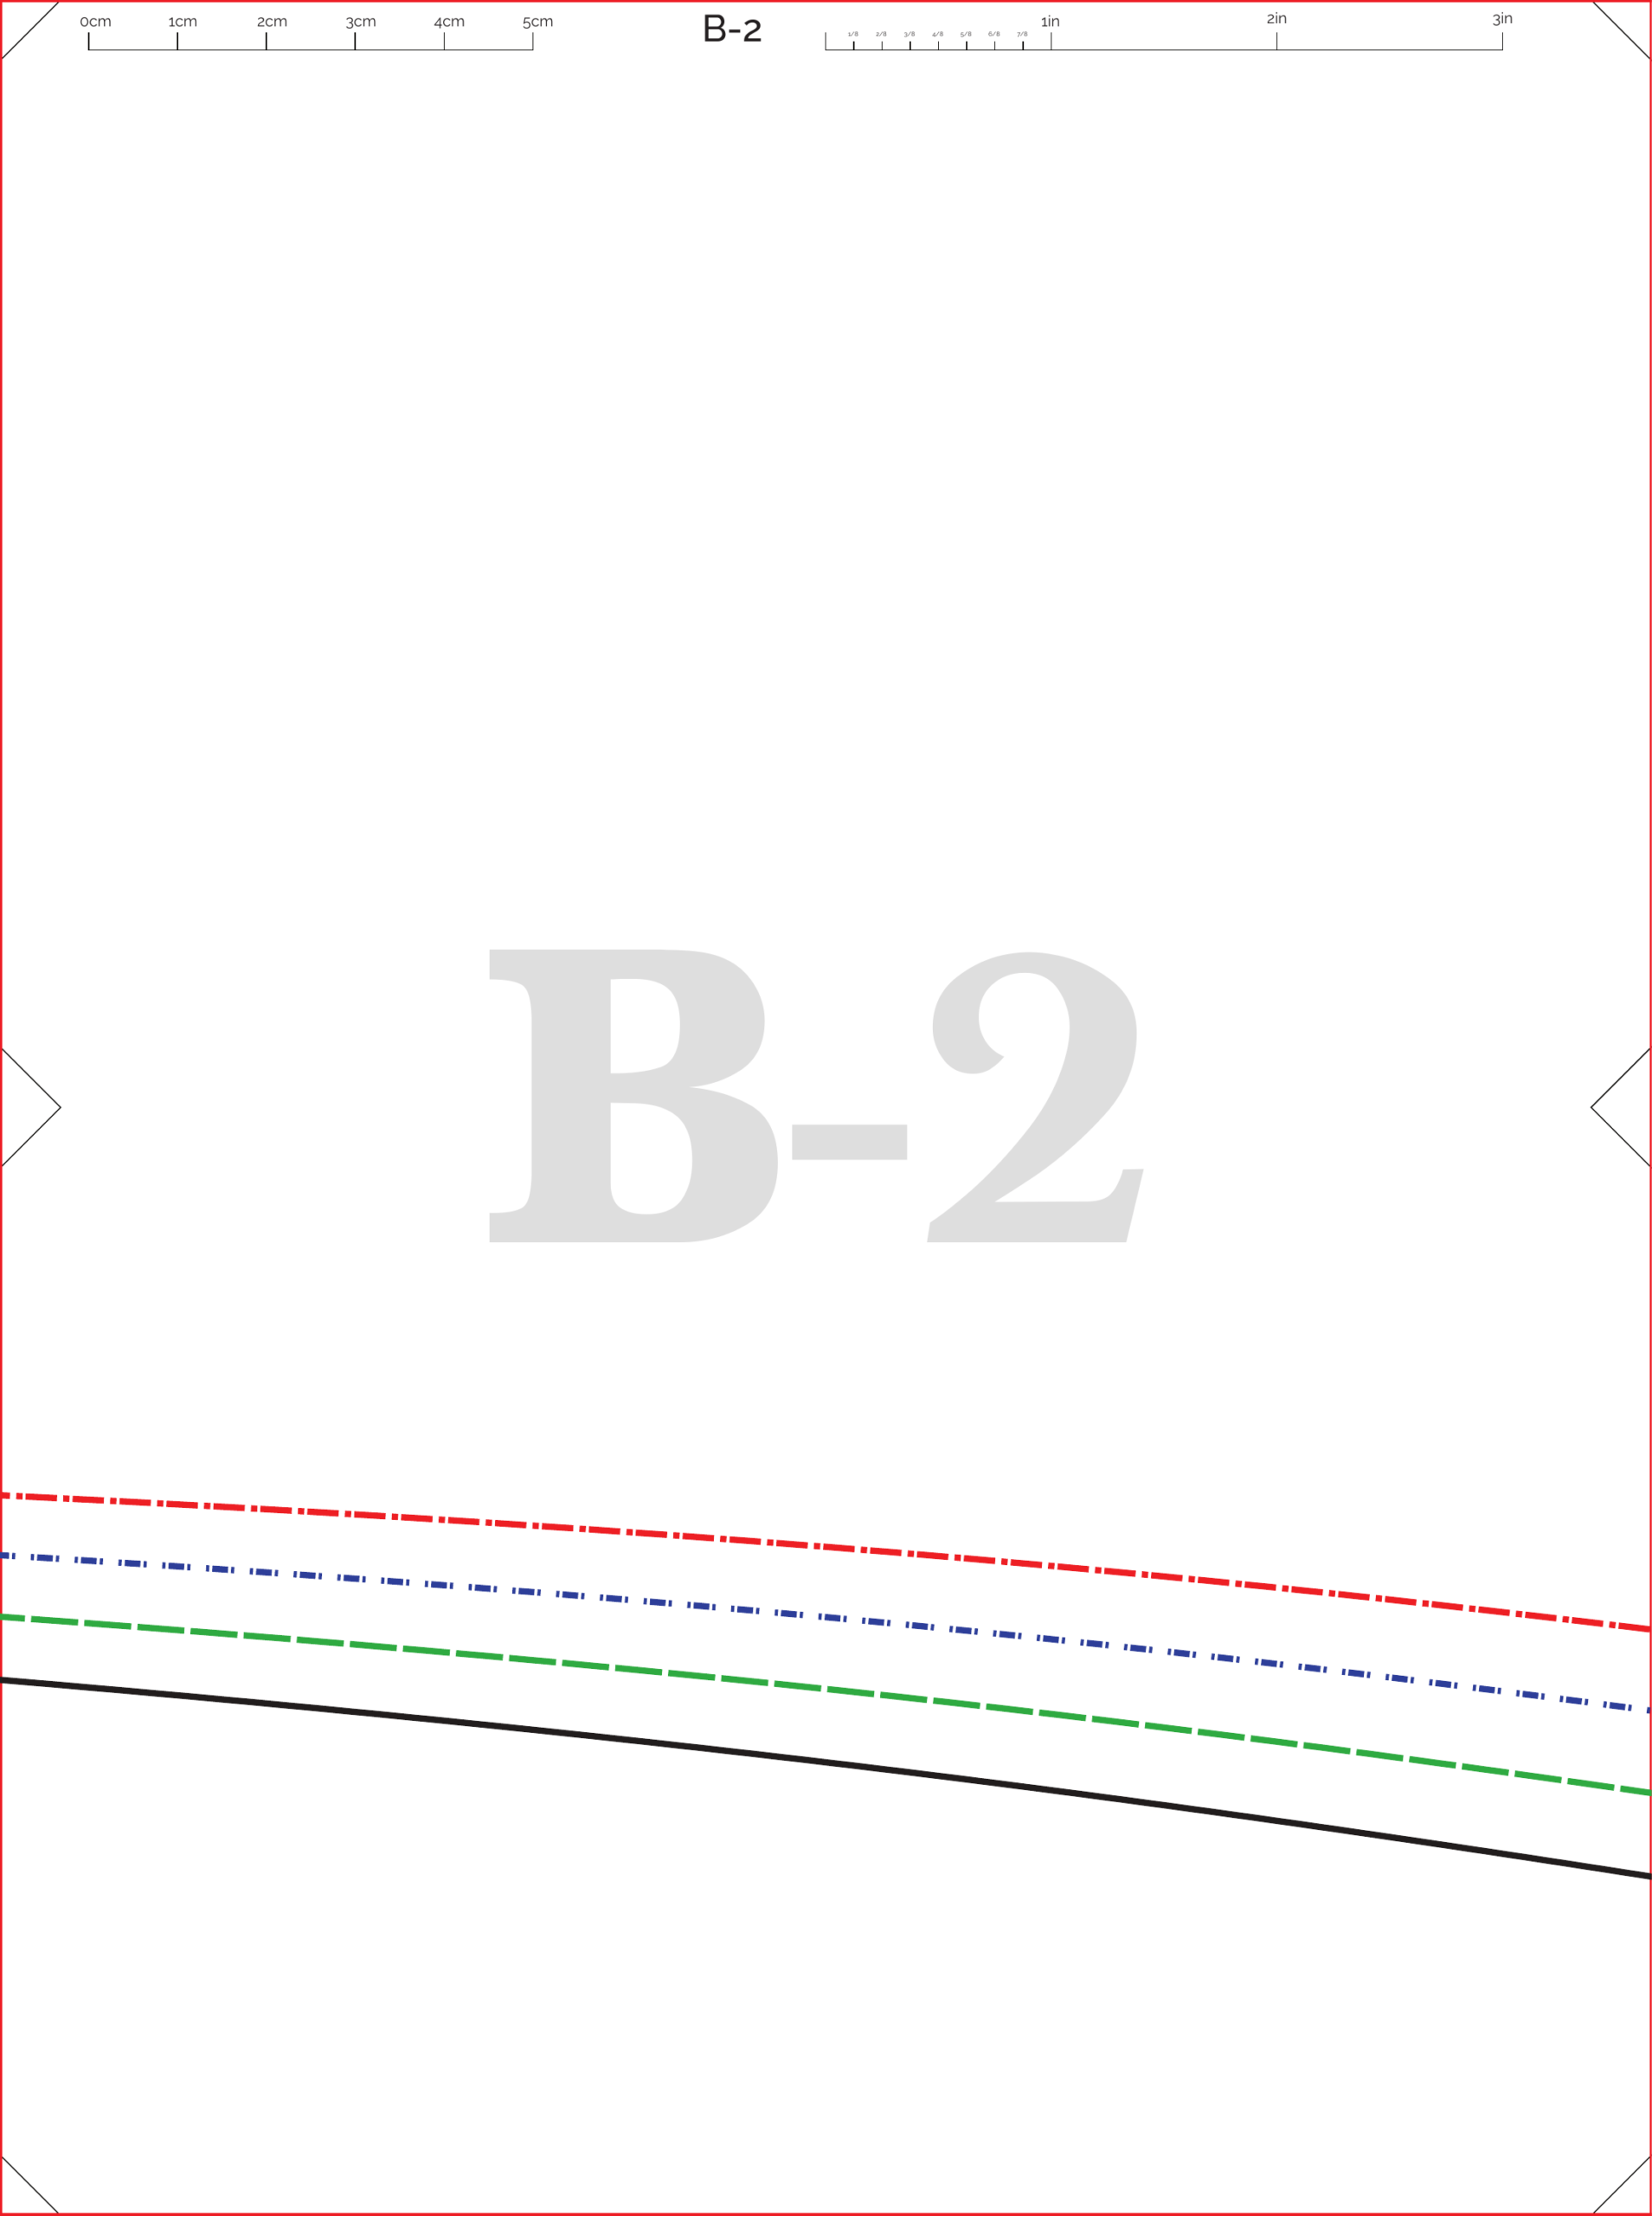
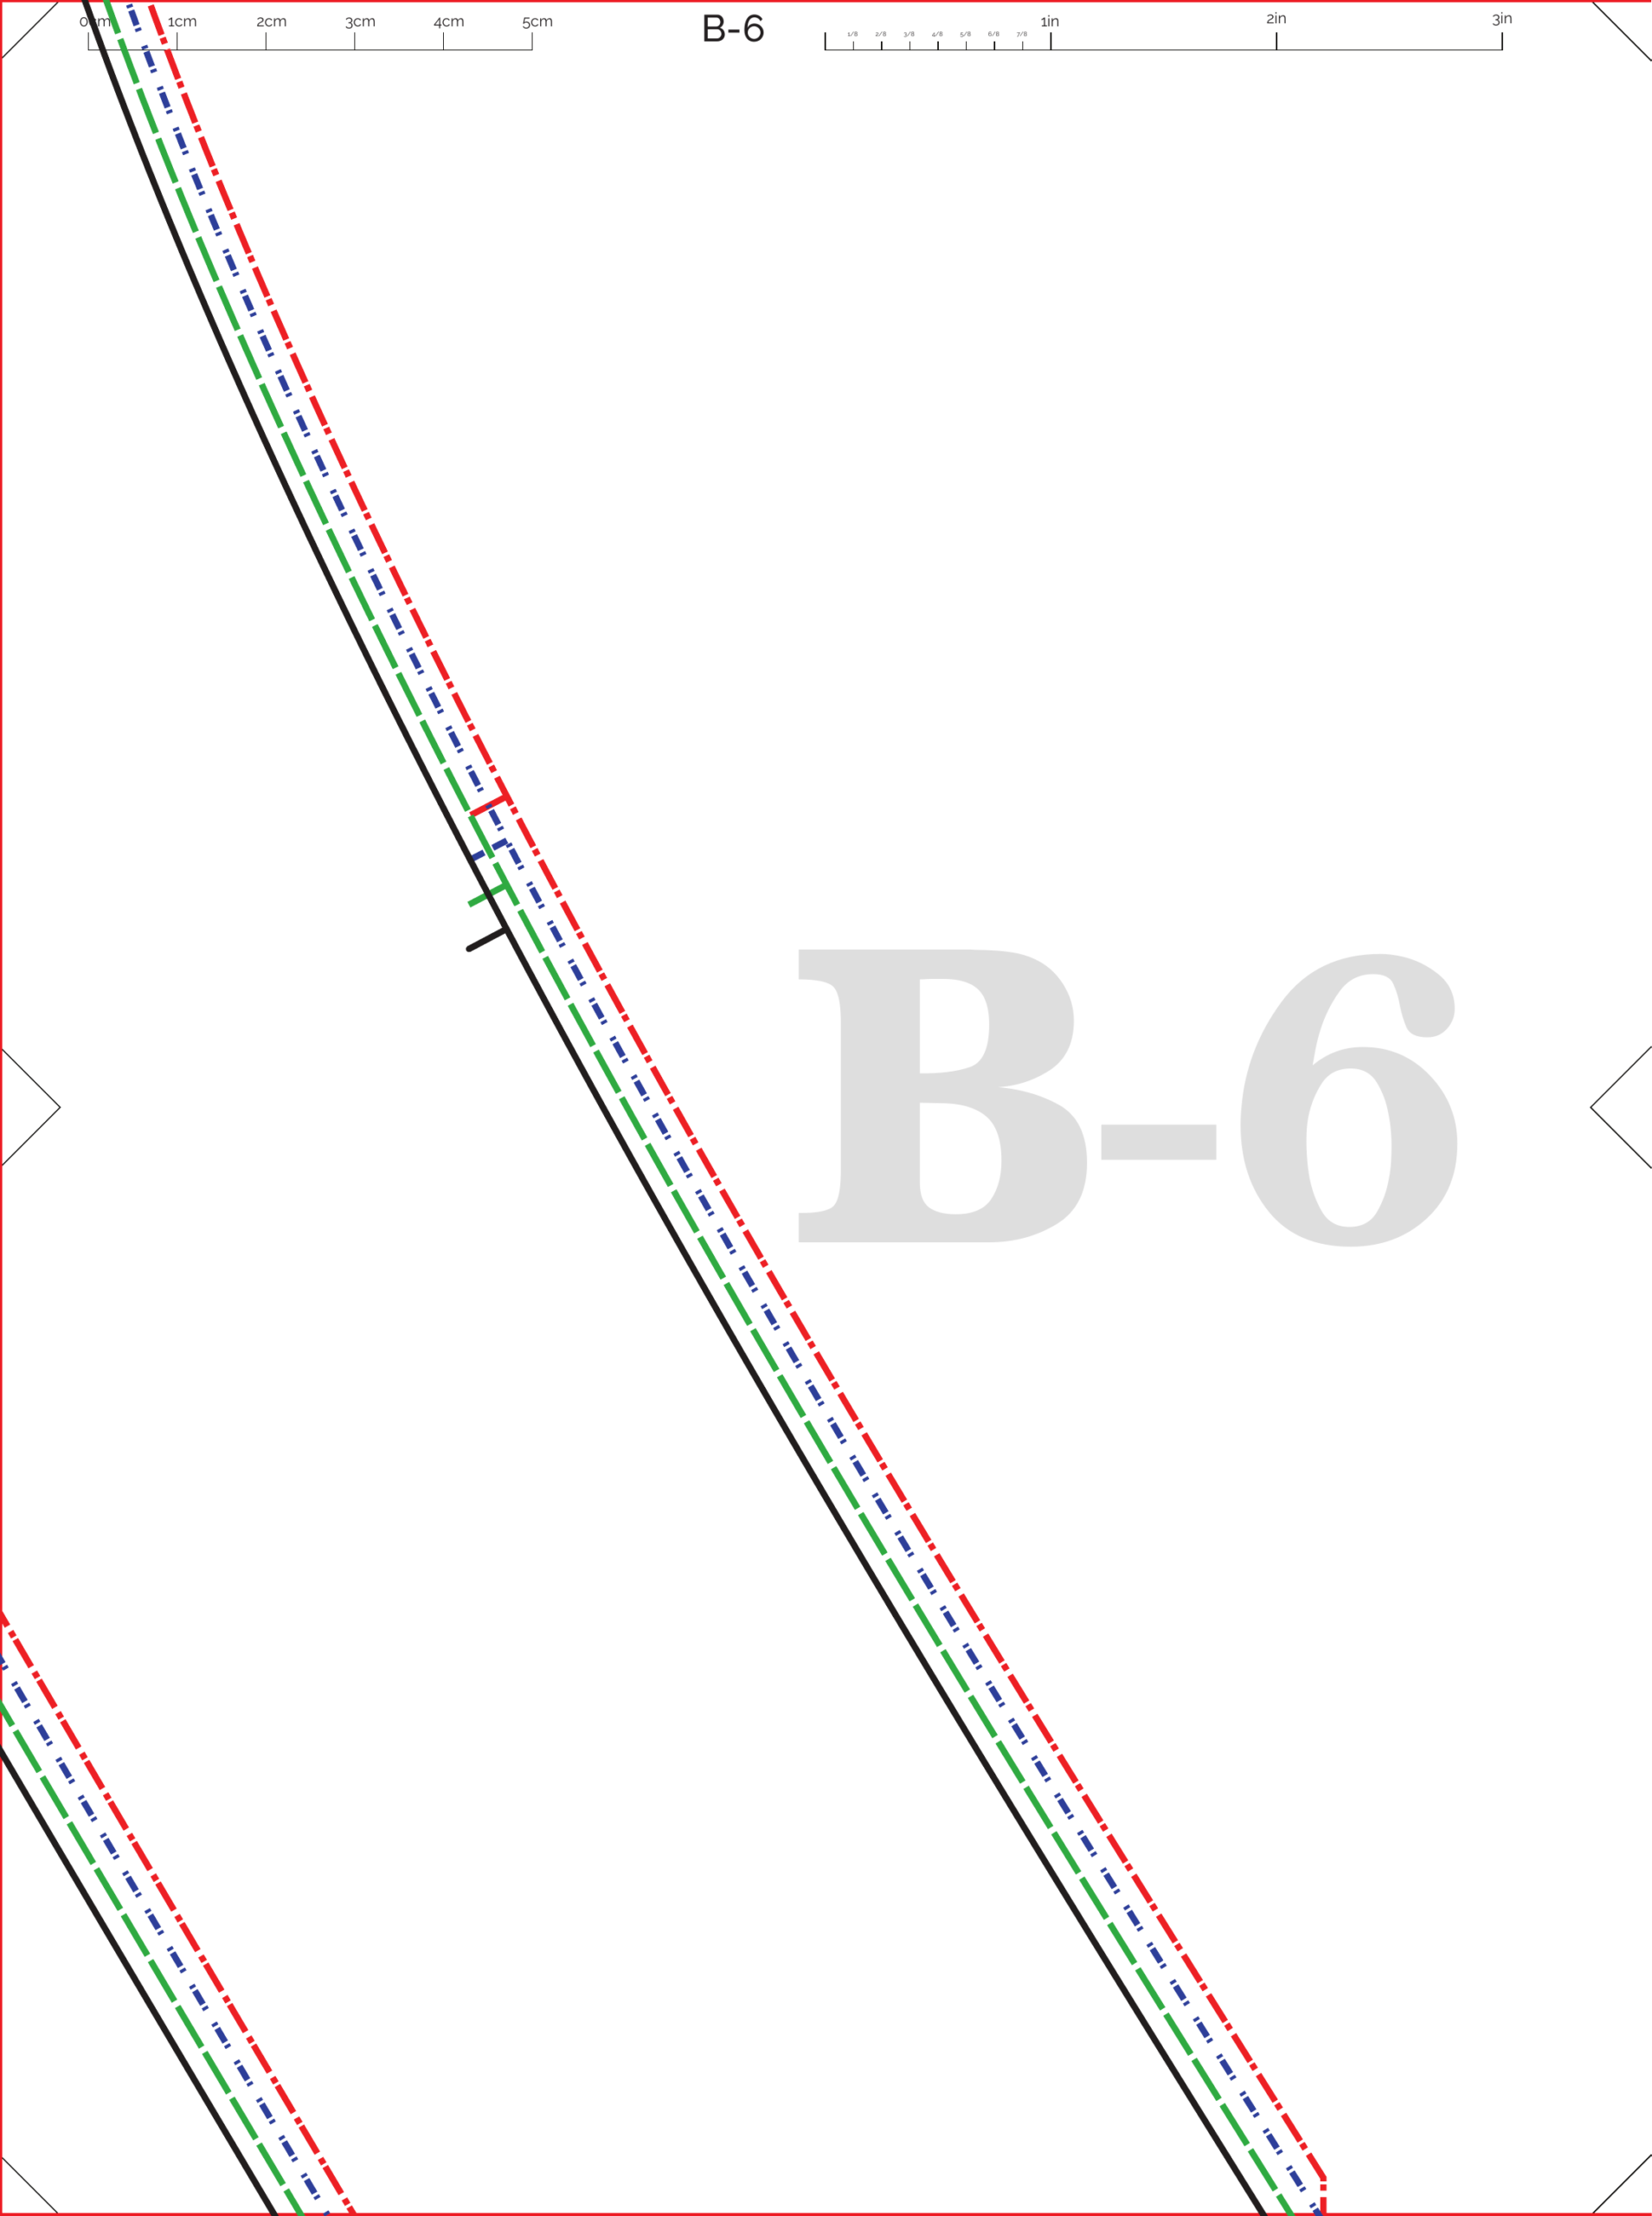
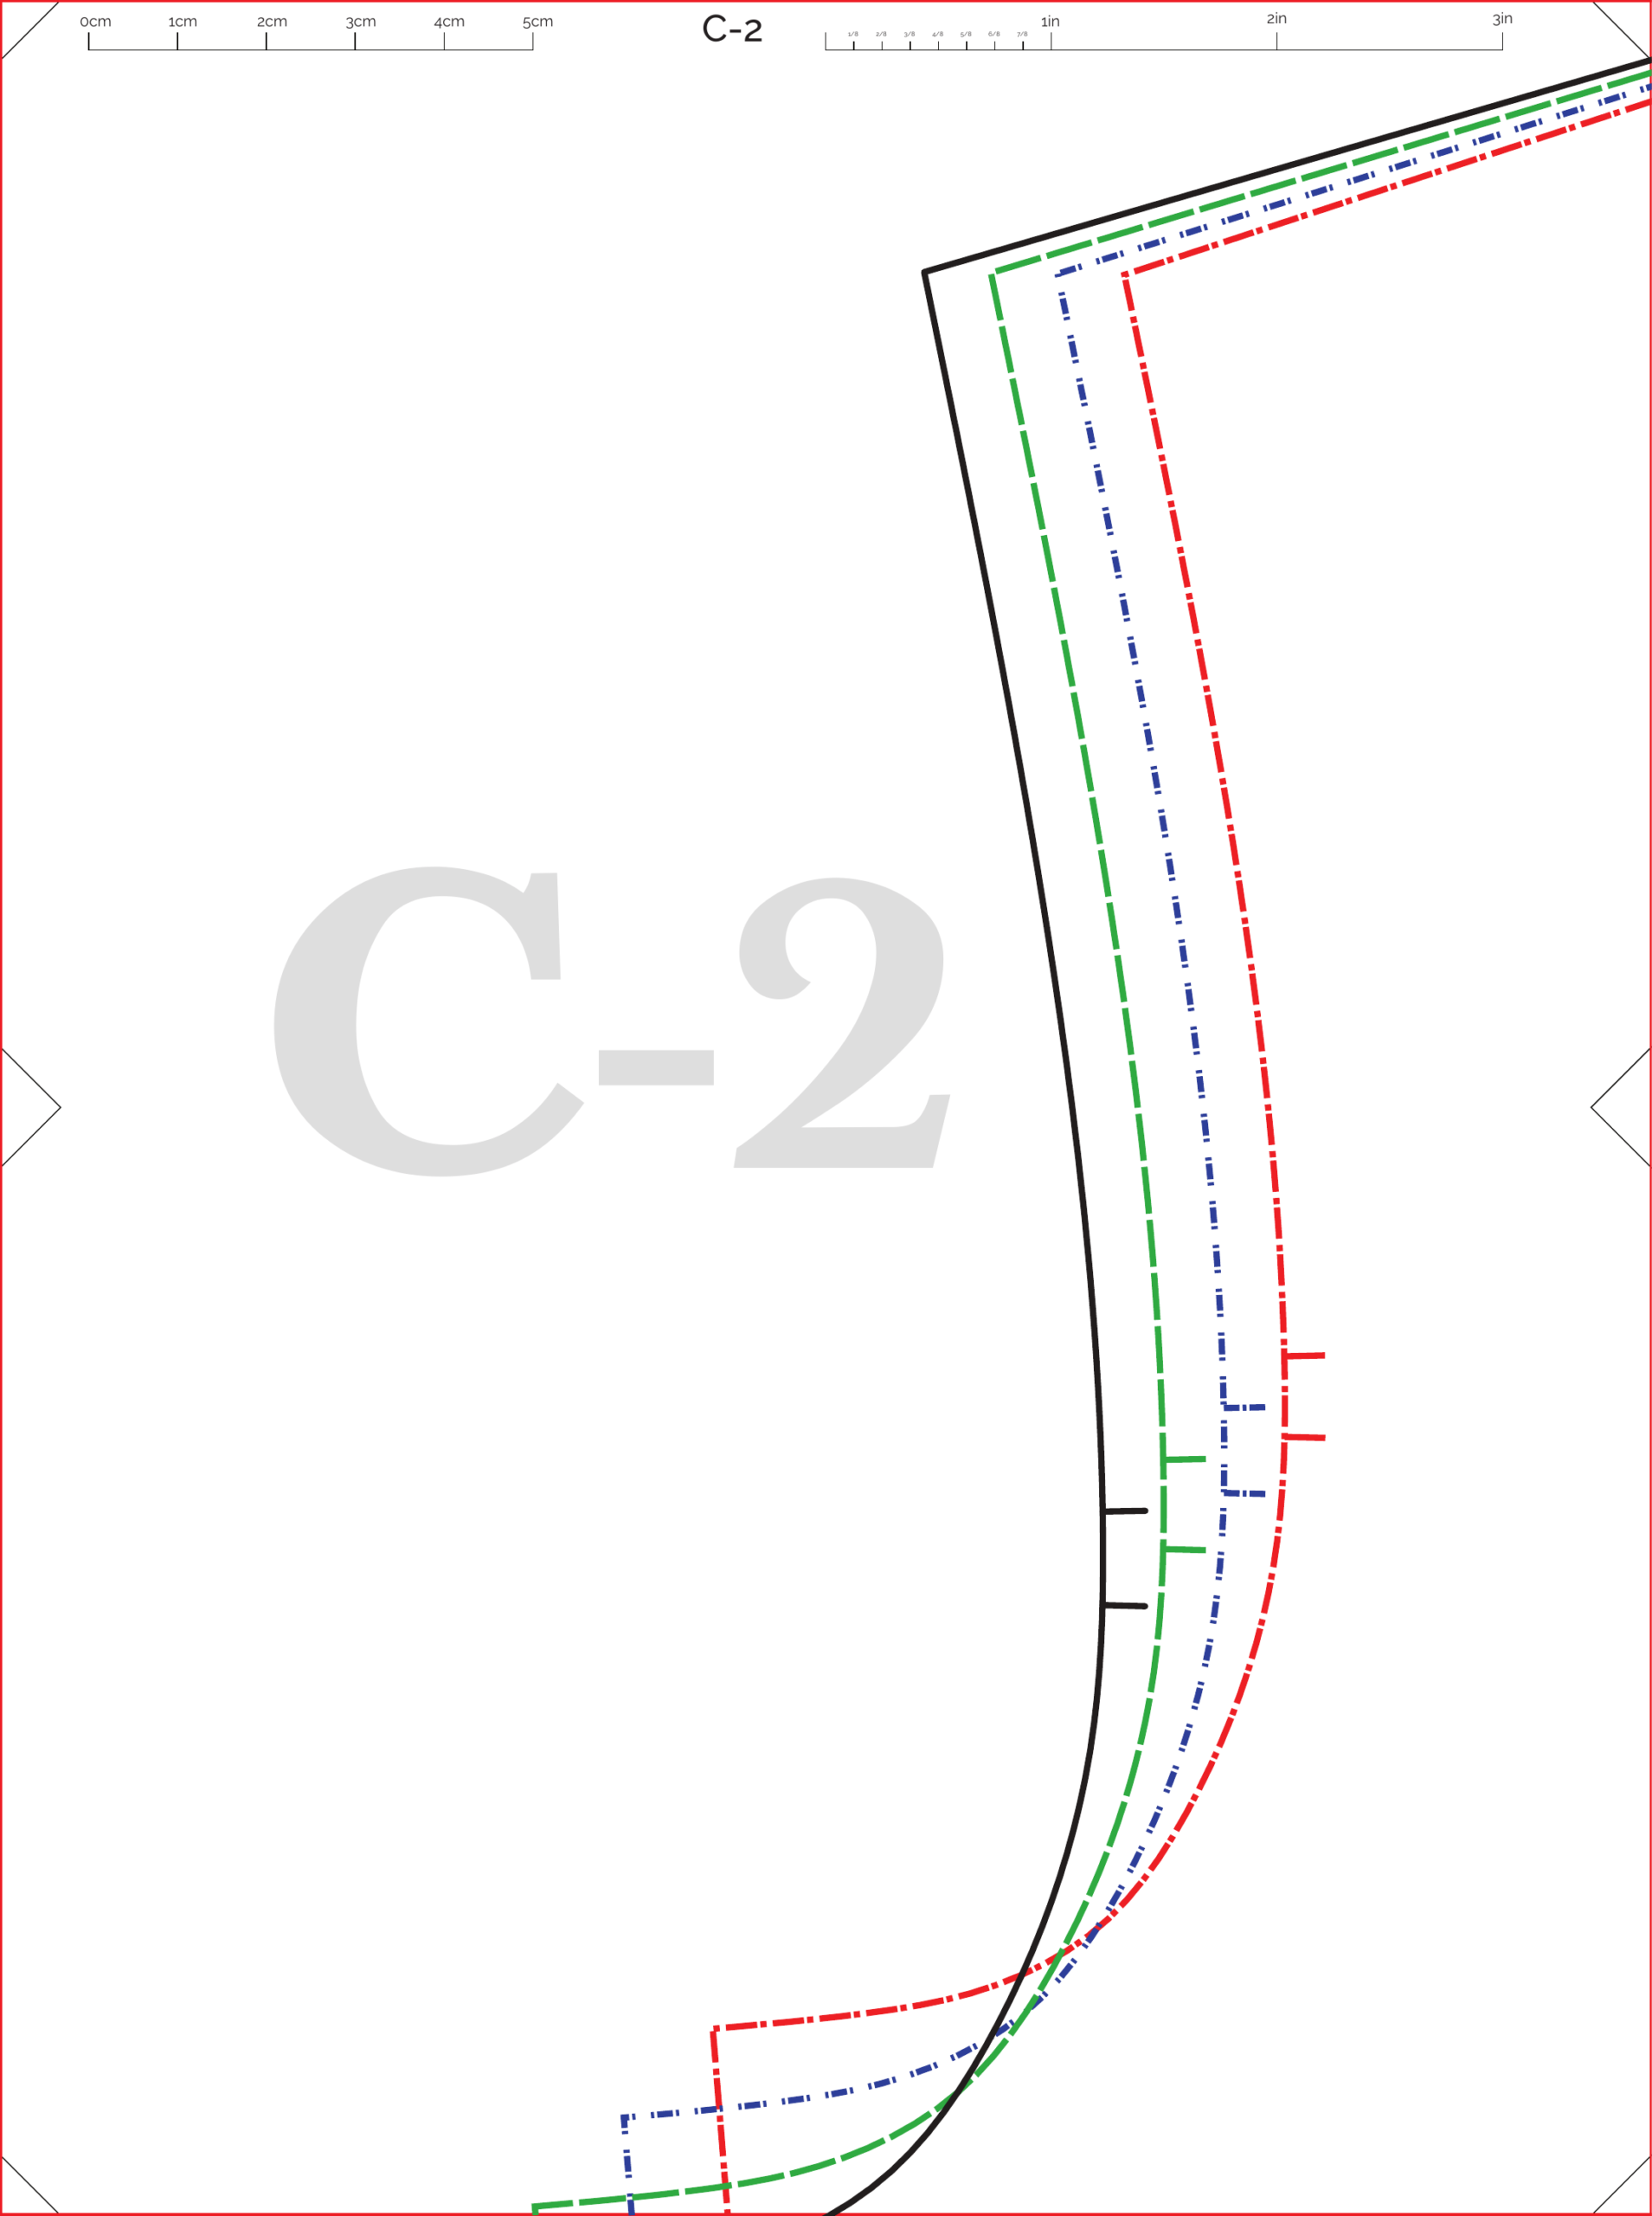
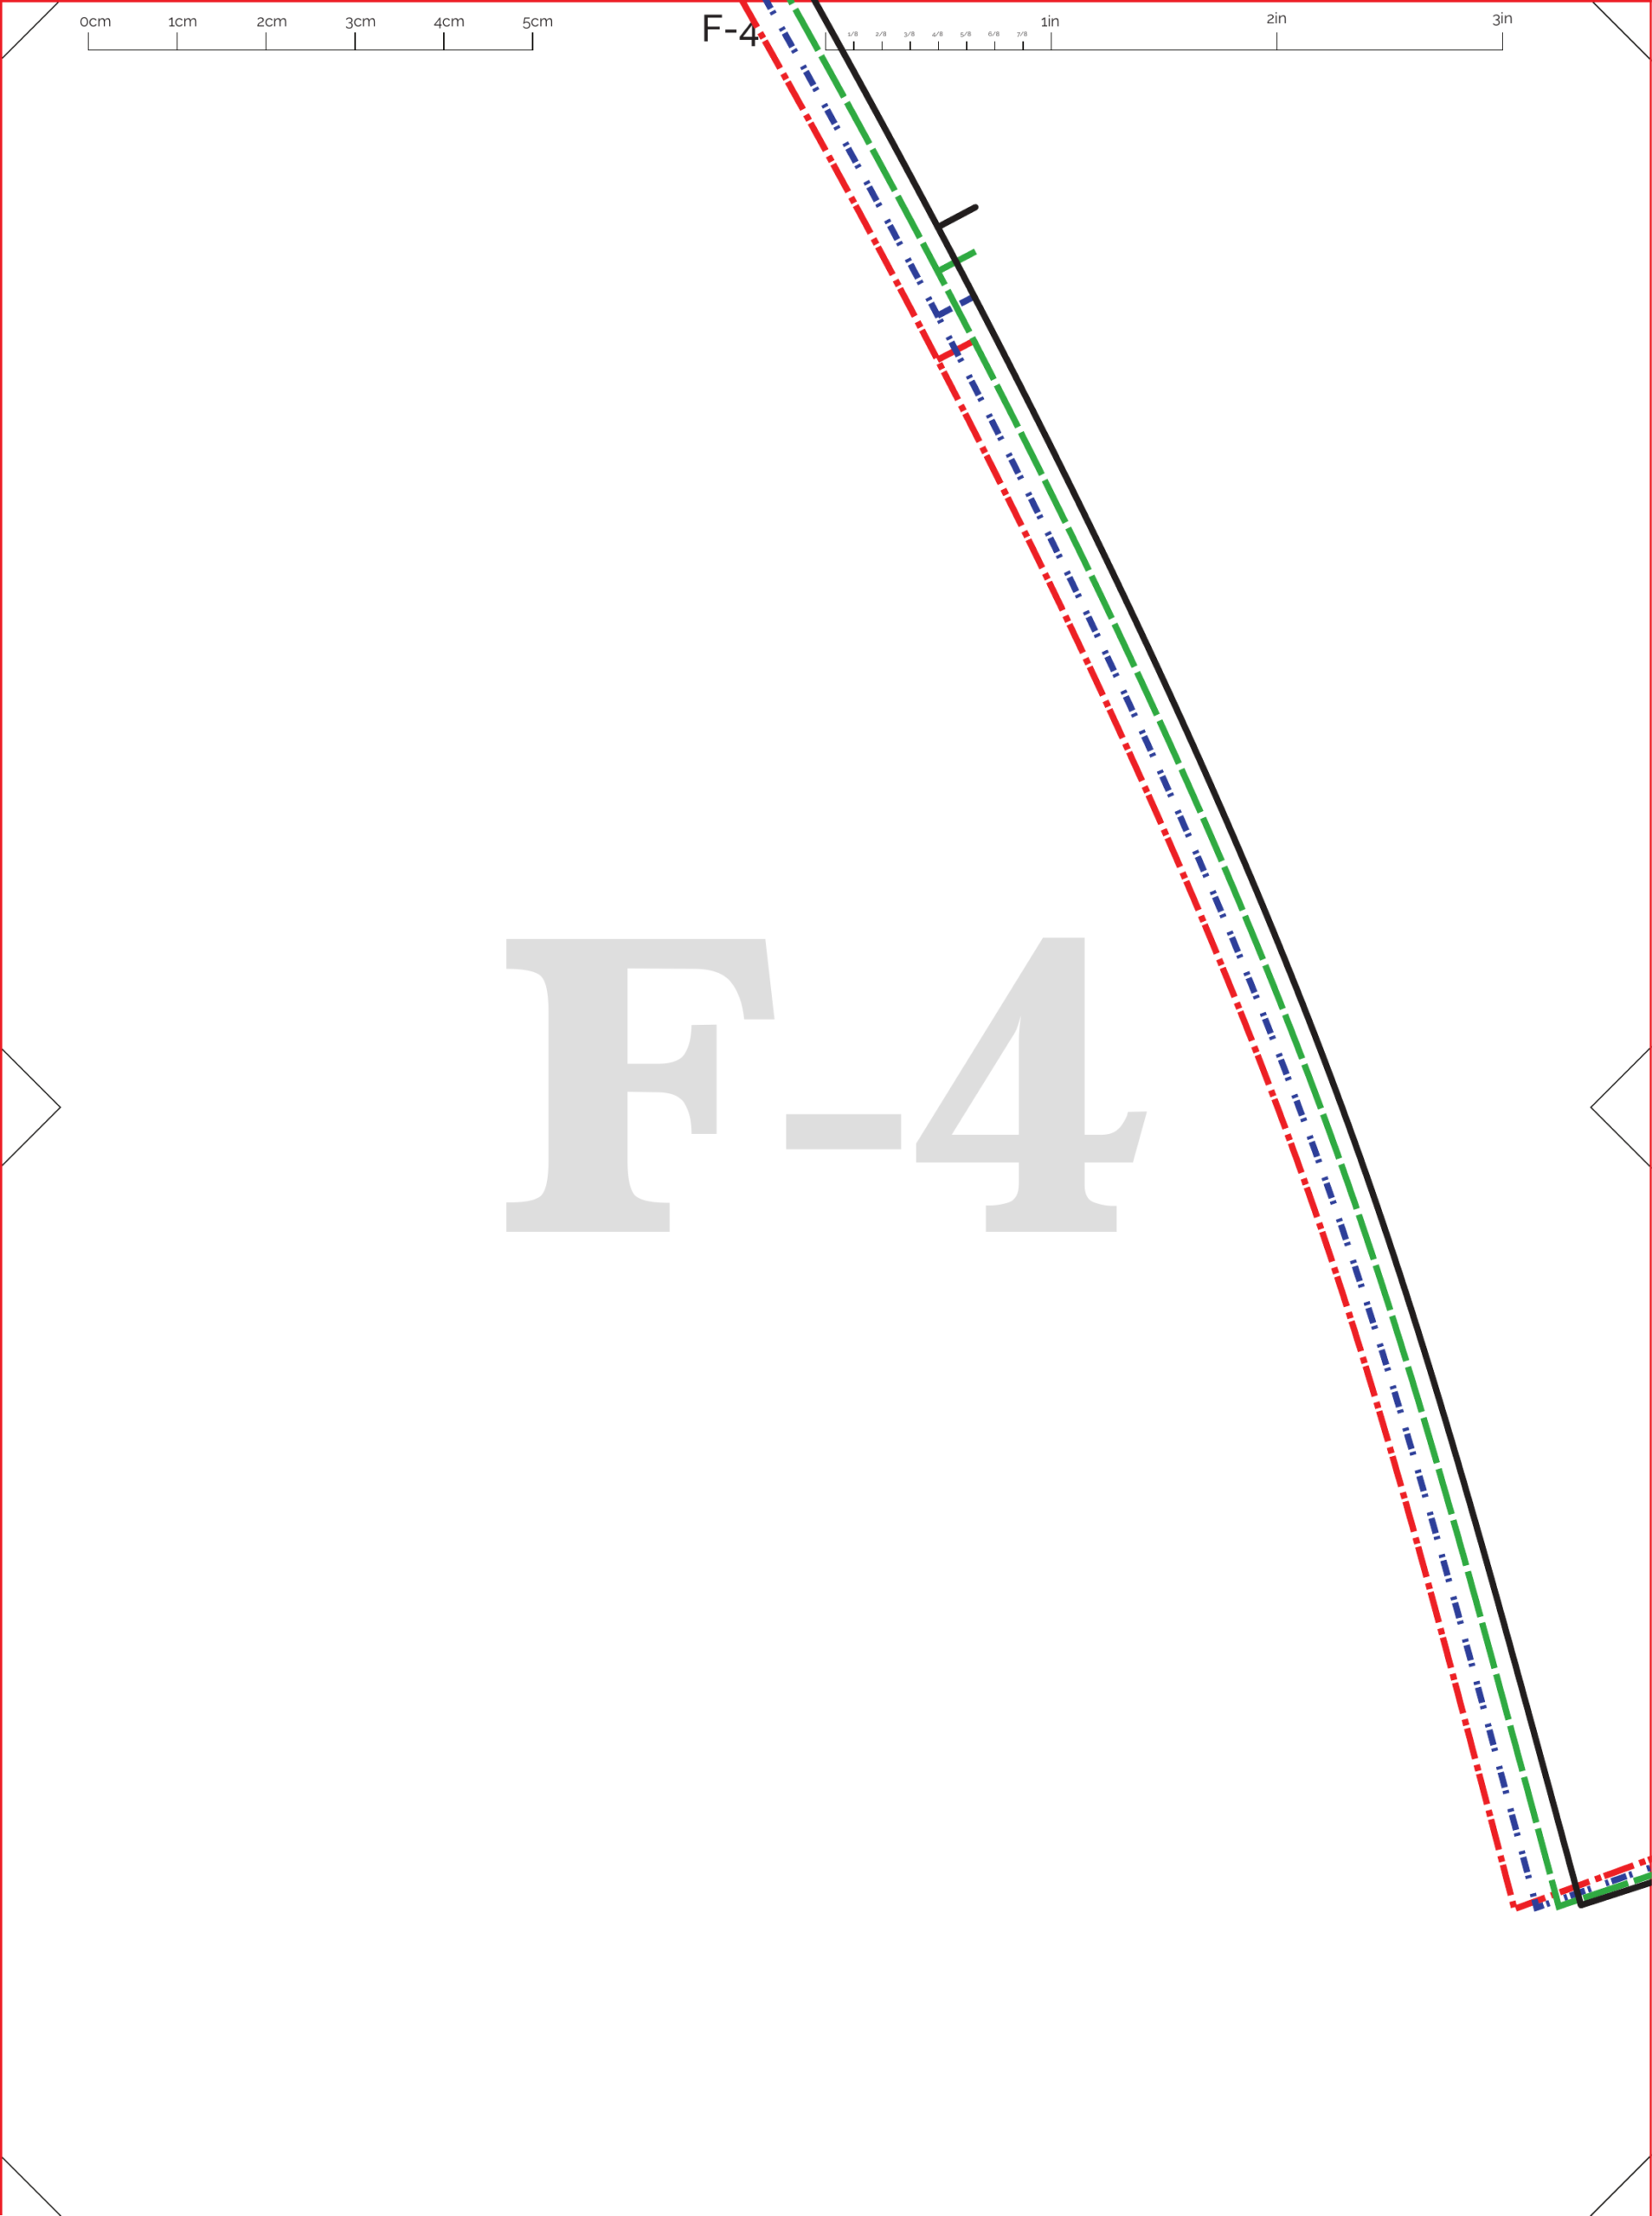
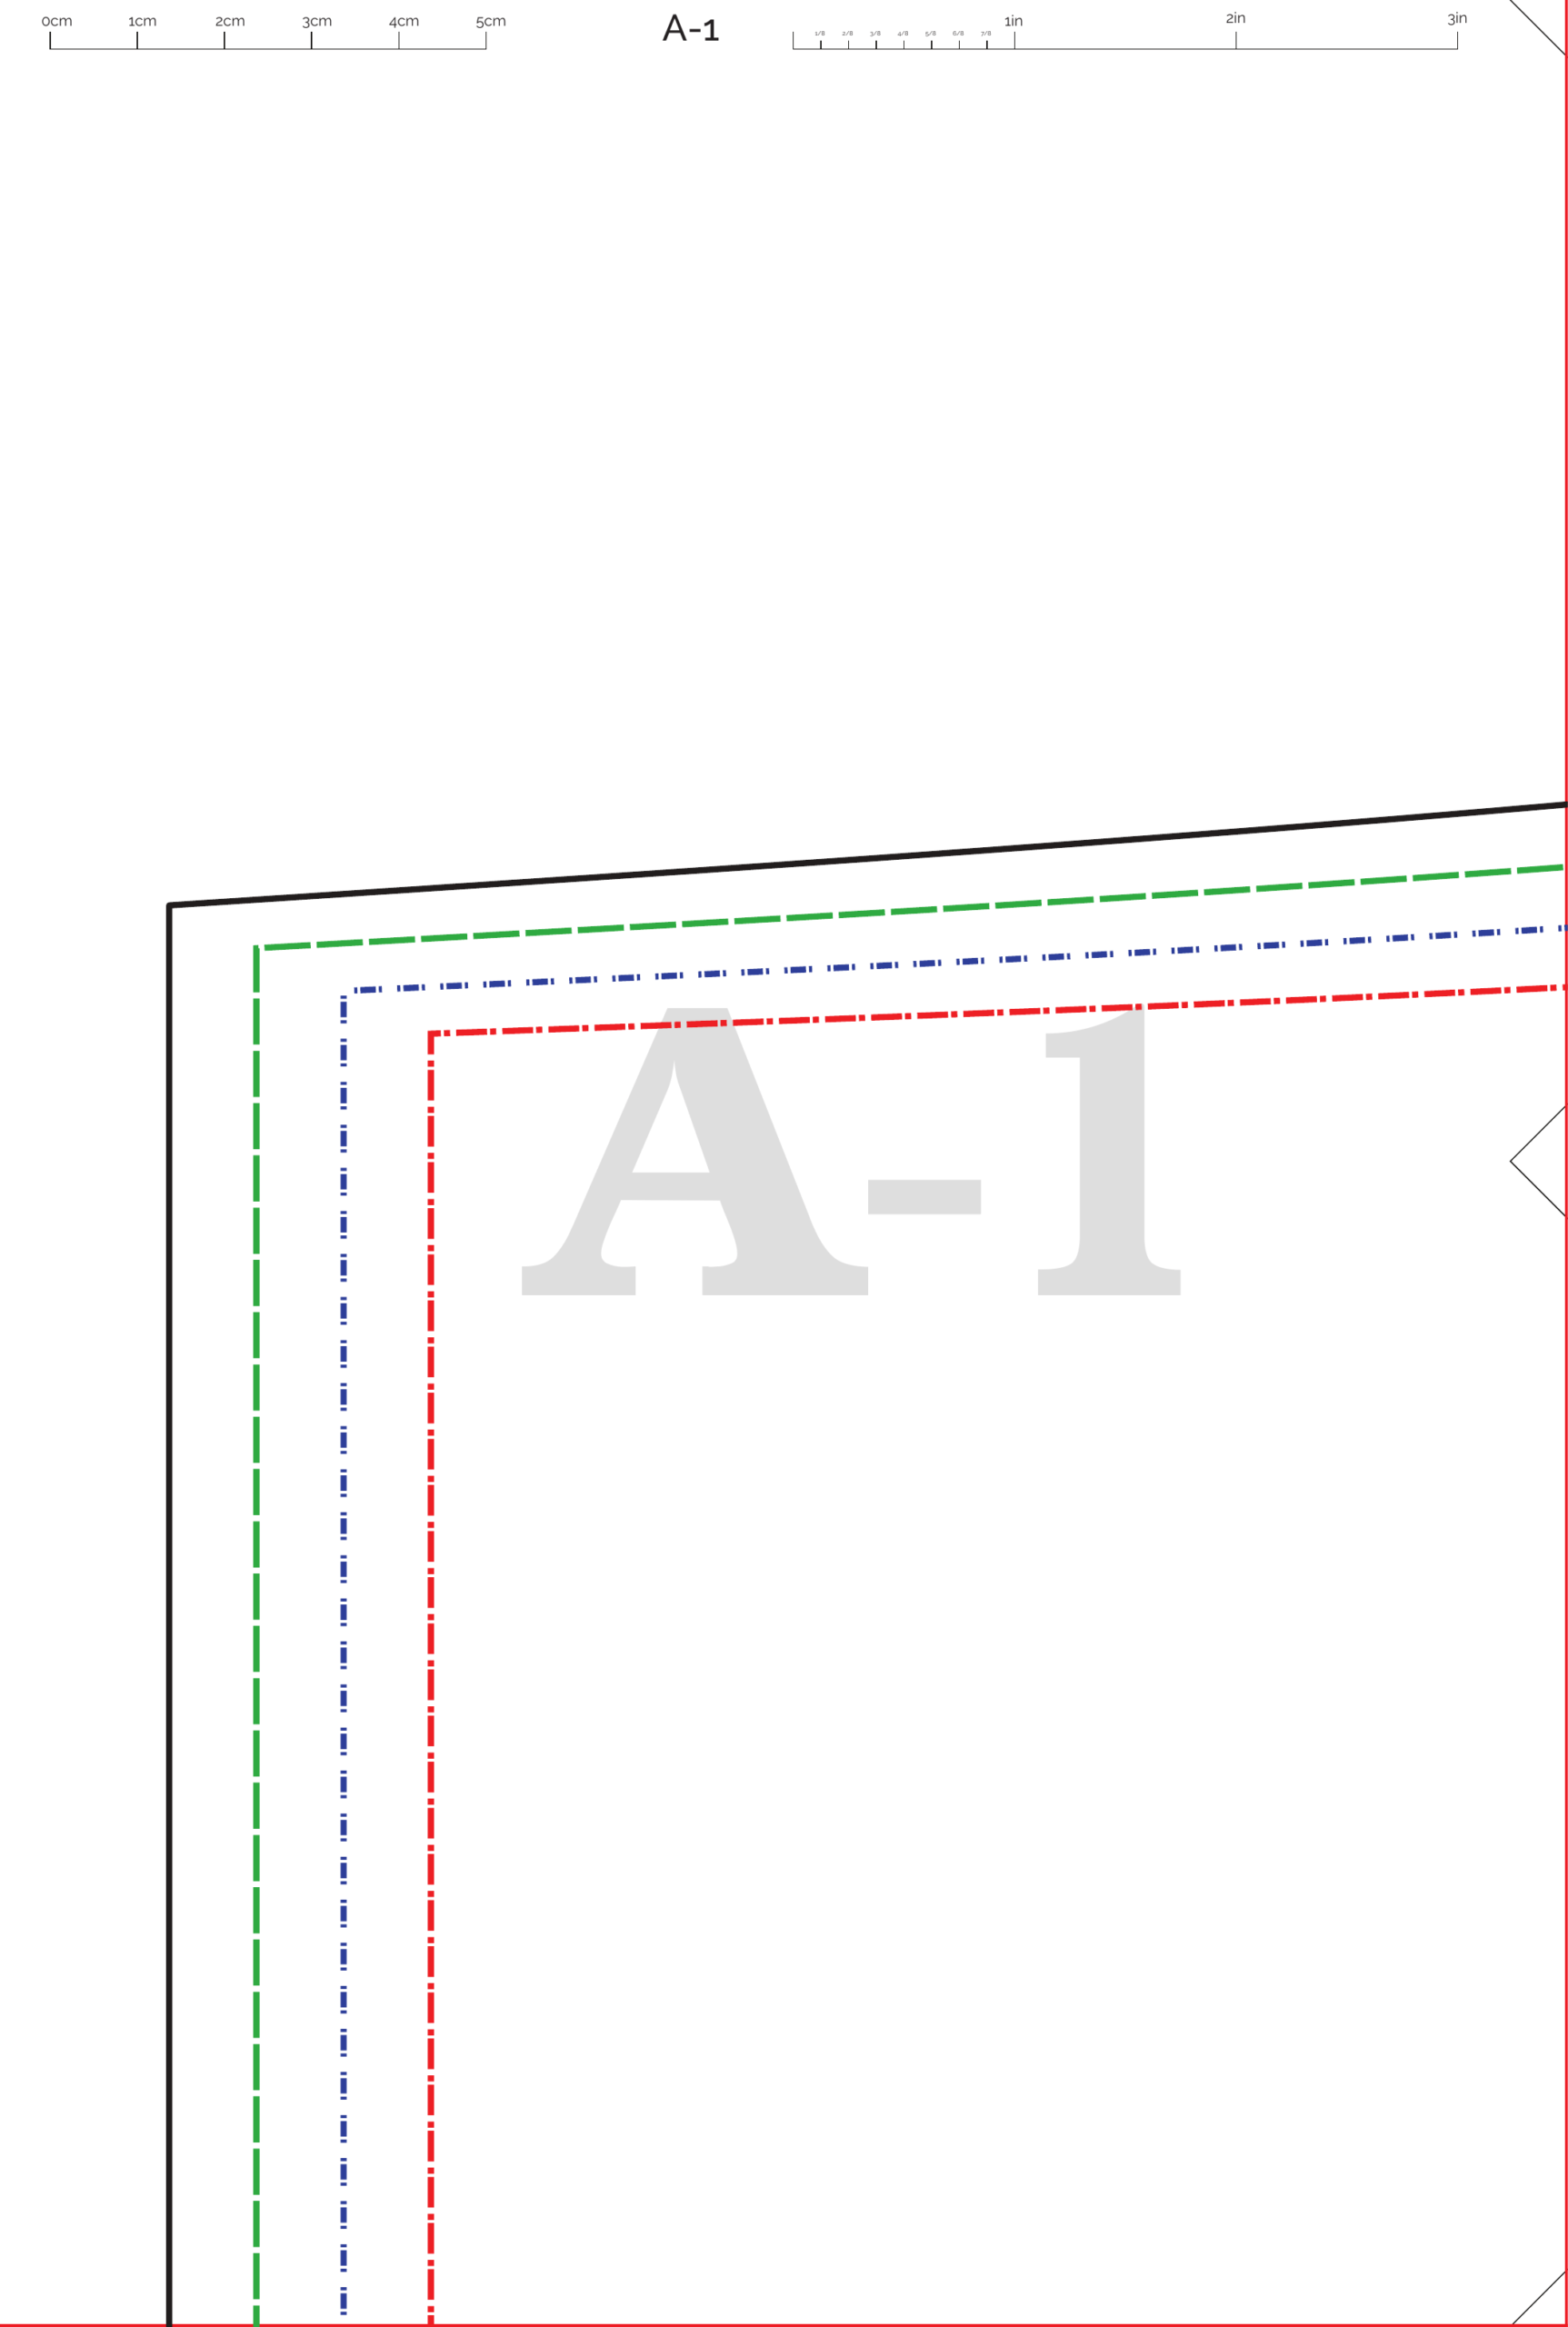
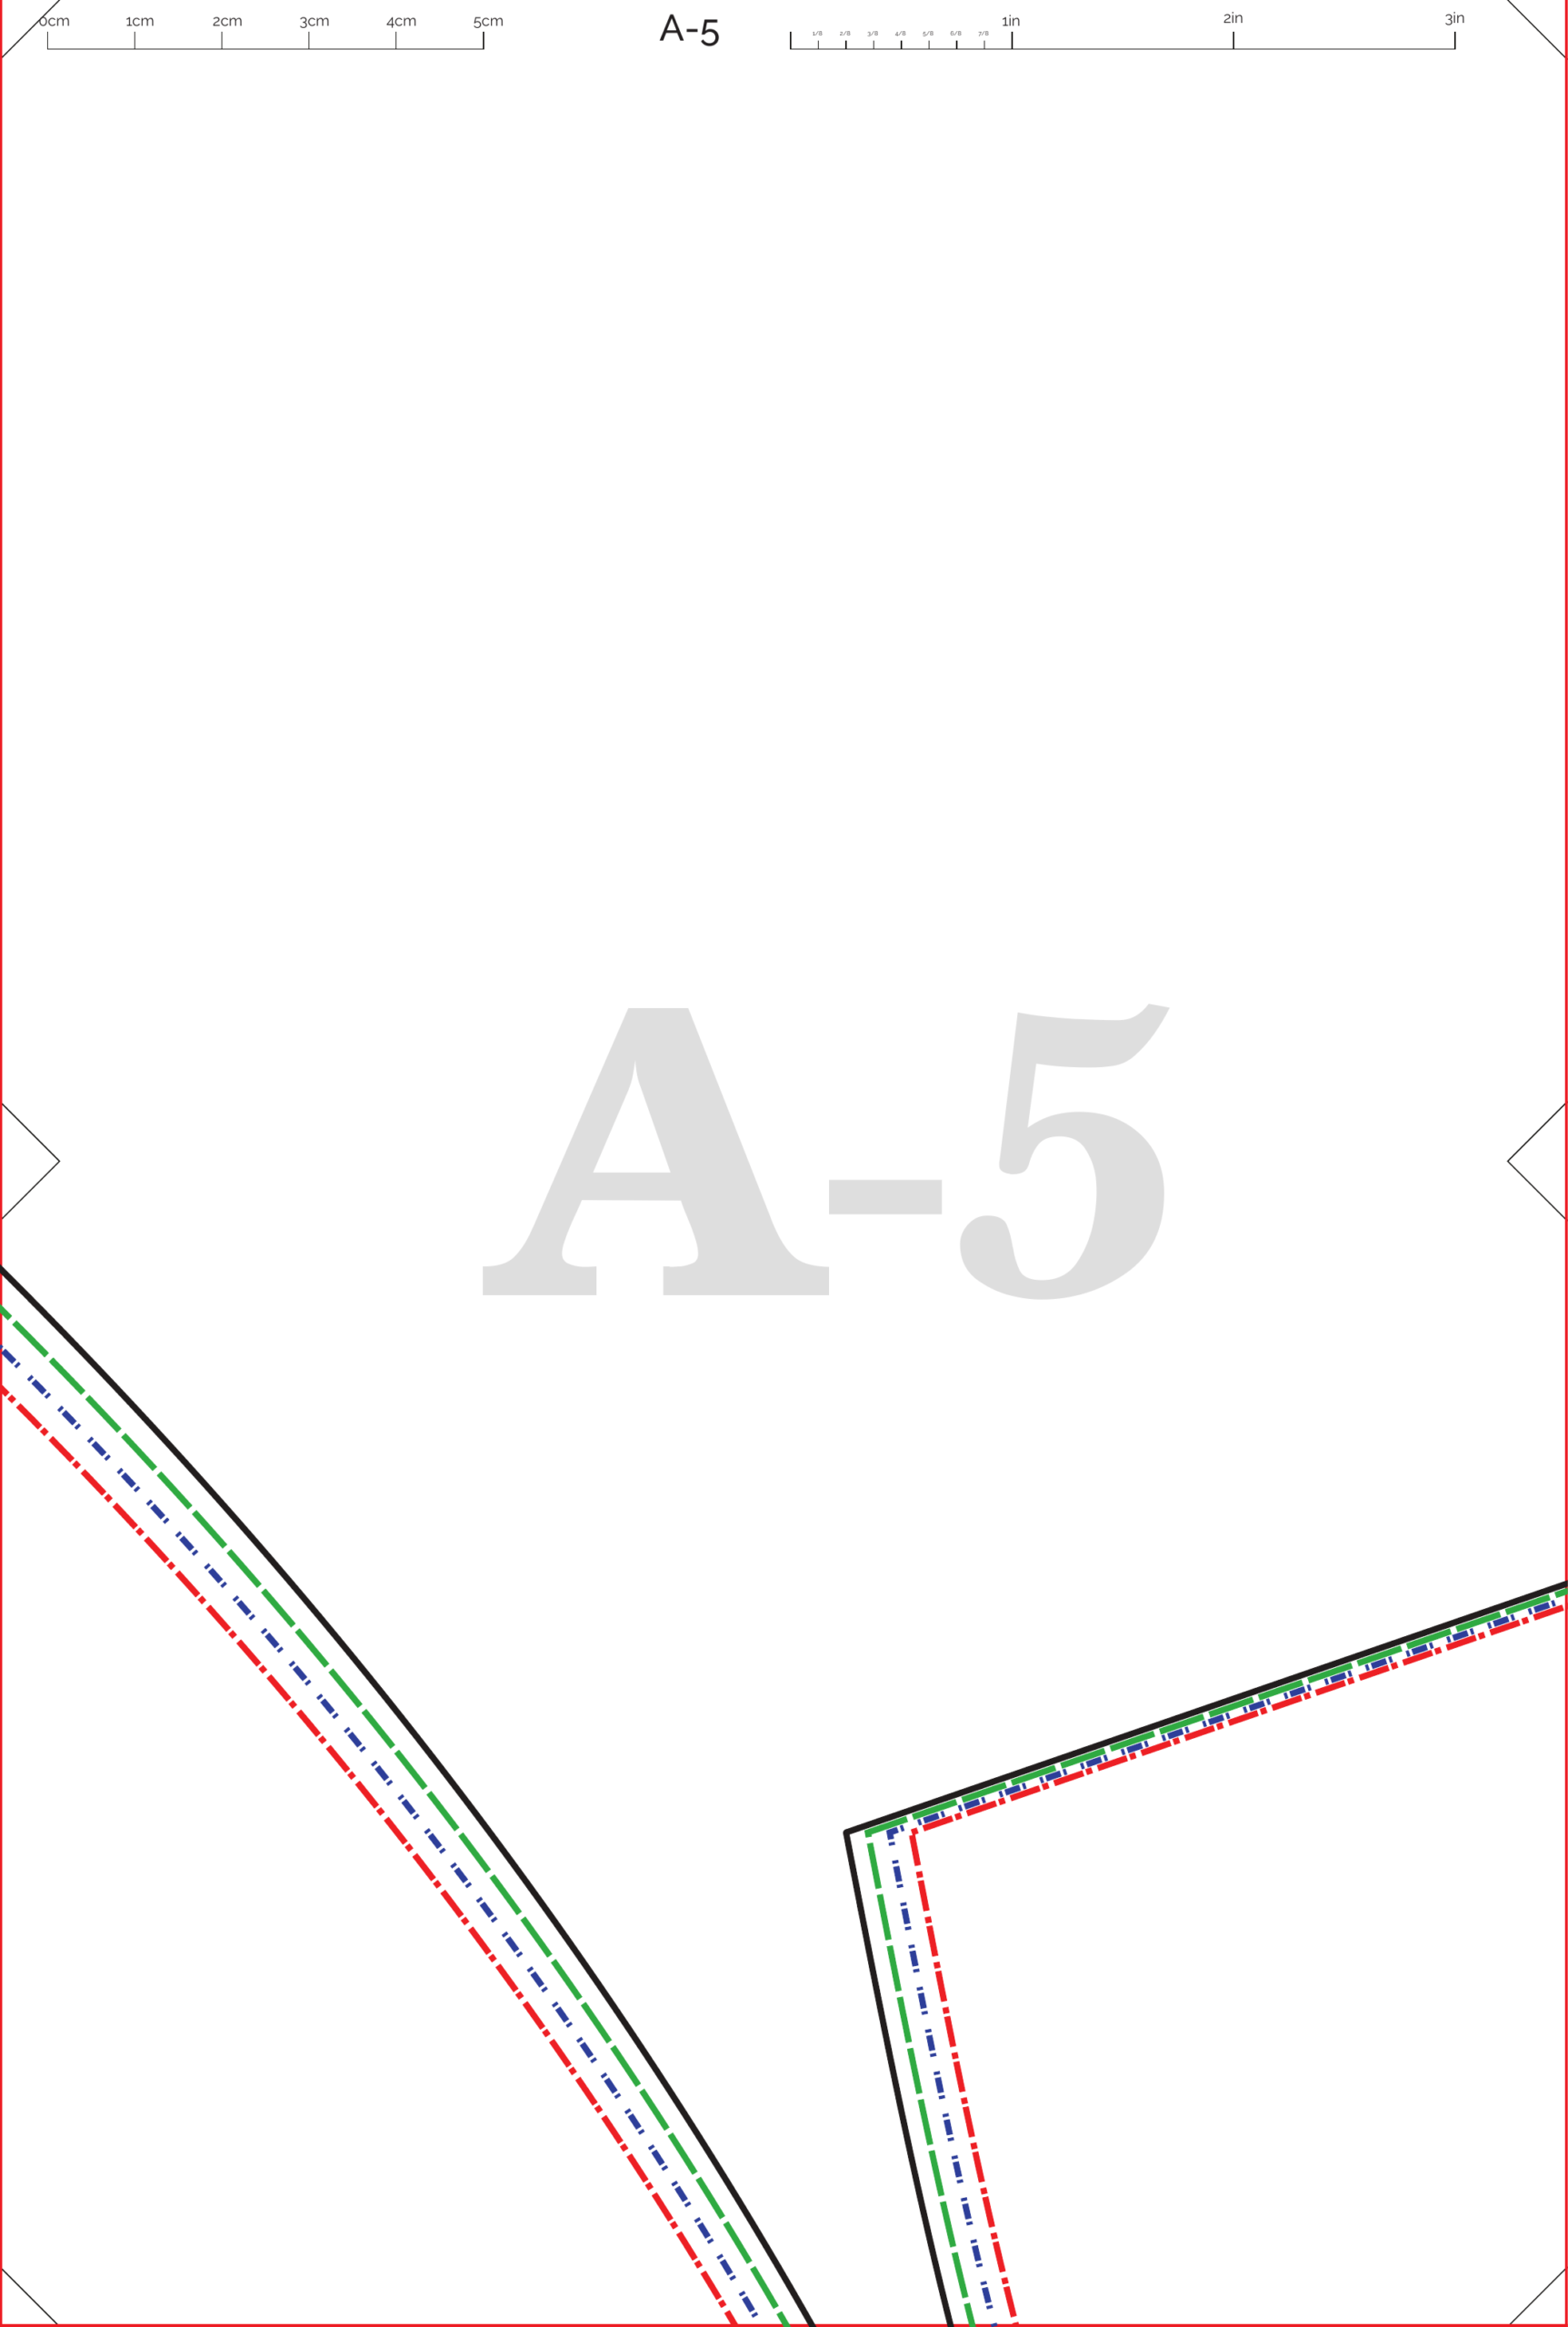
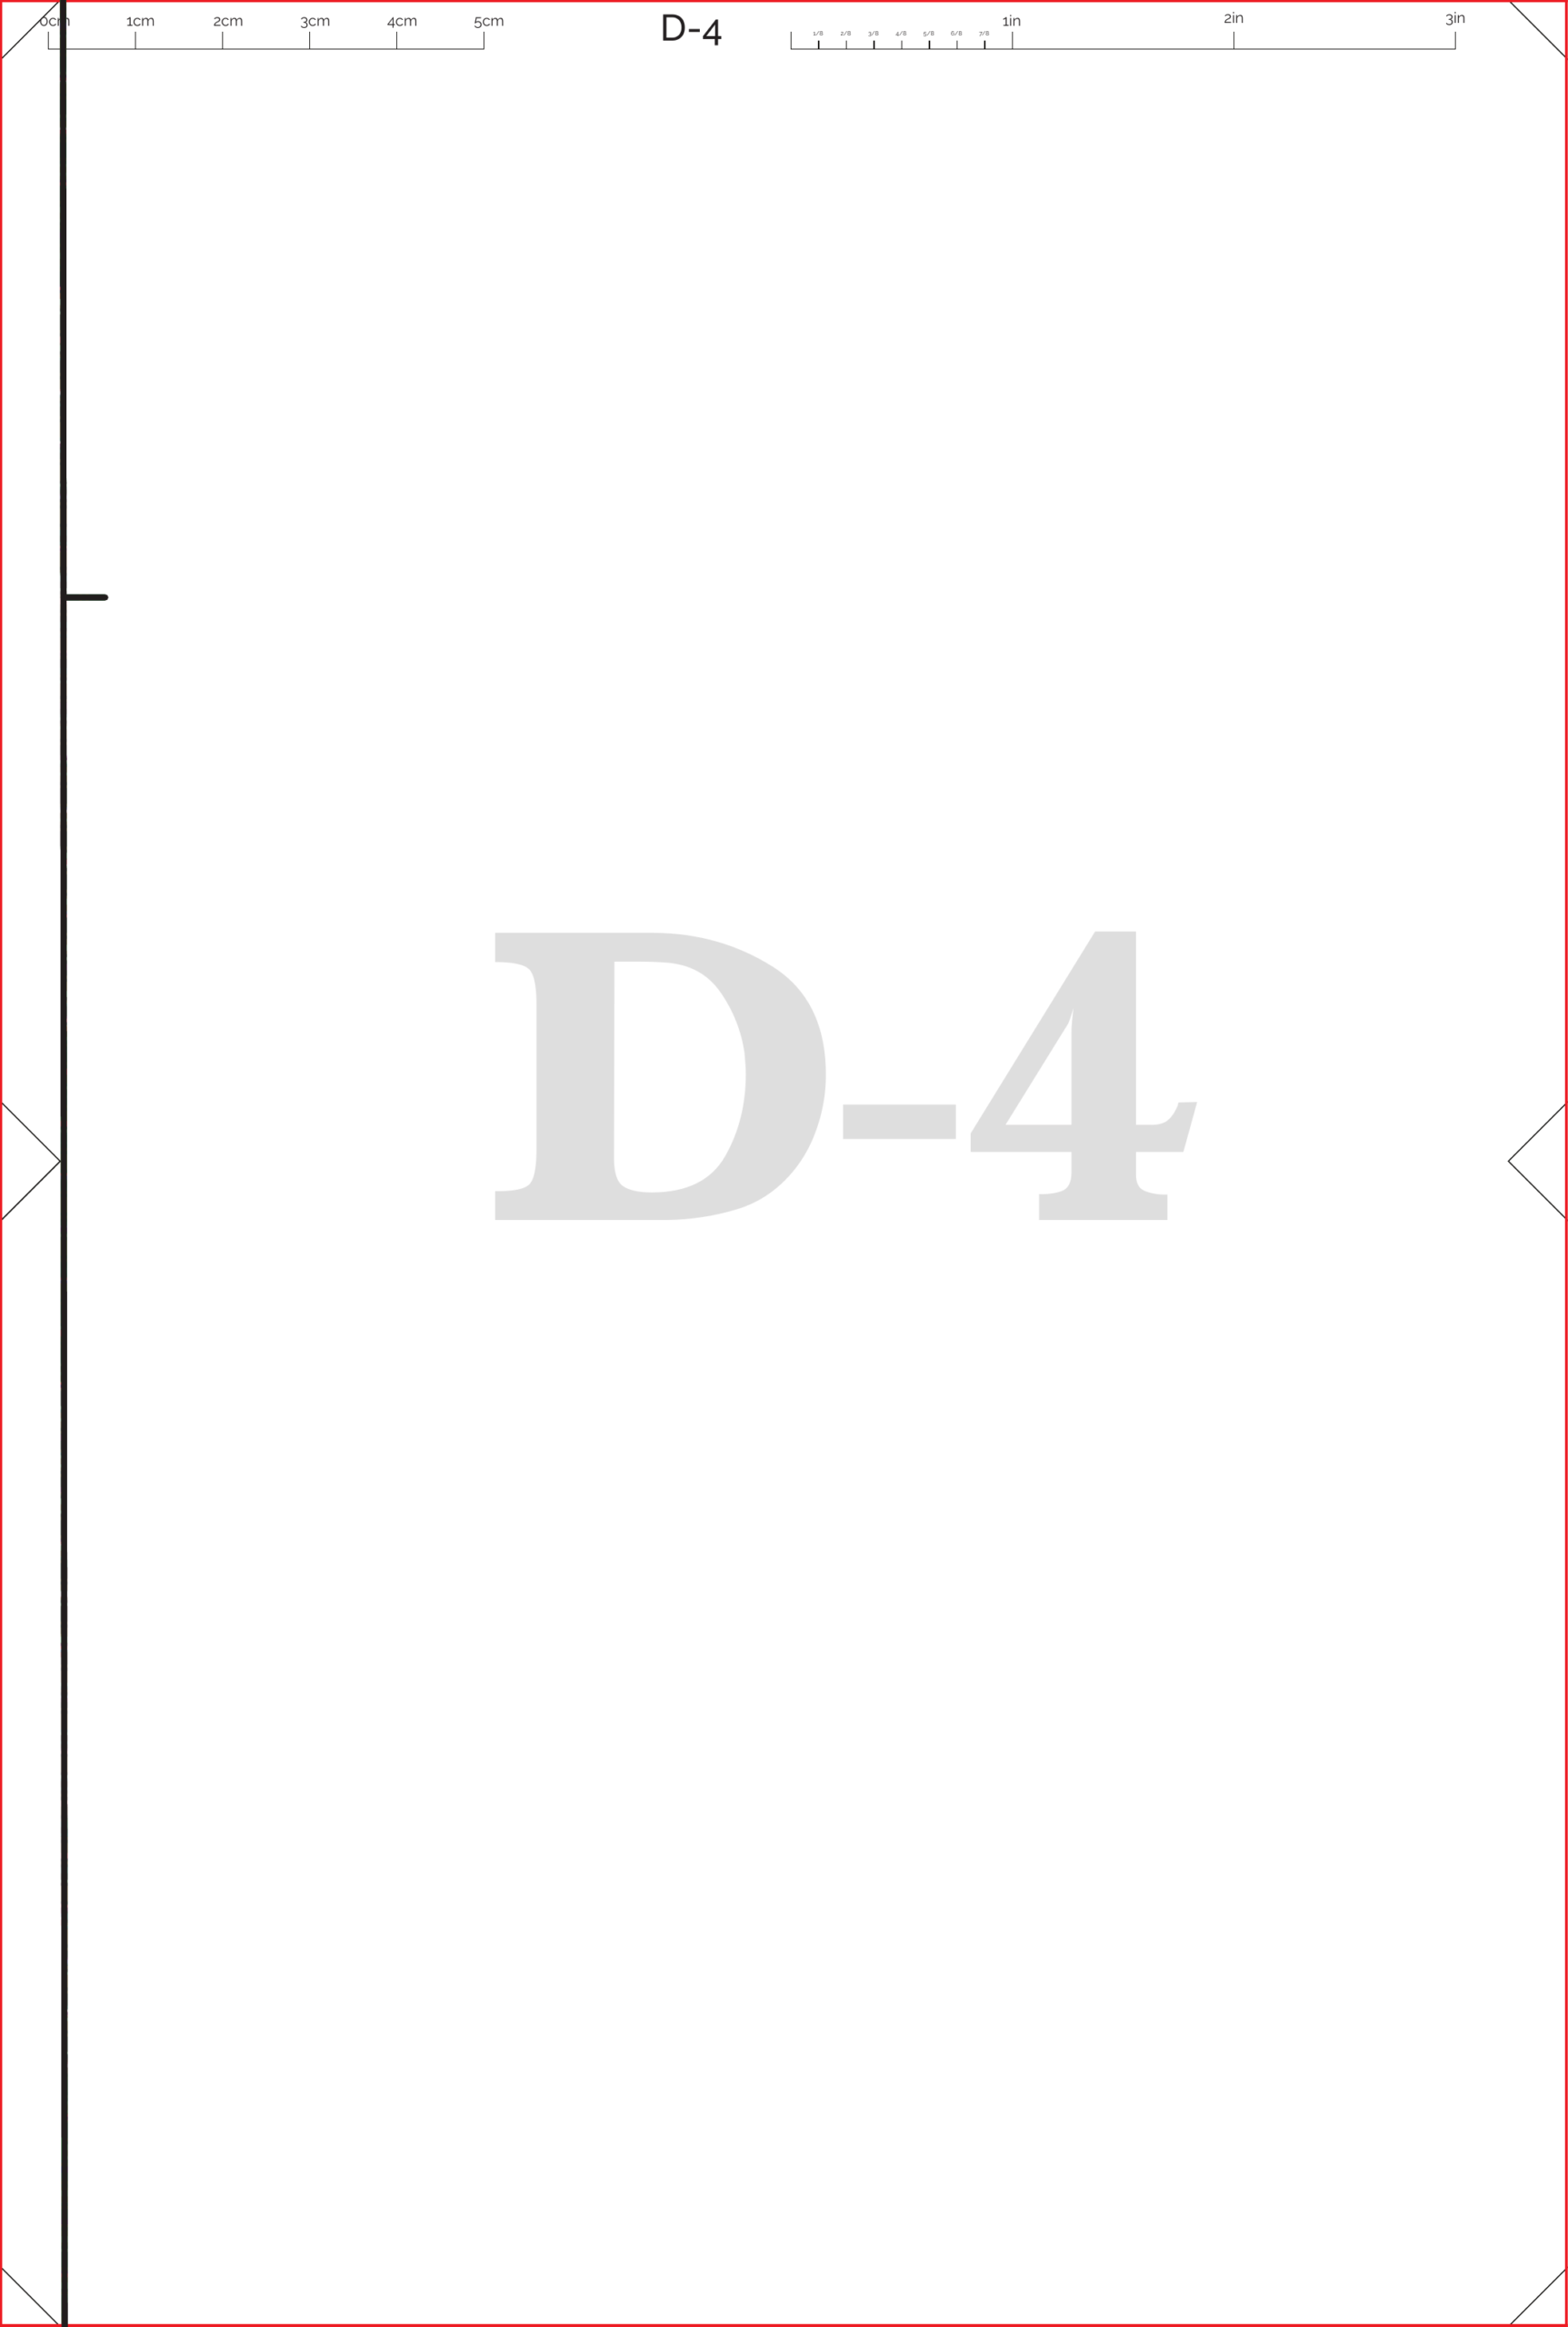
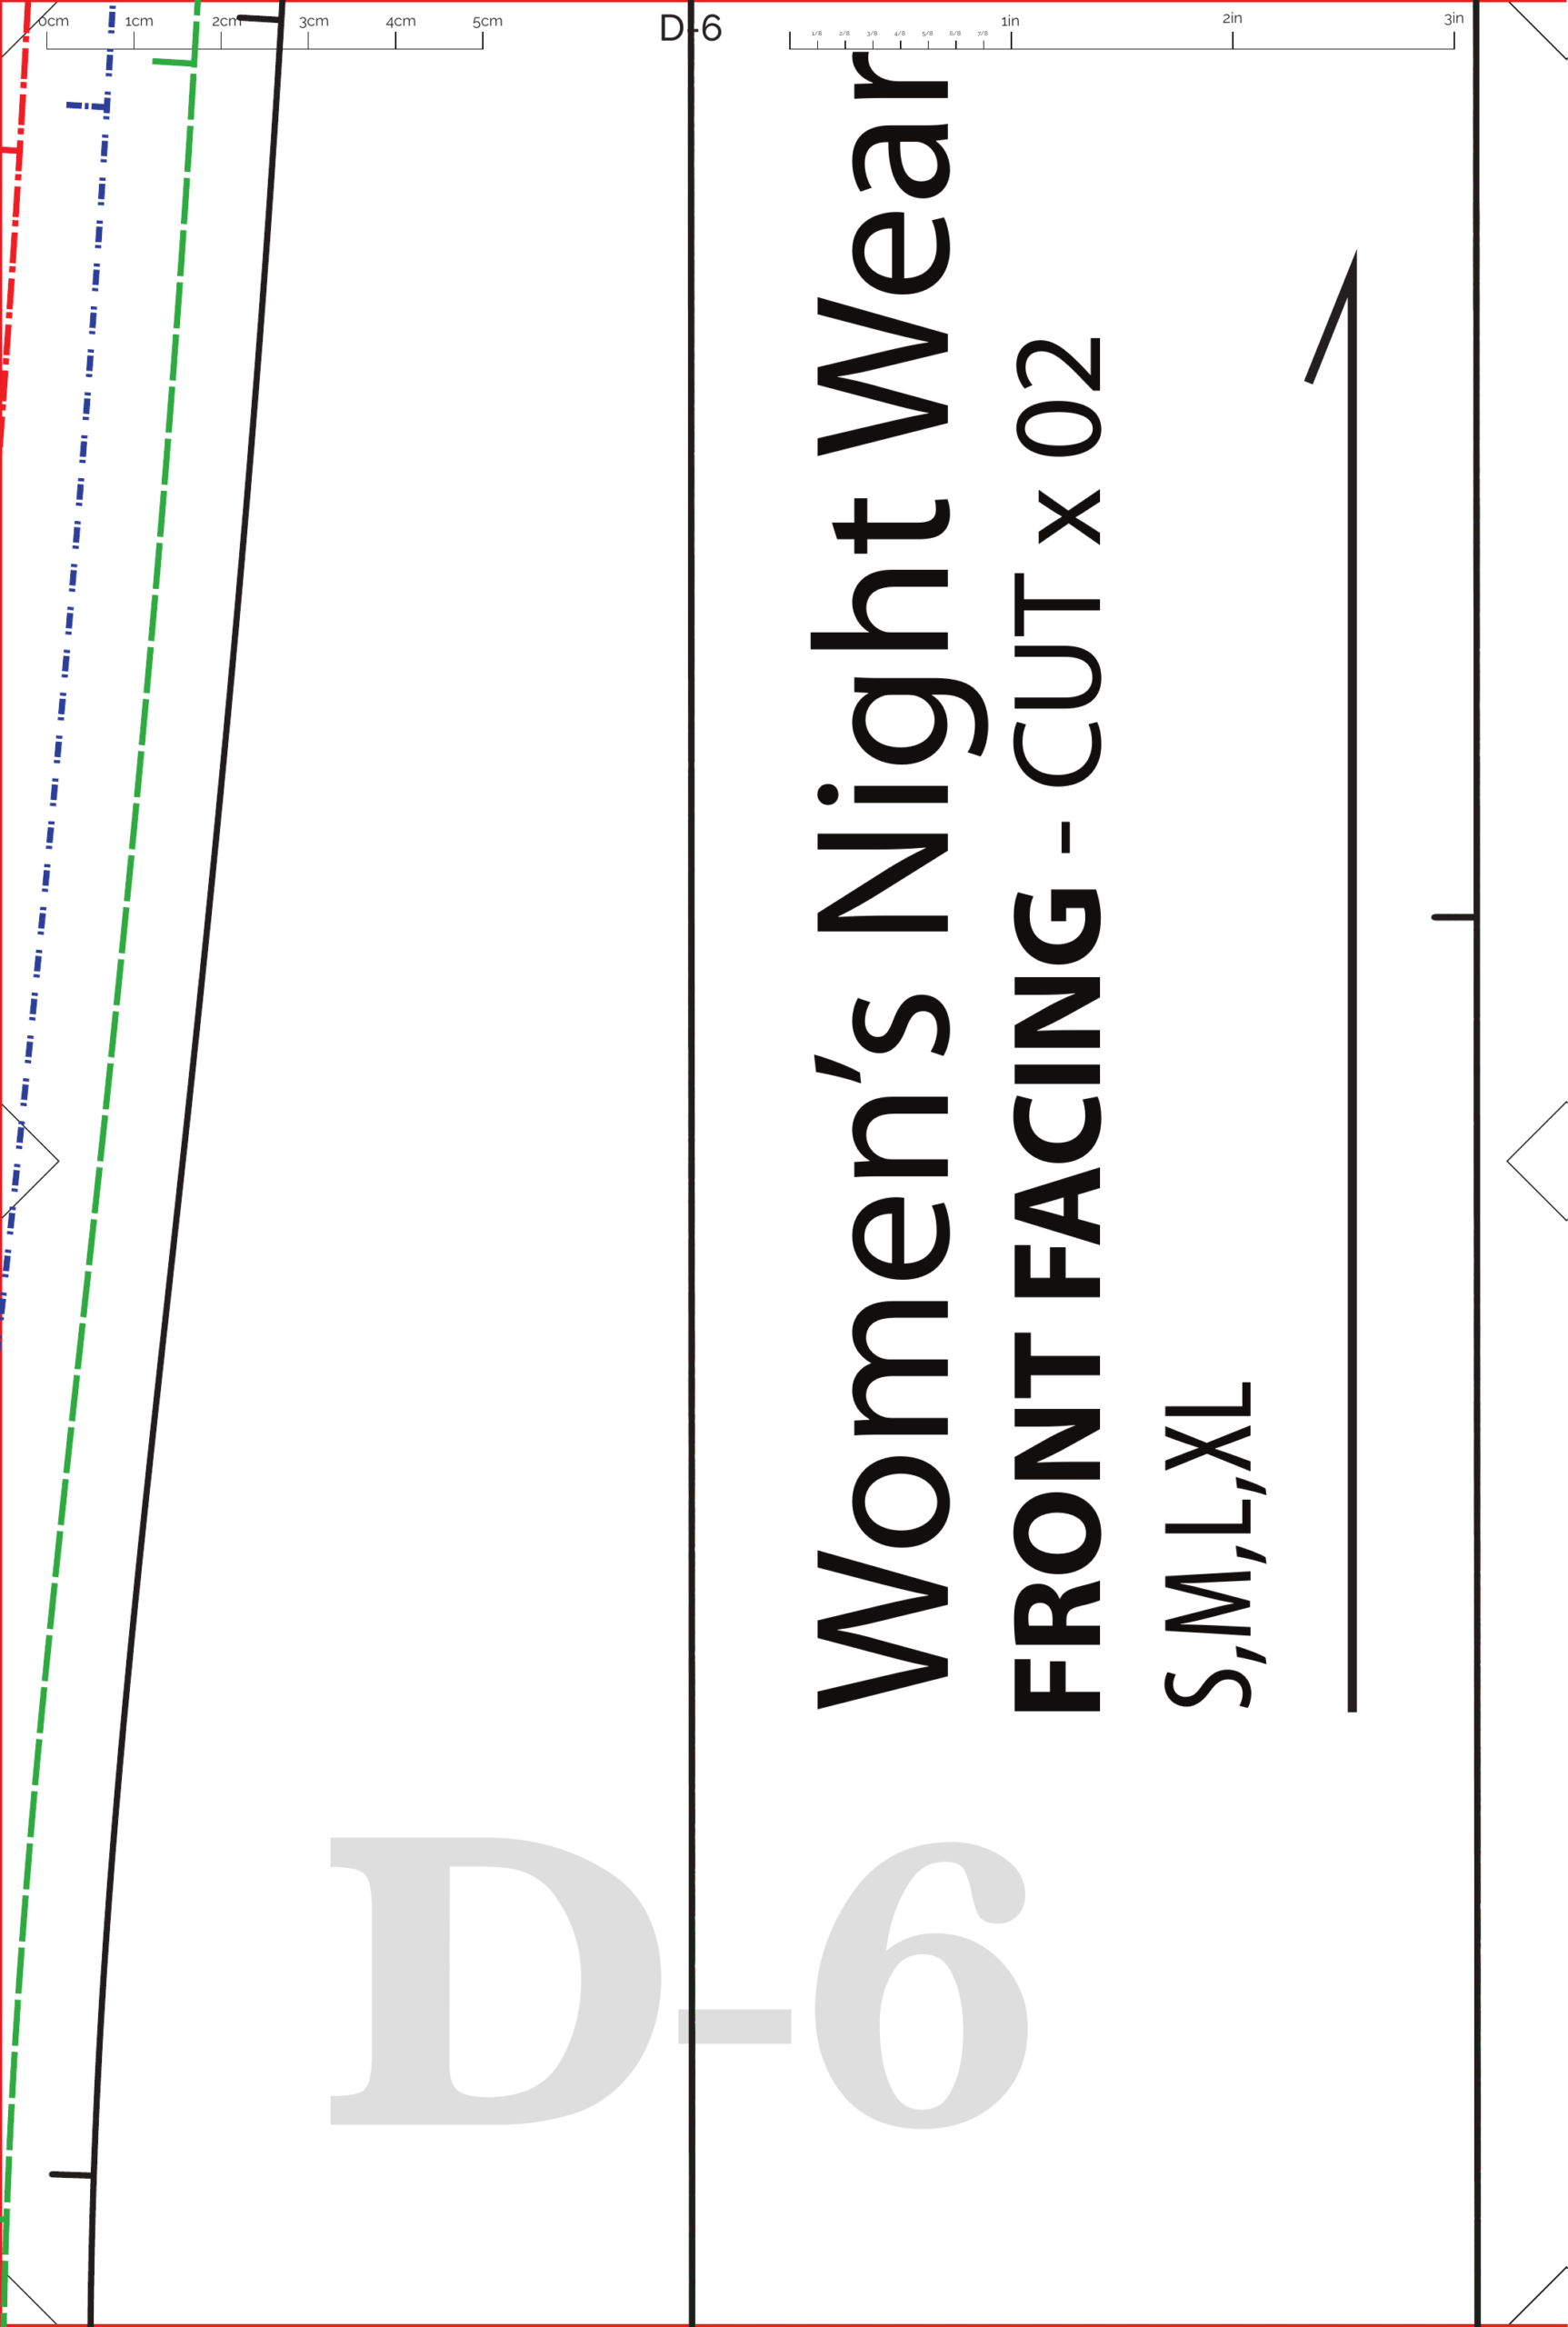
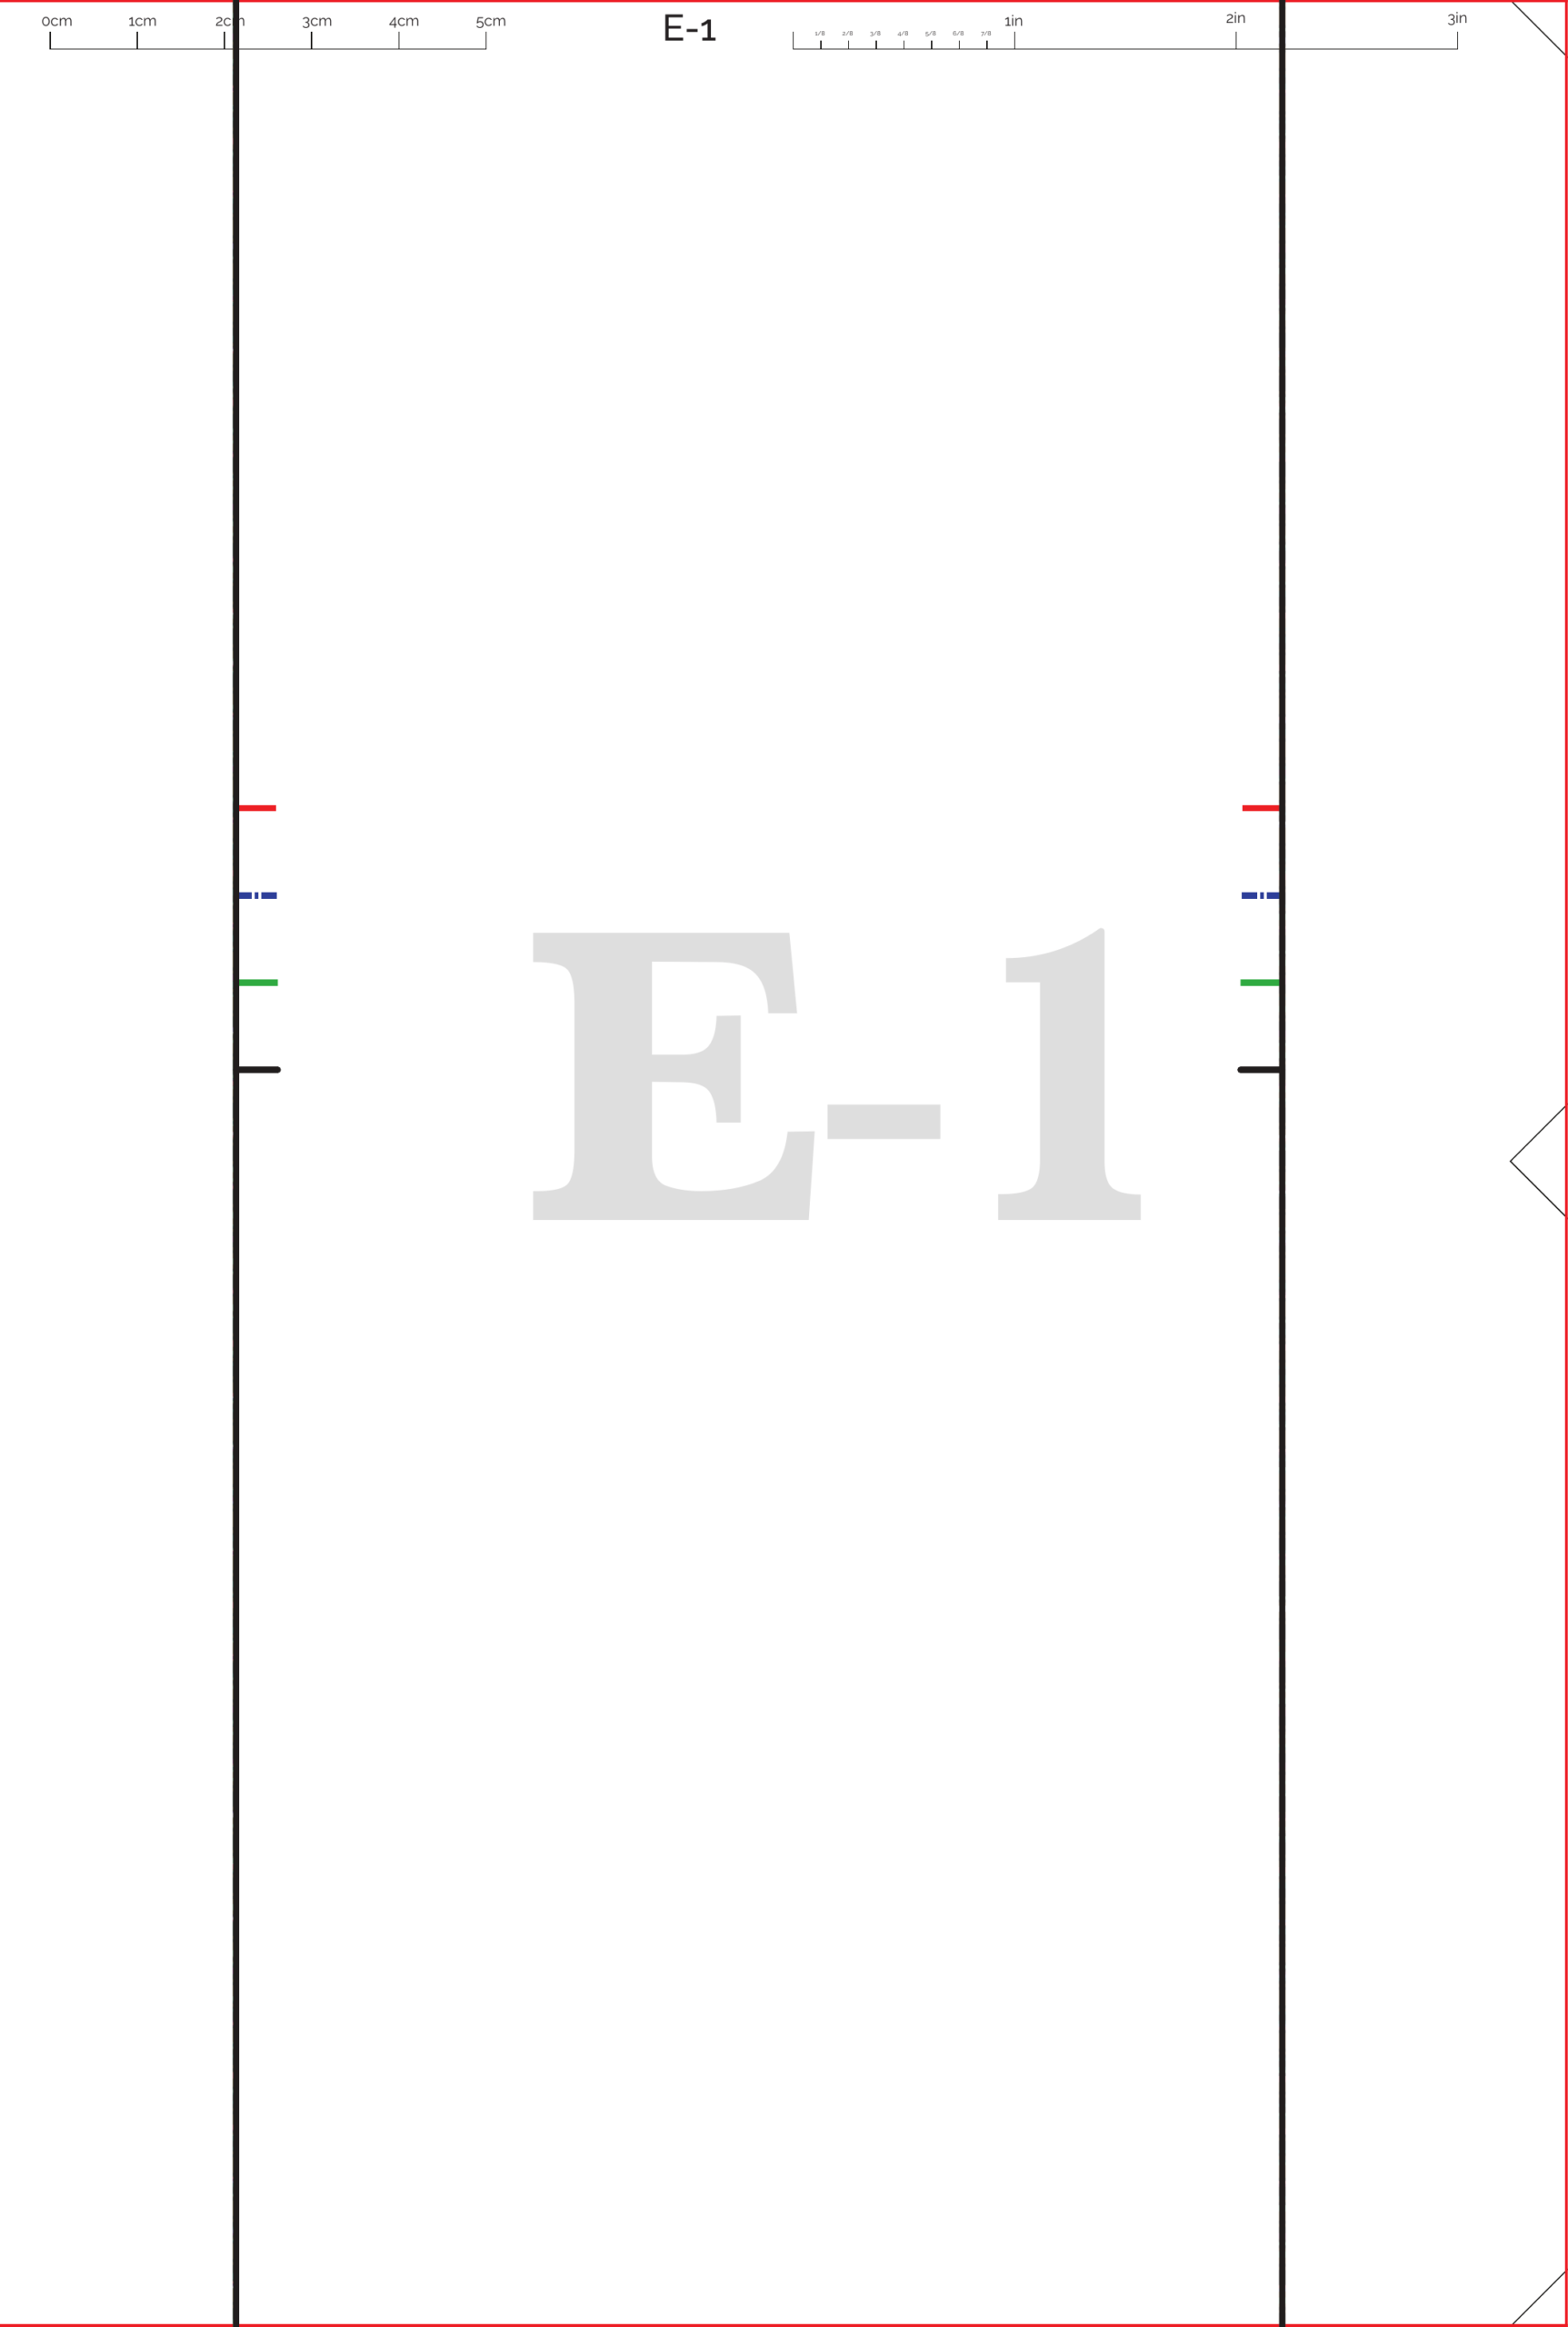
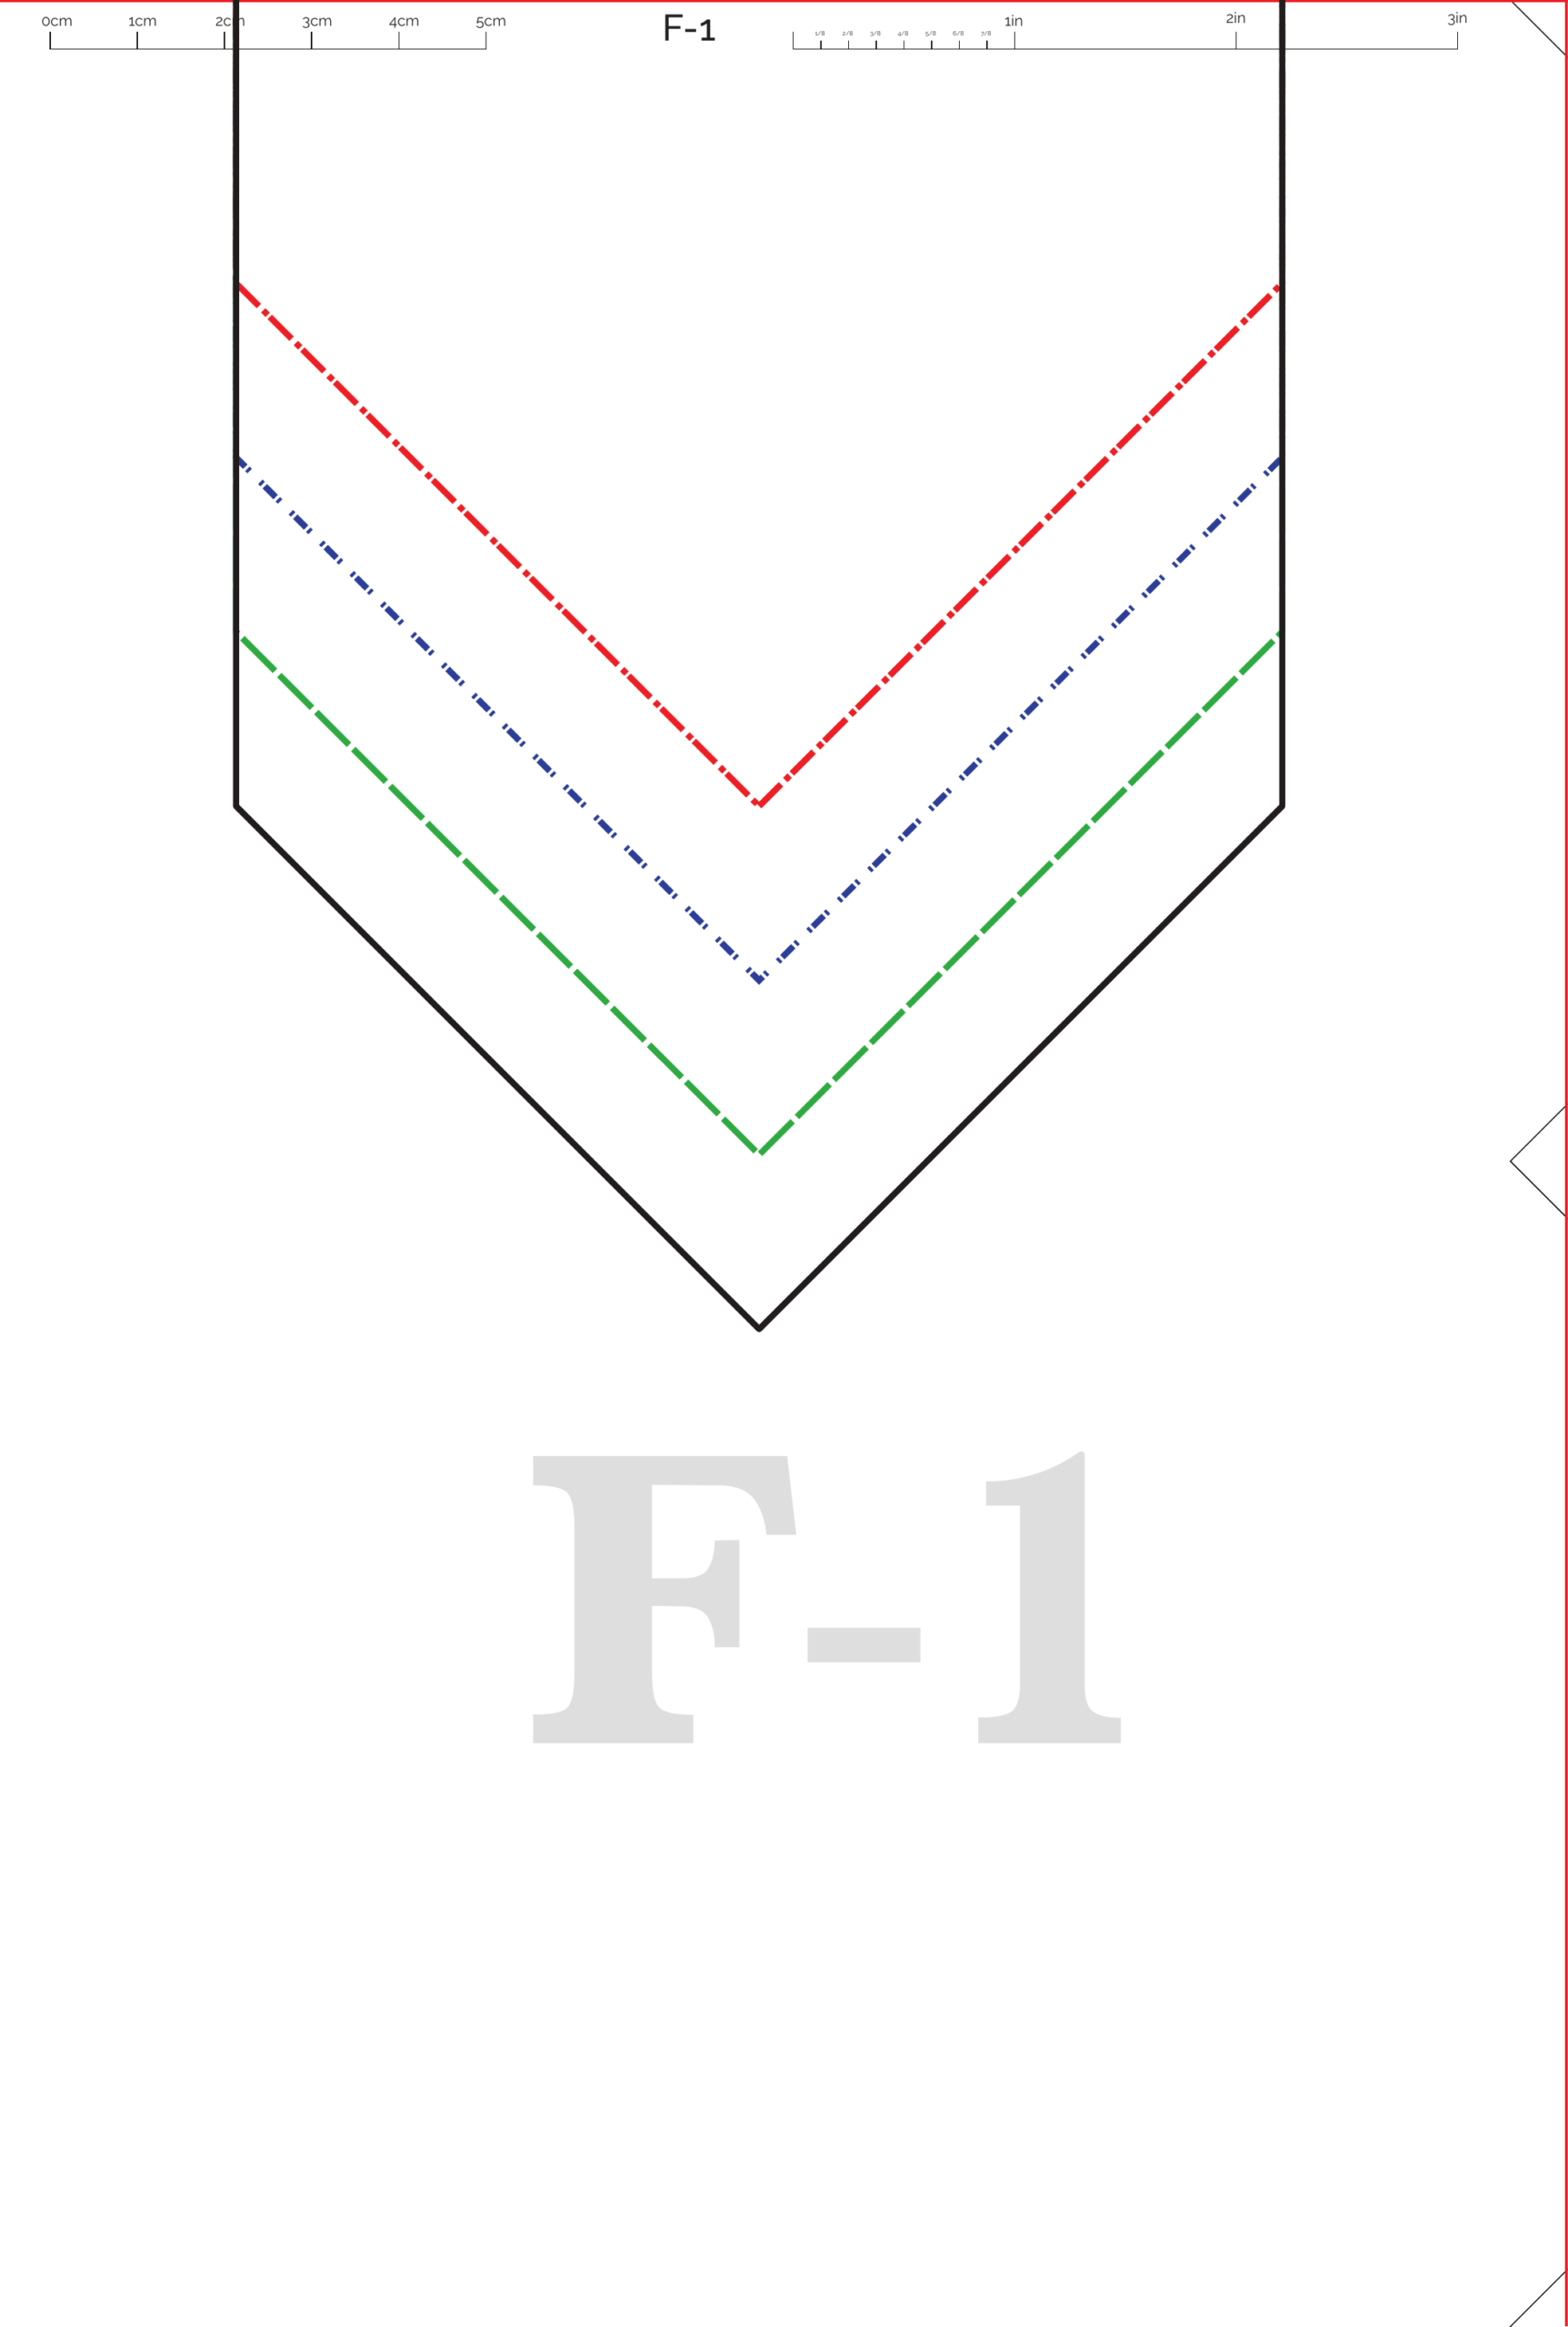
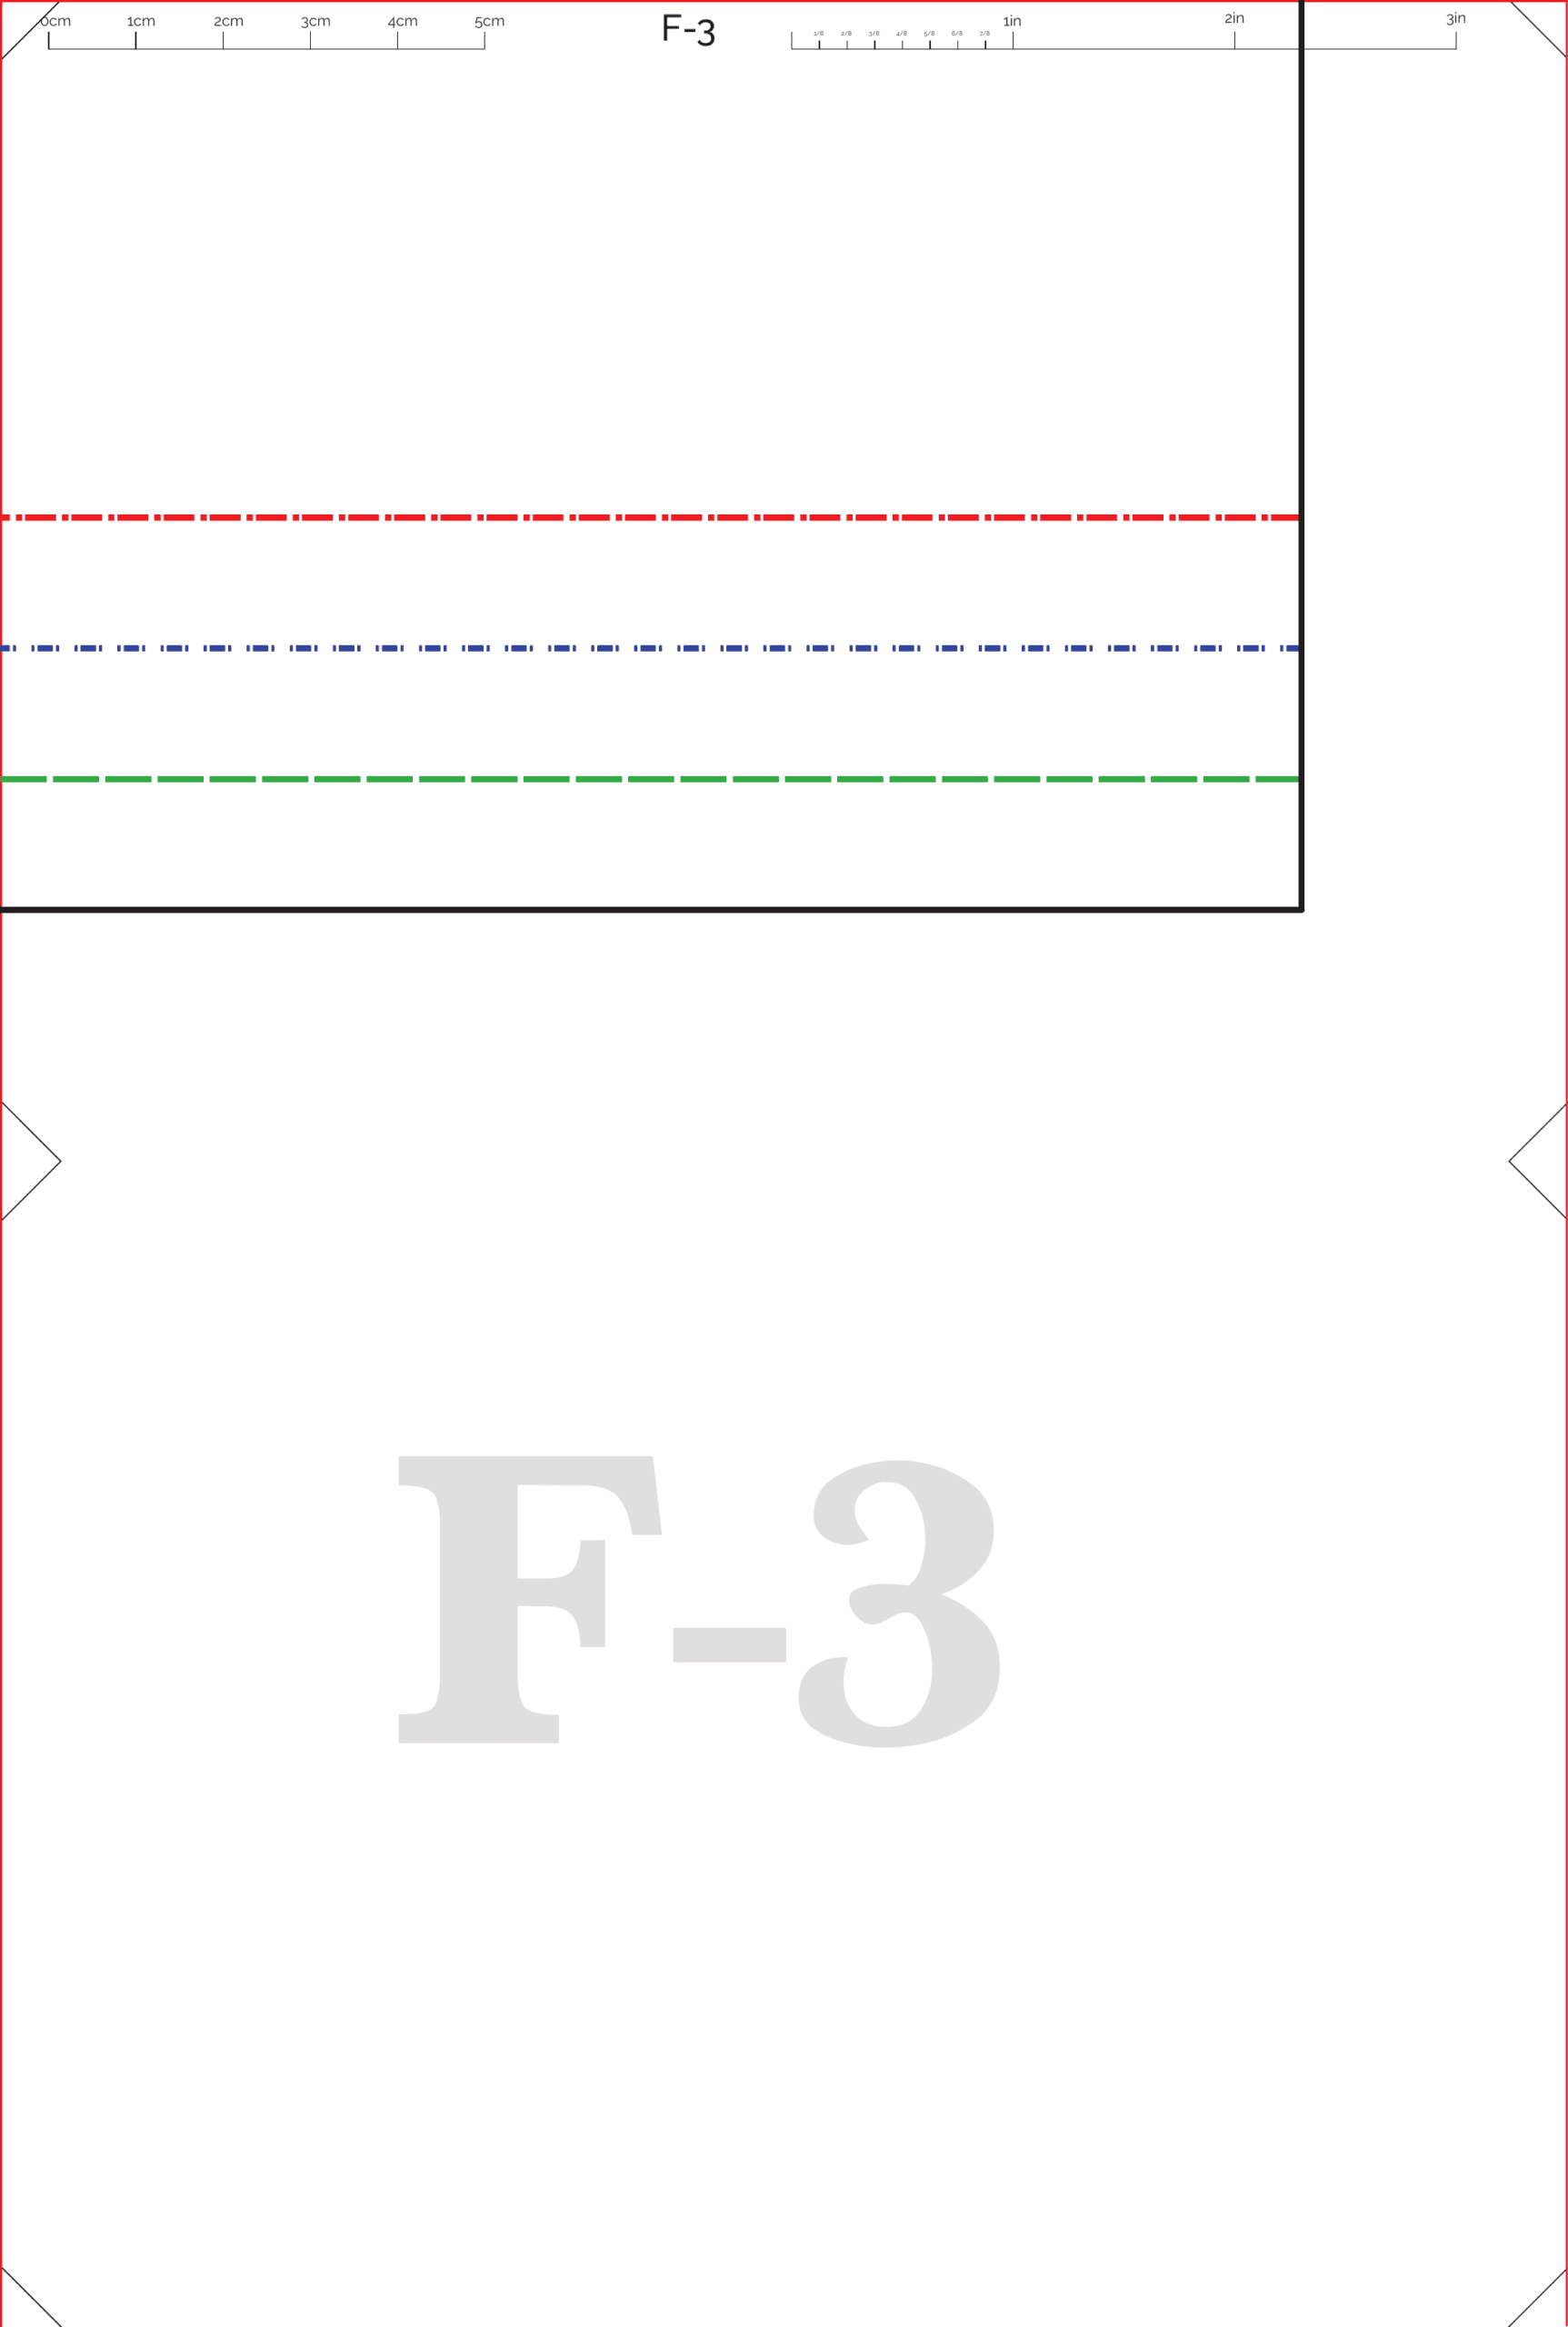
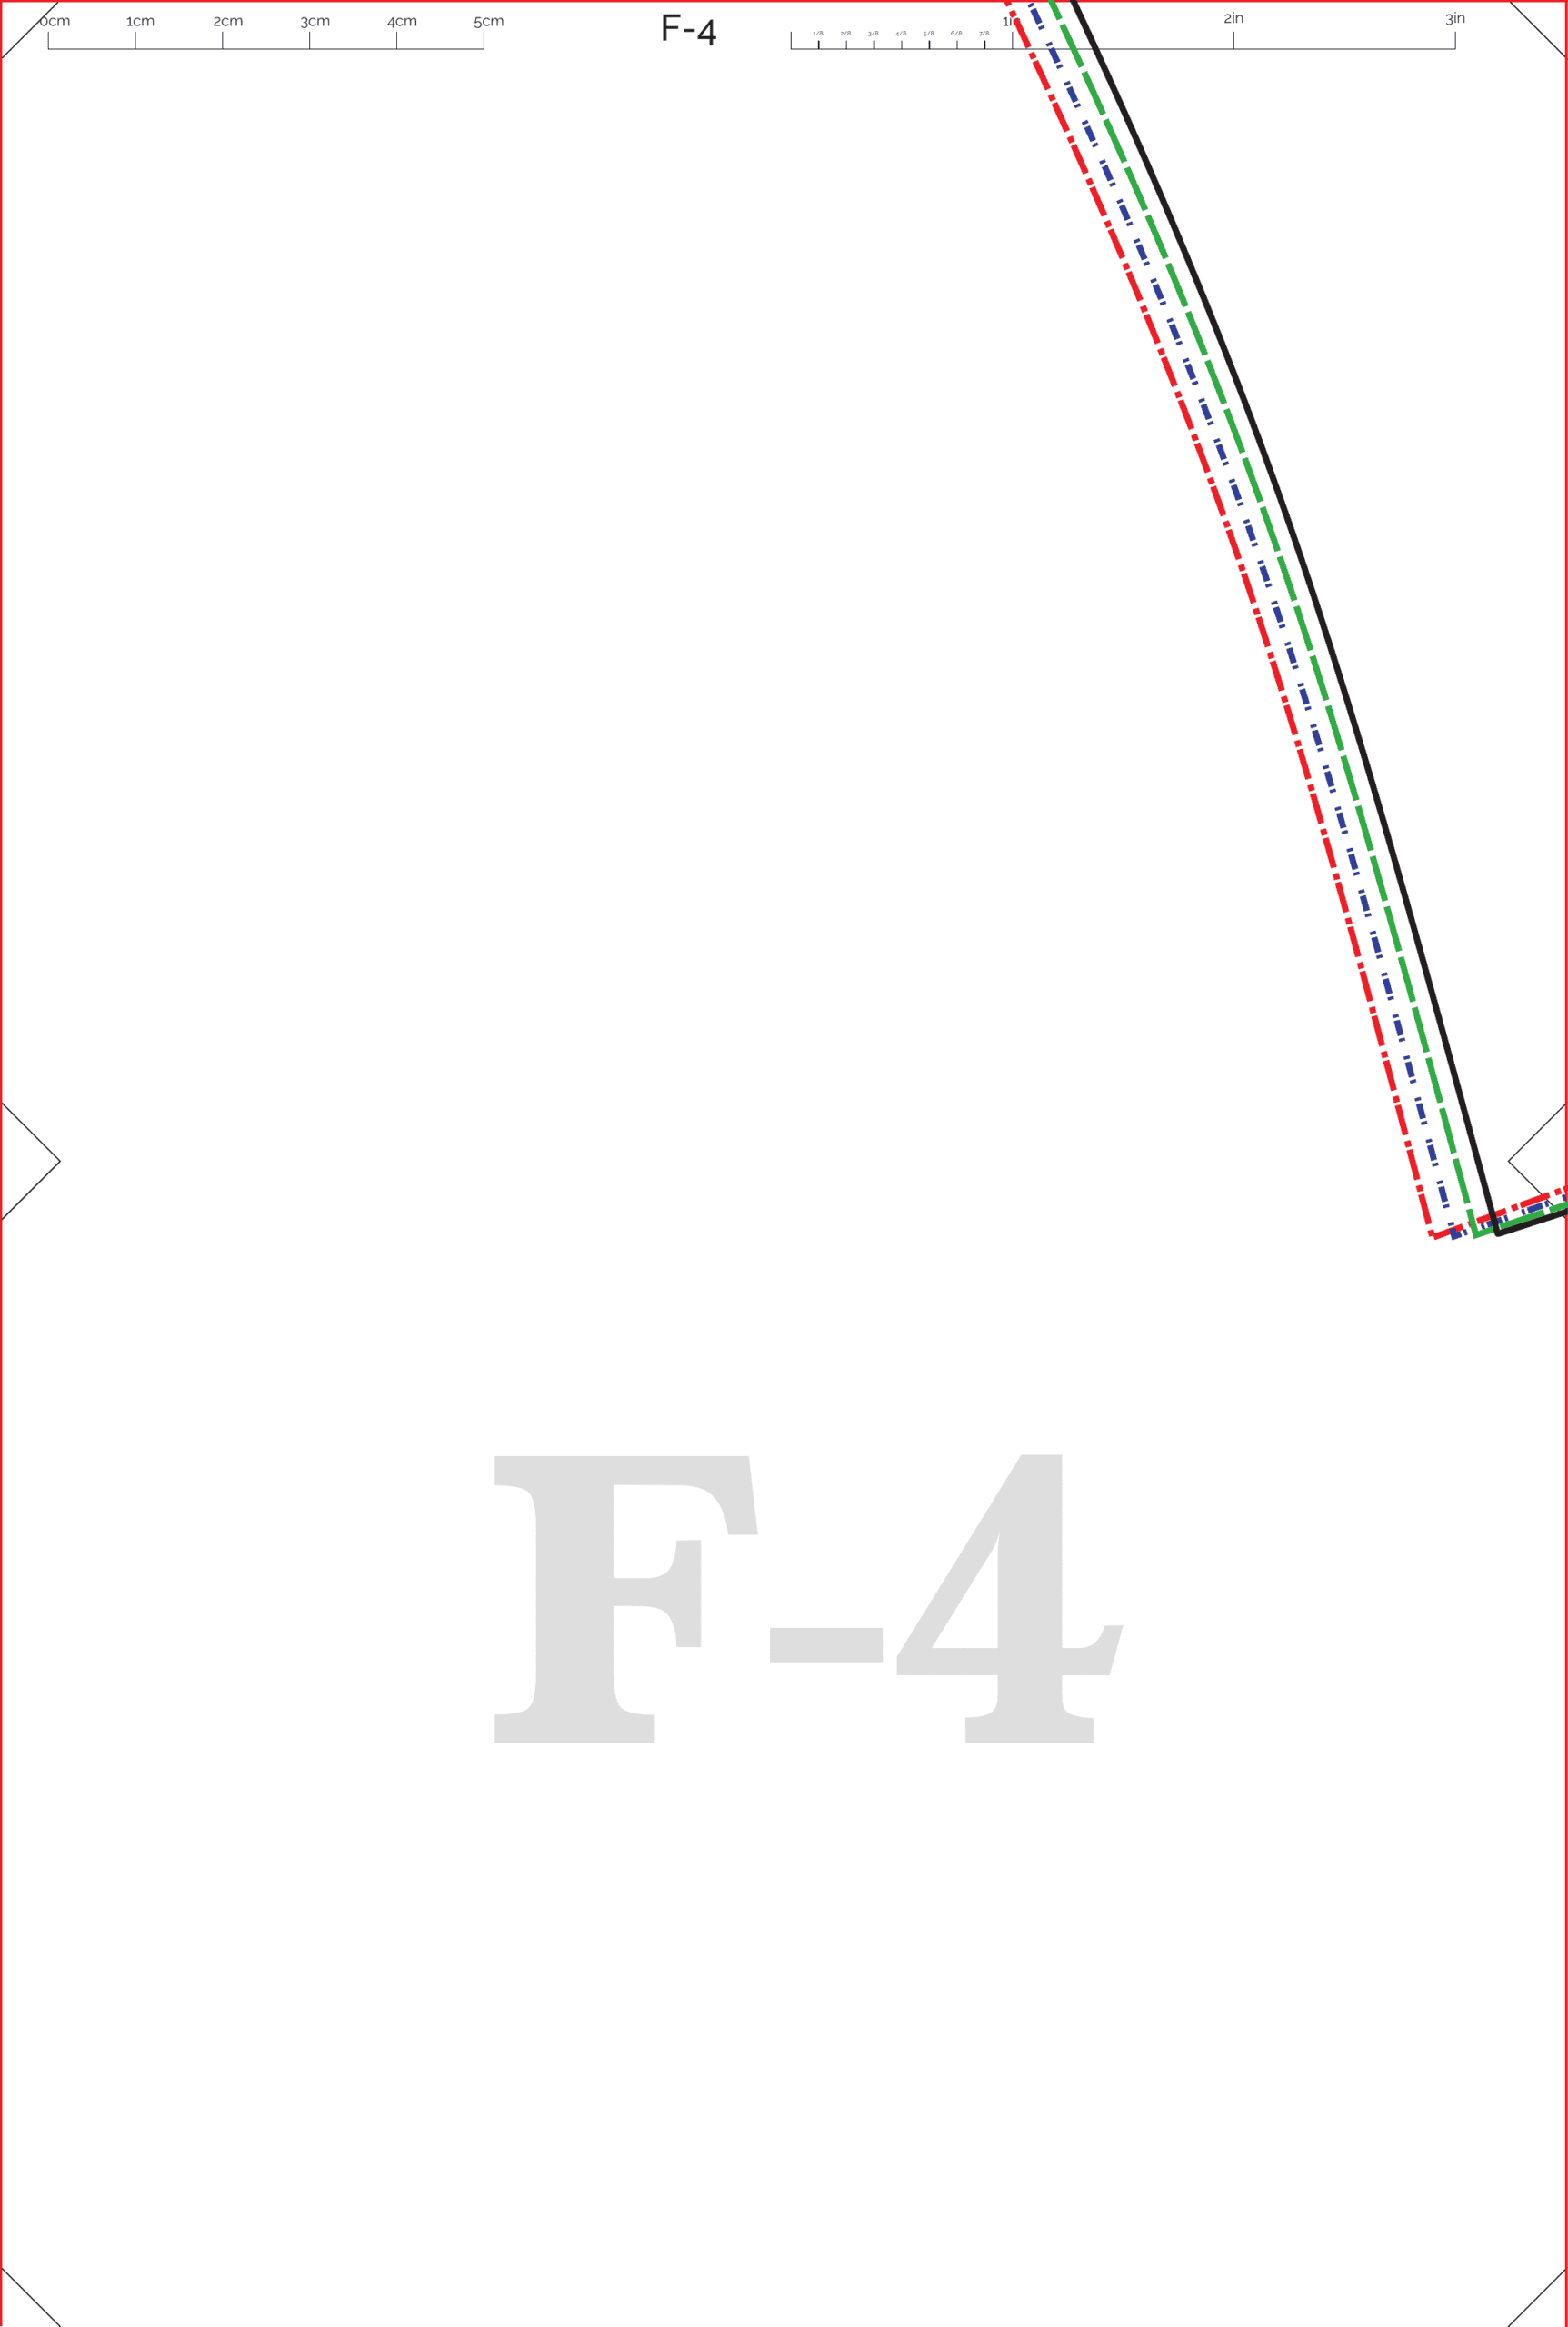
Tap or click any nightwear sewing pattern sheet to open its image at full view. Save the image before printing if your browser’s print command tries to resize it. The pattern lines and printed calibration marks are the tracing reference; the images are not decorative mockups.
US Letter pattern pages
Use this complete 37-page set only with US Letter paper. Assemble pages by their printed identifiers.
Open all 37 US Letter sheets

















A4 pattern pages
Use this complete 37-page set only with A4 paper. Do not combine these pages with the Letter set.
Open all 37 A4 sheets















A0 large-format pattern pages
This set contains two large-format sheets for a print shop. Ask for full-size output and verify the calibration square before cutting.
Open the two A0 sheets


Projector pattern layout
The projector layout shows the pattern pieces together. Calibrate the printed square on the fabric, align the grain and keep the projector fixed while tracing.
Open the projector layout image
Common printing and sewing problems
The 10 cm square is the wrong size
Check paper size, orientation and print scaling for the nightwear sewing pattern. Disable fit-to-page settings and test again. Do not cut until the square measures correctly.
Several size lines appear together
These image sheets show the size outlines together because images cannot toggle the original layers. Print in color, identify the chosen size using the pattern’s line style and follow that same line on every piece.
Neighboring tiled pages do not match
For the nightwear sewing pattern, check the sheet labels and orientation, then compare registration marks. Lift the tape and realign pages before trimming or cutting; do not redraw a missing section by eye.
You cannot confirm fit or seam allowance
The sheets alone do not provide a body-measurement chart or a seam-allowance value. Confirm those specifications before cutting. If you cannot verify fit, make a test garment and preserve enough fabric to adjust it.
Frequently asked questions
Can I print an A4 sheet on US Letter paper?
Use A4 sheets on A4 paper and the Letter set on US Letter paper. Matching the set to the paper helps avoid unintended scaling and misplaced page joins.
Can I trace from the images on this page?
Yes. Open a sheet image, save it and print at Actual size / 100%. Check the calibration square before using it. You can also use the projector image after calibrating its scale on the fabric.
Can I turn size layers on and off in these images?
No. The image sheets show all visible size outlines at once. The source artwork’s size layers are not interactive in a flat image, so follow one line style consistently and print in color for easier distinction.
Where are the fabric yardage and exact construction details?
They are not printed on the pattern sheets shown here. Confirm fabric requirements, measurement chart, seam allowance and the intended assembly details with the pattern source before cutting your final fabric.
More sewing help
For related fitting advice, browse our dress pattern drafting and fit guide and the sewing patterns and tutorials collection. Take your time with the calibration square, page joins and test fit: those checks make the difference between a traceable pattern and a garment that fits comfortably.