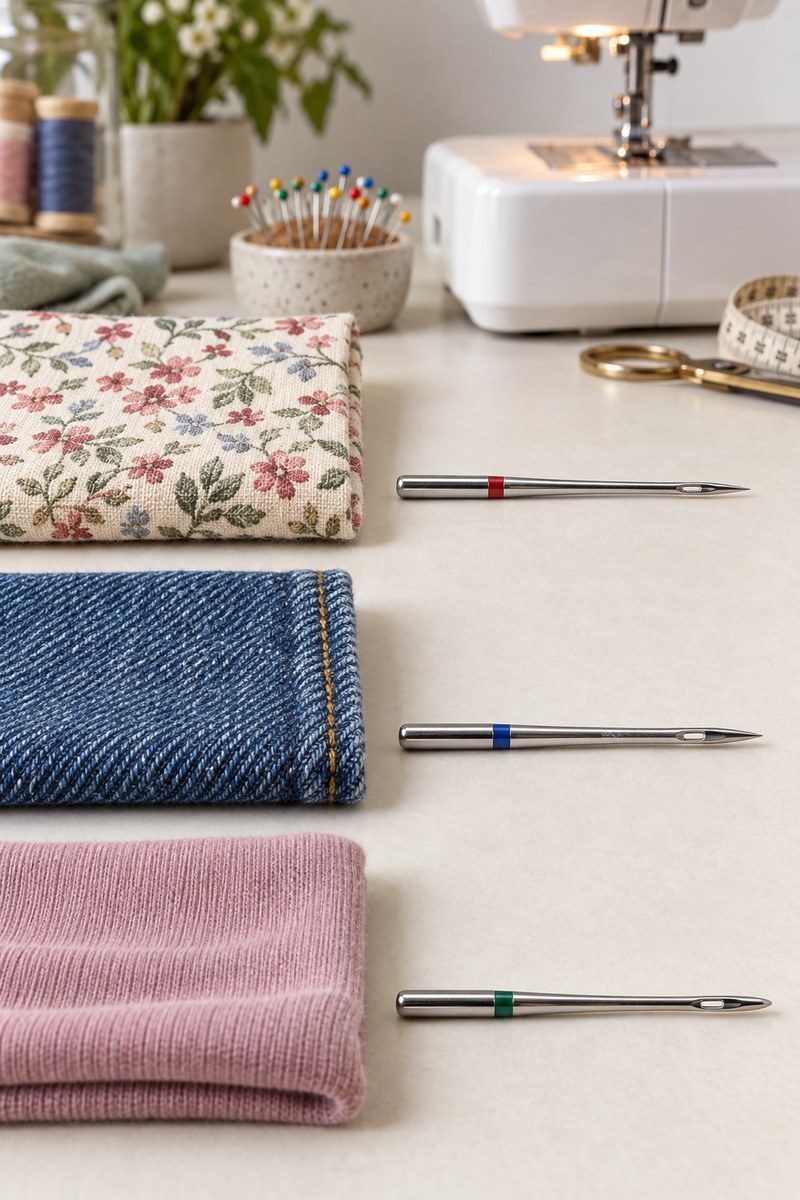
Choose a sewing machine needle by matching its point and size to the fabric and thread. A mismatch can skip stitches, snag knits, leave holes or shred thread. Start with the chart, then test on a scrap cut from your project fabric.
Needle types at a glance
| Type | Starting use | Check |
|---|---|---|
| Universal | Many stable woven fabrics | General purpose, not ideal for every knit. |
| Jersey / ball point | Stable knits | Rounded point moves between loops; test delicate fibers. |
| Stretch | Elastic knits that skip stitches | Test stitch formation on your machine. |
| Jeans / denim | Dense denim and firm heavy cloth | Size for layers and thread. |
| Microtex / sharp | Fine, tightly woven fabric | Sharp point may damage knits. |
| Embroidery | Embroidery thread and stabilizer | Follow machine guidance. |
Sizes describe thickness: 70/10, 80/12, 90/14 and 100/16 are common. Larger numbers are thicker. Lightweight cloth usually calls for a finer starting size; dense or layered fabric may need a larger one. Construction, coating, thread and layer count matter, so a test sample is essential.
Choose and test in five steps
- Identify woven cloth (crossing threads) or knit (interlocking loops).
- Consider weight and density; do not force a needle through thick layers.
- Match the thread to the eye so it passes without dragging or shredding.
- Turn off the machine and install the needle in the orientation described in its manual.
- Sew a sample with the same layers, stabilizer and stitch. Inspect both sides for balanced stitches, snags, skipped stitches and permanent holes.

Starting combinations
- Light woven cotton: try a fine universal or sharp needle and matching thread.
- Jersey: try jersey/ball point. For elastic fabric or skipped stitches, test a stretch needle.
- Denim: use a jeans needle suitable for the thickness; sew bulky hems slowly and only if the machine supports them.
- Sheer cloth: try a fine sharp needle and check for visible holes or snags.
These are starting points rather than guarantees. Fiber content and fabric finishes vary. Consult the needle package and sewing-machine manual before sewing the final piece.

Signs it is time to change the needle
Replace a bent, blunt or damaged needle, or one that repeatedly skips stitches after rethreading and checking the machine. A scratchy sound, snagged loops, thread shredding or fabric holes are clues. Do not touch the point to test it. Pulling fabric through the machine can also deflect the needle; let the feed dogs advance the work.
Use the right setup in a project
Test needle, thread, stitch length and tension together before sewing. Our nightwear sewing pattern guide covers pattern preparation, and the dress pattern drafting guide covers fit foundations. See the SCHMETZ needle guide and its fabric suggestions; confirm compatibility with your own machine.
Quick checklist
- Identify fabric construction and weight.
- Choose a suitable point and starting size.
- Install as your machine manual directs.
- Test on matching layers and inspect both sides.
- Replace damaged or worn needles.
Troubleshoot a test seam
If stitches skip, install a new needle correctly, rethread with the presser foot raised, and check the bobbin path. If the problem remains, try a point designed for the fabric and inspect the thread for compatibility. For puckering, change one variable at a time, such as stitch length or stabilizer. If the fabric shows holes, test a finer or more suitable point. Stop if the needle hits the plate or bends; consult the machine manual rather than continuing.
Needle packages may use different naming systems, so read the manufacturer’s size chart and check conversions printed on the package. Record your successful needle, thread and stitch settings with a labeled fabric swatch. It makes it much easier to repeat a reliable setup from one project to the next.
Understand needle sizes and the eye
The two numbers on a needle package describe the same needle in different sizing systems: a smaller number indicates a finer needle and a larger number a heavier one. A fine needle is a useful starting point for lightweight fabric, while dense cloth and several layers may need a stronger needle. The exact choice also depends on the point, thread thickness, machine and fabric finish. Use the package chart as a guide, not a substitute for a sample.
The eye should let the thread pass freely. If thread drags, frays or breaks even after correct threading, try a needle with an eye suited to that thread. Decorative and topstitching threads can need a larger eye than ordinary all-purpose thread. Keep the thread type and needle compatible with the machine manual.
Install a sewing machine needle correctly
- Switch off the machine and raise the needle to its highest position using the handwheel if your manual recommends it.
- Loosen the needle clamp screw and remove the old needle carefully.
- Insert the new needle fully, with its flat side and groove facing the direction specified by your machine. The correct orientation is not identical on every model.
- Tighten the clamp securely, then turn the handwheel toward you through one full stitch by hand. The needle should move freely without striking the plate or foot.
- Thread the machine and sew a test sample before returning to the project.
Always follow the machine’s own manual for orientation and installation. If the needle does not seat easily, do not force it; check the model instructions and make sure the clamp is open enough.
Use a repeatable test-swatch routine
Cut a scrap large enough to sew several lines. Use the same number of layers, interfacing or stabilizer, thread and grain direction as the real project. Sew a straight line, a short reverse seam and, if needed, the zigzag or decorative stitch you plan to use. Test on a folded edge if the garment will cross a hem or seam allowance. This reveals problems caused by thickness that a single flat layer may hide.
Inspect the top and underside in good light. Stitches should look balanced, the fabric should not be pulled into tunnels, and there should be no skipped stitches, snags or enlarged holes. Change one setting at a time: first confirm threading and needle insertion, then test a different needle point or size, then adjust stitch length or tension according to the machine instructions. Write down the successful combination on the sample.
Quick diagnosis for common test-seam problems
| Symptom | First checks | Next test |
|---|---|---|
| Skipped stitches on knit | Rethread and confirm the needle is fully seated | Test jersey or stretch type with a fresh needle |
| Thread frays near the needle | Check threading, burrs and thread path | Try an eye size suited to the thread |
| Snags or runs in knit fabric | Check for a sharp or damaged point | Test a ballpoint needle on a scrap |
| Visible holes in fine fabric | Check needle thickness and point | Test a finer sharp needle and shorter stitch |
| Needle bends on thick layers | Stop; do not pull the fabric or continue | Use a suitable needle and machine-approved layer count |
A needle that strikes the throat plate or foot can break and damage the machine. Stop immediately if you hear a hit, see a bent needle or feel unusual resistance. Recheck needle insertion, stitch selection and presser-foot setup before sewing again.
Keep a simple needle record
Save a small swatch with the fabric name, needle type and size, thread, stitch length and any stabilizer noted on a paper tag. This makes it easier to repeat a successful setup and helps distinguish a needle issue from a tension or threading problem. Keep spare needles in their labeled cases so sharp, stretch and denim types do not get mixed together.
For more sewing preparation, visit our nightwear pattern printing guide and dress pattern drafting article. For brand-specific needle definitions, consult the SCHMETZ sewing machine needle reference and confirm the recommended needle system in your machine manual.
If your project uses stretch fabric, see our practical guide to sewing knit fabric on a regular machine for needle, stitch and edge-handling tips.