Bring Everyone’s Favorite Alien to Life!
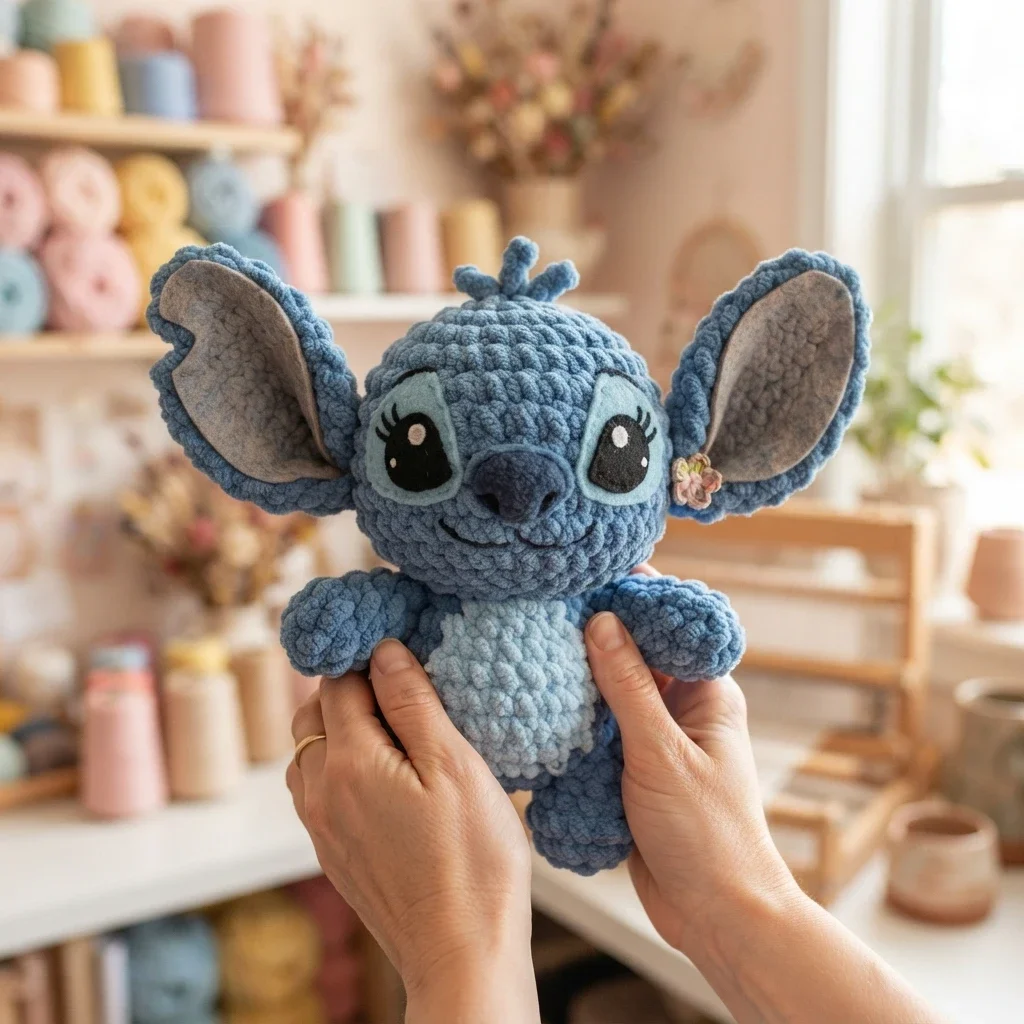
If you adore cozy, oversized amigurumi, you are in for a treat! Today we are creating a delightfully cuddly, super chunky plushie inspired by Stitch (along with a sweet Angel color modification). Using super bulky jumbo chenille yarn, this cutie works up remarkably quickly and has the most huggable, velvety texture imaginable.
Whether you are crafting a nostalgic gift for a loved one or adding an iconic creature to your personal plush collection, this pattern walks you through every single step—from the signature textured claws and ears to the neat color-worked muzzle and belly patch. Grab your favorite hook, and let’s jump right into the magic!
Materials & Tools
Before diving in, gather the exact supplies needed for this project:
- Yarn: Weight 7 Jumbo / Super Bulky Yarn (Sweet Snuggles by Michaels) in the following shades:
- Denim (Main Body & Outer Ears)
- Sky Blue (Face patch & Belly Patch)
- Blue (Claws & Toes)
- Pink (Inner Ears)
- Crochet Hook: 8.0 mm hook
- Eyes: 1.5-inch felt eyes (or safety eyes placed during head construction)
- Nose: Black craft felt (or embroidery thread)
- Fiberfill Stuffing
- Yarn / Darning Needle
- Stitch Marker
- Scissors
- Fabric Glue (if using felt facial features)
Pattern Notes & Abbreviations
- mr: magic ring
- sc: single crochet
- inc: increase (2 sc in the same stitch)
- dec: decrease (sc 2 stitches together)
- ch: chain
- slst: slip stitch
- FLO: front loop only
- BLO: back loop only
- BBL: bobble stitch (5 loops worked into one stitch)
- hdc-inc: half double crochet increase (2 hdc in the same stitch)
- CC: color change
- TW: turn work
- [#]: stitch count at the end of the round/row
- sts: stitches
Head Instructions
We will work the head in continuous rounds from the top down, incorporating color changes in the lower face area to form Stitch’s lighter muzzle.
- Round 1: In Denim, 7 sc in mr [7]
- Round 2: 7 inc [14]
- Round 3: (1 sc, 1 inc) x 7 [21]
- Round 4: (2 sc, 1 inc) x 7 [28]
- Round 5: (3 sc, 1 inc) x 7 [35]
- Rounds 6–10 (5 rounds): sc around in Denim [35]
- Round 11: 10 sc in Denim, working in BLO: 15 sc in Sky Blue, switch back to Denim: 10 sc [35]
- Round 12: In Denim: (3 sc, 1 dec) x 2; in Sky Blue: (3 sc, 1 dec) x 3; in Denim: (3 sc, 1 dec) x 2 [28]
Eye Placement Tip: If you choose safety eyes instead of felt, insert them between Rounds 9–10 or 10–11, spaced roughly 4 visible stitches apart. Begin stuffing firmly as you go.
- Round 13: In Denim: (2 sc, 1 dec) x 2; in Sky Blue: (2 sc, 1 dec) x 3; in Denim: (2 sc, 1 dec) x 2 [21]
- Round 14: In Denim: (1 sc, 1 dec) x 2; in Sky Blue: (1 sc, 1 dec) x 3; in Denim: (1 sc, 1 dec) x 2 [14]
- Round 15: In Denim: 2 dec; in Sky Blue: 3 dec; in Denim: 2 dec [7]
Fasten off, leave a tail, weave through the remaining 7 front loops to close the hole neatly, and secure the end inside.

Arms (Make 2)
The arms feature adorable textured claw tips made by working small chained slip stitch points across the front loops.
- Round 1: In Denim, 8 sc in mr [8]
- Round 2: 2 sc in Denim, CC to Blue, working in FLO:
(slst, ch 3, starting in 2nd ch from hook work 2 slst back down chain)x 4, slst back into same stitch, CC to Denim, working back into both loops: 2 sc [8] - Rounds 3–11 (9 rounds): sc around [8] (Note: In round 3, you will work into the remaining unworked back loops from round 2 behind the claws).
Do not stuff the arms. Fasten off and leave a short tail; the arms will be seamlessly joined to the body in a later round.
Feet (Make 2)
- Round 1: In Denim, 7 sc in mr [7]
- Round 2: 7 inc [14]
- Round 3: In Denim: 3 sc; work the toe claws by alternating:
(1 BBL in *Blue*, 1 sc in *Denim*)x 4; finish round with 3 sc in Denim [14] - Round 4: In Denim, sc around [14]
- Round 5: 3 sc, 4 dec, 3 sc [10]
- Round 6: sc around [10]
Stuff each foot firmly, fasten off, and leave a long tail for sewing.
Body & Arm Attachment
- Round 1: In Denim, 7 sc in mr [7]
- Round 2: 7 inc [14]
- Round 3: (1 sc, 1 inc) x 7 [21]
- Round 4: (2 sc, 1 inc) x 7 [28]
- Round 5: (3 sc, 1 inc) x 7 [35]
- Rounds 6–9 (4 rounds): sc around [35]
- Round 10: 7 sc, (1 sc, 1 dec) x 7, 7 sc [28] (This creates the signature cute potbelly shape!)
- Round 11: sc around [28]
- Round 12: 8 sc, (1 sc, 1 dec) x 4, 8 sc [24]
Begin stuffing the body firmly, emphasizing the tummy curve.
- Round 13: (6 sc, 1 dec) x 3 [21]
- Round 14: sc around [21]
- Round 15: (1 sc, 1 dec) x 7 [14]
- Round 16 (Joining the Arms): Flatten the open tops of the arms. Align them on each side with the belly pouch centered in front. Crochet through all 3 layers (both sides of the arm opening and the body stitch together): 3 sc, 4 sc across first arm, 3 sc, 4 sc across second arm [14]
Fasten off and leave a generous tail for sewing the head to the body.
Belly Patch & Little Tail
Belly Patch
Worked in oval foundation rounds followed by turning rows to create a smooth chest bib:
- Round 1: In Sky Blue, ch 5. Starting in 2nd ch from hook: 3 sc, 4 sc in next ch. Turn around to work along opposite side of foundation chain: 3 sc, 3 sc in last ch [13]
- Round 2: 3 sc, 4 inc, 3 sc, 3 inc [20]
Now switch to working in flat rows (ch 1 and turn work after every row):
- Rows 3–5 (3 rows): 5 sc [5]
- Row 6: 1 dec, 1 sc, 1 dec [3]
- Row 7: 3 sc [3]
- Row 8: 1 dec, 1 sc [2]
- Border: ch 1, then single crochet evenly around the entire perimeter of the patch to give it a clean edge. Fasten off, leaving a long tail for sewing.
Tail
- In Denim, ch 2.
- In the 2nd ch from hook, work:
1 hdc, 2 dc, 1 hdc, slstall into the same chain space. - Fasten off, leaving a tail for attachment.
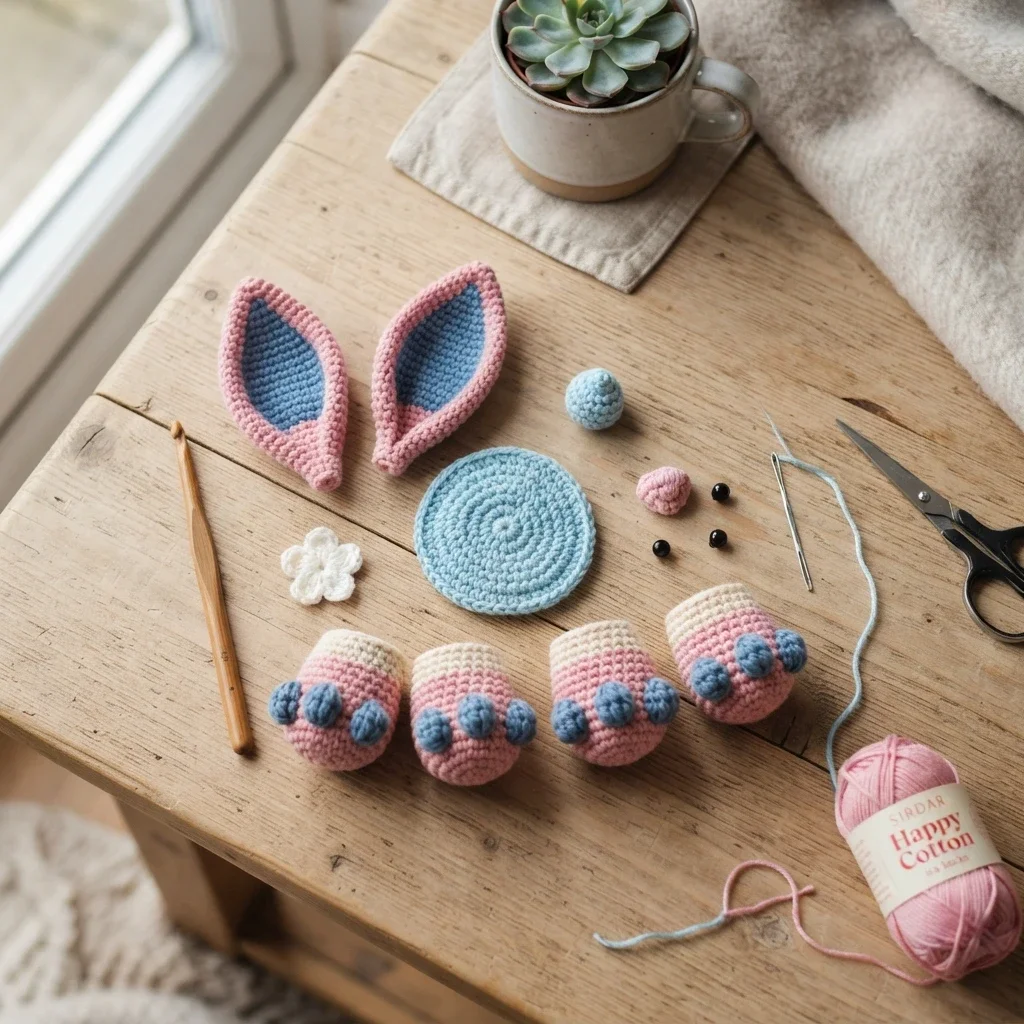
Big Alien Ears (Make 2)
Inner Ears (Make 2 in Pink)
- Round 1: ch 11. Starting in 2nd ch from hook: 9 sc, 4 sc in next ch. Turn to opposite side of foundation chain: 9 sc, 3 sc in last ch [25]
- Round 2: 7 sc, 2 inc, 4 hdc-inc, 2 inc, 10 sc [33]
- Fasten off and leave a short tail.
Outer Ears & Joining (Make 2 in Denim)
- Repeat Rounds 1–2 of the Inner Ear in Denim, then work one extra row of single crochet along the edge.
- Turn work so the underside faces up. Do not fasten off.
- Lay the pink inner ear directly on top of the denim outer ear so edges align.
- Single crochet through both layers all the way around the entire ear.
- Fasten off, leaving a long tail for sewing.
- The Teardrop Fold: Fold the top edge inward slightly and sew 4 stitches together across the fold to give the ear its distinctive curved teardrop shape.
Complete Assembly Guide
Follow these precise placements for the most authentic character look:
- Felt Eyes: Glue or secure felt eyes across Rounds 8–11 of the head, spaced about 6–7 stitches apart.
- Felt Nose: Position the black felt nose across Rounds 10–11, directly centered between the eyes.
- Ears: Sew the base of the ears onto Rounds 9–12 of the head, approximately 1 stitch behind the outer edge of each eye.
- Head to Body: Sew the head firmly onto the body opening, ensuring the belly pouch faces squarely forward.
- Belly Patch: Center and sew the patch onto the front of the body across Rounds 5–16.
- Feet: Sew the feet onto Rounds 1–4 at the bottom base of the body with toes pointing forward.
- Tail: Stitch the little tail onto Round 4 centered on the lower back of the body.
Special Angel Modification (Experiment 624)
Want to make Stitch’s lovely counterpart, Angel? Here is how to easily adapt the pattern:
- Color Swaps:
- Replace all Denim with Rose / Magenta Pink.
- Replace all Sky Blue with Soft Light Pink.
- Replace Blue claw accents and nose with Purple.
Angel’s Head Antennae / Tentacles (Make 2)
- Starting in Rose:
- Round 1: 6 sc in mr [6]
- Rounds 2–4 (3 rounds): sc around [6]
- Switch to Purple:
- Rounds 5–7 (3 rounds): sc around [6]
- Switch back to Rose:
- Rounds 8–25 (18 rounds): sc around [6] (Tip: If you want your antennae to drape and flop further down the back, simply add a few extra rounds of sc here!)
- Do not stuff. Fasten off and leave a tail for sewing.
Extra Angel Details
- Add delicate embroidered eyelashes to the outer edge of each eye.
- Cut a purple felt nose or embroider a purple triangular nose.
- Sew the base of each head antenna securely onto Rounds 3–4 of the head.
Final Thoughts & Plushie Care
Congratulations on completing your super chunky Stitch (or Angel)! Because this pattern uses plush weight 7 chenille yarn, remember to keep your tension even and avoid pulling sewing tails too harshly to prevent yarn snapping. Spot clean gently when needed, and give your new little alien lots of cuddles!
Happy crocheting, and enjoy your adorable handmade companion!
More Cozy Crochet Projects
If you enjoy making plush toys, try our step-by-step blue amigurumi plush tutorial or make a smaller project with the crochet strawberry bunny pattern. Browse the crochet project collection for more ideas.